WordPress Users
Updated on Jul 10, 2025

The users section in the WordPress dashboard allows administrators to manage the users on their website. That includes any users manually created by the administrators themselves or those created automatically via a sign-up form, for example. Additionally, this is also where you can manage your own user profile.
This post includes:
All Users
Like with everything else about WordPress, managing the users is exceptionally straightforward. The interface is intuitive, and the options are clear. The space on the page is taken up primarily by a table showing all users. The table itself can be customized via the Screen Options at the top. You can enable or disable these columns: email, role, and posts. You can also change the number of users per page in the table.
Additionally, you can filter users by their role. By default, WordPress comes with five roles.
- Administrator - Users with this role have access to the entire WordPress website, including all administrative features;
- Editor - These users can publish and manage their posts and the posts of other users;
- Author - Authors can publish and manage their own posts;
- Contributor - Similar to an author, Contributors can write and manage their own posts but cannot publish them;
- Subscriber - This type of user can only manage their profile.
As we mentioned, these are the default WordPress roles. However, countless plugins can add new custom roles, new features related to those roles, and so on.
Managing users is also super easy. However, only administrators can do that, so keep that in mind. Here is what you can do to users.
- Edit - The Edit interface allows you to change a user’s first and last names, email and password, and send a password reset request. Additionally, you can assign a different role, write a bio, or disallow the usage of the visual editor. Read on below for a detailed breakdown of everything you can do on the Edit page;
- View - This opens the user’s profile the way it appears on the website;
- Delete - This one is self-explanatory: remove the user from the website permanently;
- Send Password Reset - Finally, this option will send a password reset request to the user. They will not be able to log in until they reset their password.
In addition to the options above, you can also delete, send password reset requests, or change the role to multiple users at once. Simply select the users you need in the table by ticking next to them and then choosing the option from the corresponding drop-down menu. Finally, click Apply, and the bulk action will execute.
As you can see, managing users is very straightforward, which is a huge benefit for administrators who have to manage a large number of them.
Profile
Profile is the second section of the Users section in the WordPress administrative dashboard. Through it, users can change several things about their profiles. It is almost identical to the Edit interface from the previous section.
Here, we will review each option and explain it in detail. Fortunately, despite the many options, they are all self-explanatory.
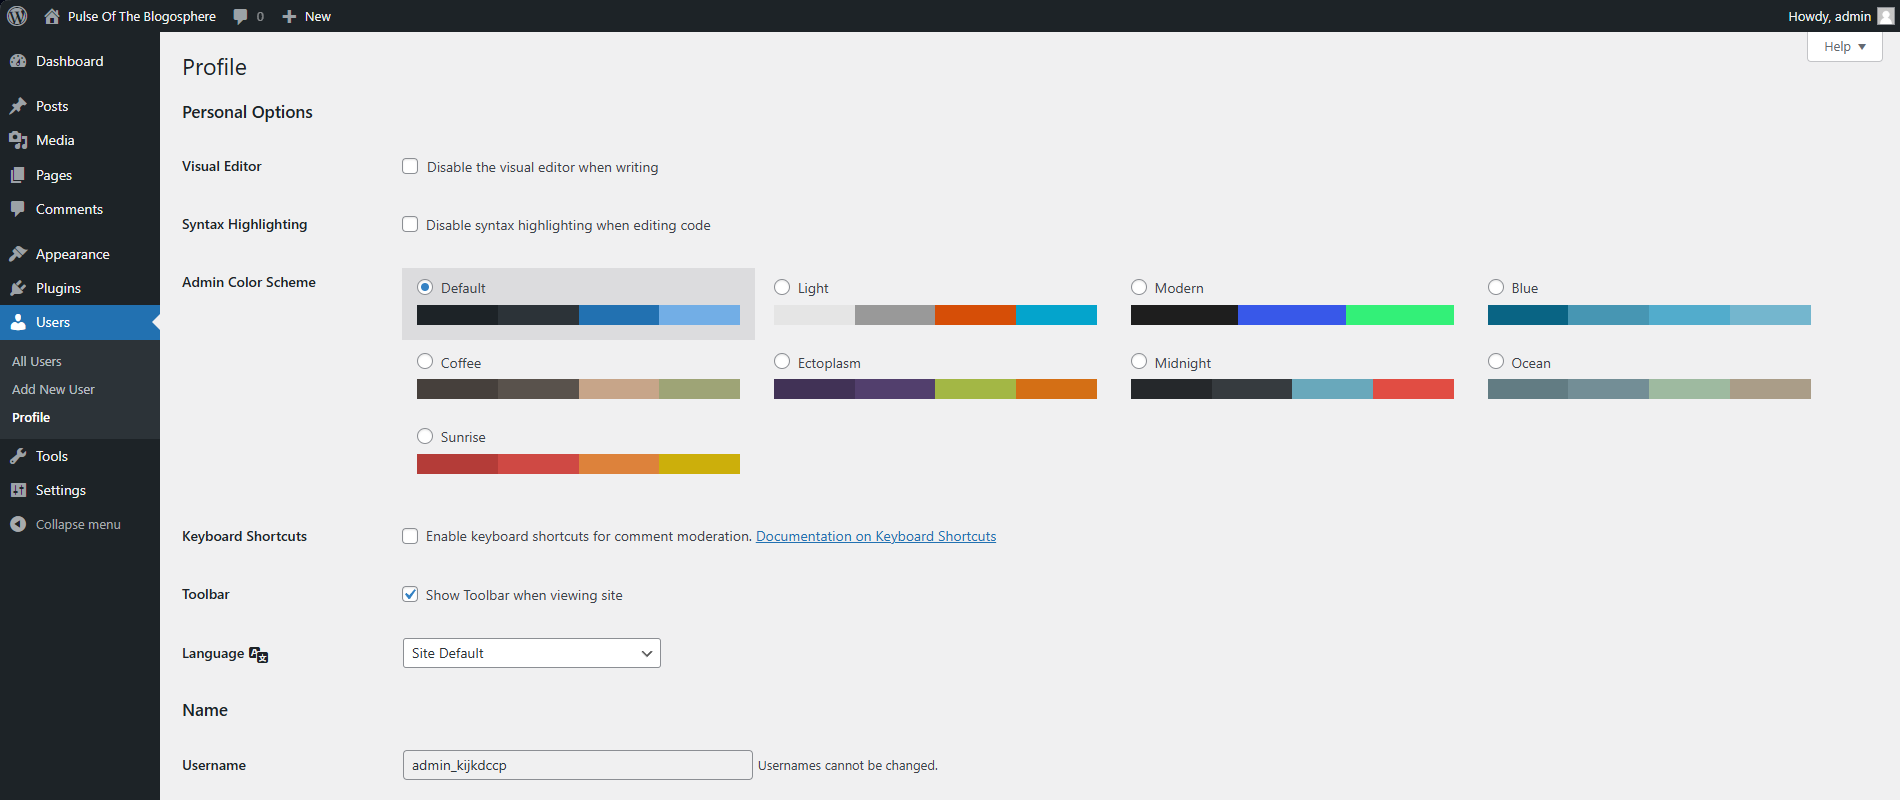
- Personal Options
- Visual Editor - You can disable the visual editor by ticking this box. Doing this will automatically open the code editor when creating a page or post, in case you prefer working that way;
- Syntax Highlighting - Ticking this will disable syntax highlighting, meaning WordPress will no longer point out HTML syntax while you are editing;
- Admin Color Scheme - You can choose a color scheme for your admin profile from here. This will change the colors of the dashboard as a whole;
- Keyboard Shortcuts - Ticking this will enable keyboard shortcuts for comment moderation;
- Toolbar - WordPress has a cool feature that shows a toolbar at the top of the screen while you are logged in to your account and viewing the website. This toolbar has shortcuts for numerous things (depending on your user privileges), including going back to the admin dashboard. Keeping this box ticked will enable the toolbar;
- Language - You can choose the language of your profile here. There are countless to choose from, or you can leave it as Site Default;
- Name - This part of the Profile page is precisely what it sounds like. From here, you can change many name-related information: first and last name, nickname, and what is displayed as your public name. Usernames are not subject to change, though;
- Contact Info - The only contact information users can specify in a default WordPress website is an email address and website (a personal site, for example). When changing the email address, the new one has to be confirmed via the message sent to it;
- About Yourself - Users can write a brief description of themselves here and also assign an avatar for their profile;
- Account Management - This is an instrumental part of the Profile page, as it allows you to change your account’s password or–more importantly–log out from the account entirely. That includes all other devices or browsers you might have opened your account on;
- Application Passwords - In short, this section allows you to create passwords for third-party application authentication. In other words, you can create a password here and then provide it to the third-party application, allowing it to authenticate itself on your website and perform specific actions.
The Profile page may be simple, but it offers essential functionality. User management is vital to keeping your users happy. Of course, there are ways to direct any user away from the WordPress dashboard if you do not want even subscribers to have access to it. There are countless plugins that can change the log-in interface and the profile management page.

WordPress Hosting
- Free WordPress Installation
- 24/7 WordPress Support
- Free Domain Transfer
- Hack-free Protection
- Fast SSD Storage
- Free WordPress Transfer
- Free CloudFlare CDN
- Immediate Activation