WordPress Settings
Updated on Jul 10, 2025
Last but not least, a section of the WordPress dashboard is Settings. As the name suggests, this is where you will find your WordPress website’s primary settings. From here, you can change things like its name, URL, default post format, search engine visibility, comment behavior, and so many more. In this final section of our WordPress dashboard overview, we will go through each page in Settings, explaining what they do.
This post includes:
General
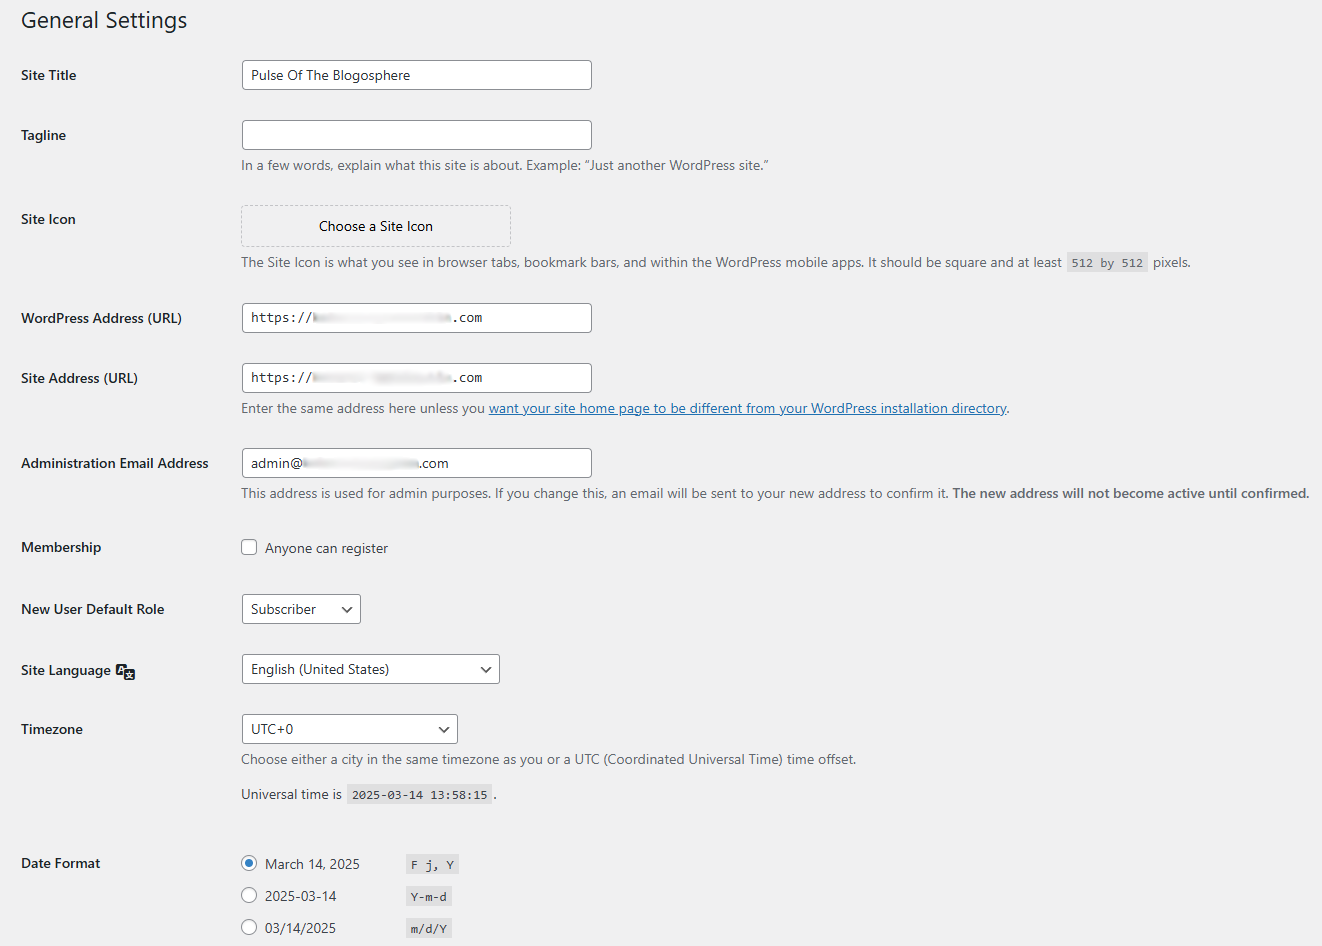
In the General settings screen, you will find some foundational, basic settings for your website.
- Site Title - The title of your website;
- Tagline - This should be a brief explanation of what the website is about;
- Site Icon - The site icon is what you see in browser tabs (typically on the left), bookmarks, etc.;
- WordPress Address and Site Address - The former field must be filled out using the URL where your WordPress is installed. If it is in the root directory of your domain, then just that domain in the form of a URL (https://example.com). If the site is in a subdirectory, add it to the URL (https://example.com/blog). The latter address should be the same as the former unless you want your site’s homepage to be different than the one that comes with WordPress;
- Administration Email Address - This is the admin email address. If you decide to change it, a message will be sent to the new one for confirmation;
- Membership - Tick this if you want anyone to be able to register on your website;
- New User Default Role - New users will receive this role. Remember that higher roles have more privileges;
- Site Language - The default language of the WordPress dashboard;
- Timezone - The timezone of your website. We suggest you choose one that is either the server’s or the audience’s;
- Date and Time Format - Choose from several date and time formats, depending on how you want those things to be displayed on your website;
- Week Starts On - Finally, the day that your week starts on. This setting will change the first column in WordPress calendars. Since Monday is the default, it will be the first column in calendars within WordPress.
The most important part of this page is the URLs. Ensure they are the correct ones; otherwise, you might have issues connecting to your website.
Writing
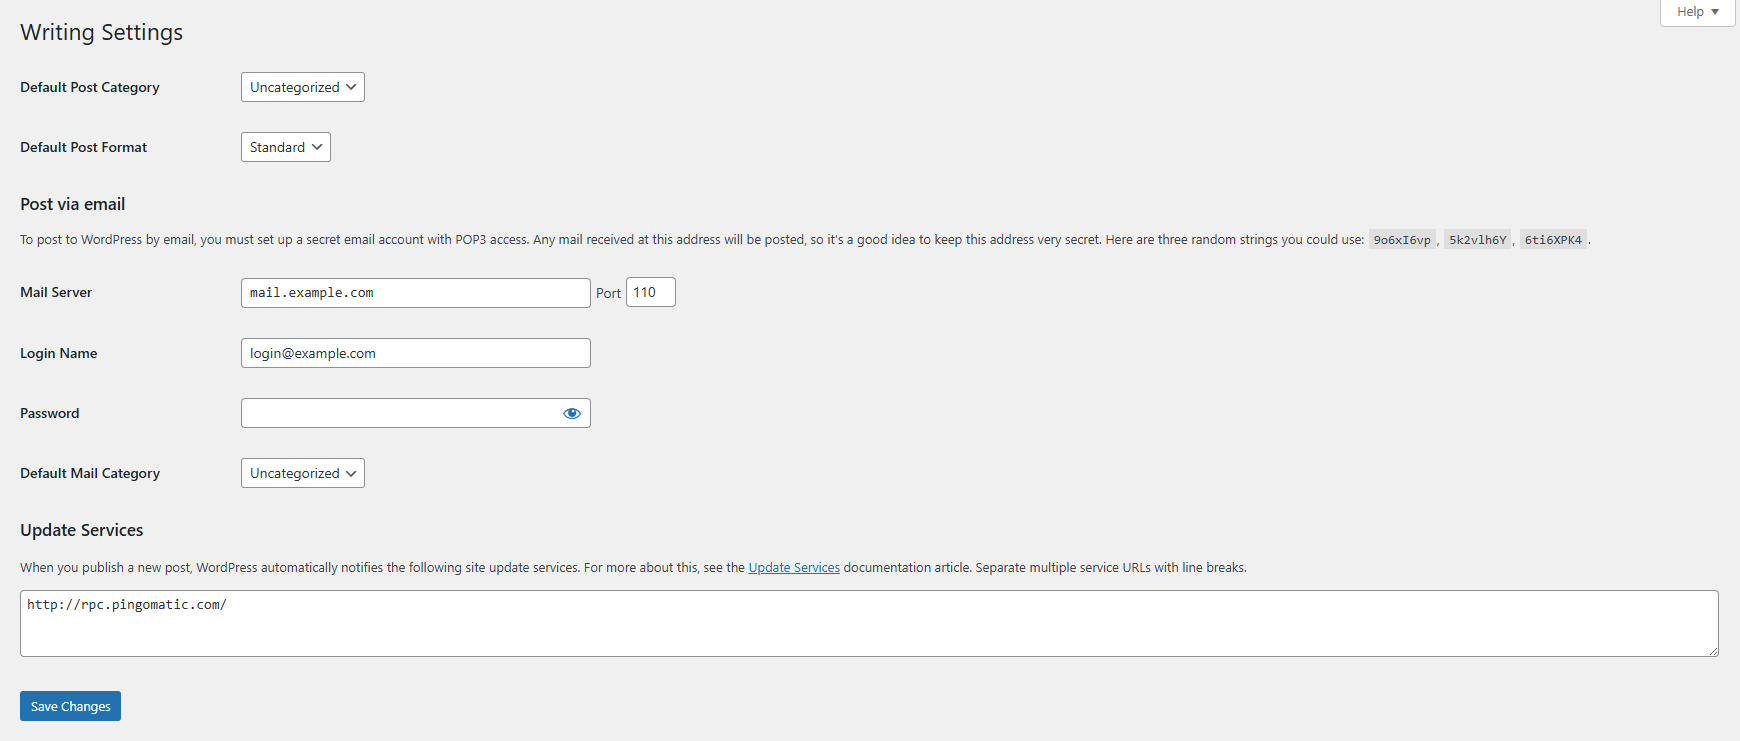
The Writing page of the Settings section in the WordPress dashboard has a few options relating to writing new posts and remote posting.
- Default Post Category - Here, you can choose the default category for your posts. This is useful if you intend to write a lot of posts that go in the same category;
- Default Post Format - Themes sometimes use the default post format to create different stylings when displaying a post. If the currently active theme does not support post formats, you will not see this setting;
- Post Via Mail - WordPress allows for posting remotely via email, but you must first set up an email address on the site to which you send your email posts. Any emails received by this address will be posted, so it should not be used for anything other than posts;
- Mail Server and Port - Write your mail server and the port it uses here. It must be capable of supporting POP3. If you are a customer of ours, you can contact our support team for your mail server;
- Login Name and Password - These are the details of the email address you will be sending your posts to. The “login name” must be an email address ([email protected]);
- Default Mail Category - WordPress will automatically assign this category to all posts published via email;
- Update Services - Simply put, the services in this field will automatically “pinged” when your site is updated. That, in turn, will cause those services to notify search engines, for example, that there is new stuff on your site. Write the services you want here.
There are not many options in this one, but it's rather useful to be able to ping an update service when you have new content or post said content via email.
Reading
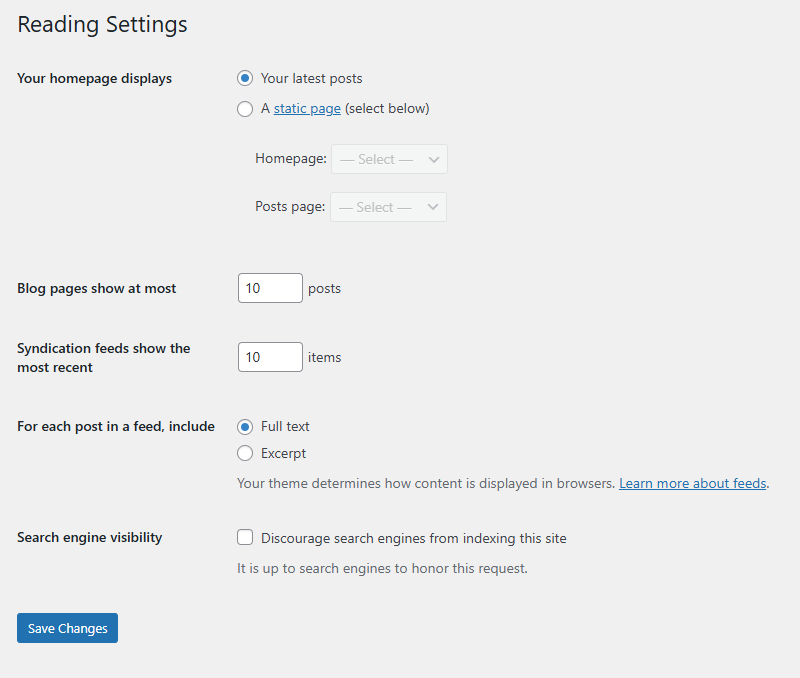
The third set of options in the Settings section of the WordPress dashboard is related to how your website's home page displays. Of course, plugins can change this behavior when necessary. Here is what each option does.
- Your Homepage Displays - Here, you can choose what your website's homepage shows. You can select between a page showing your latest posts or a static page. If you choose the latter, you must pick a homepage and a posts page from the dropdown menus. You will be able to select from any available pages on your website;
- Blog Pages Show at Most - This option dictates the number of posts displayed per post page on your website. It determines how many are shown on your homepage as well;
- Syndication Feeds Show the Most Recent - This option determines how many posts are shown when in a RSS feed. This affects users subscribed to your blog and will affect the number of posts they see in their feed;
- For Each Post in a Feed, Include - You can choose what is shown in a post feed here: an excerpt or the entire post;
- Search Engine Visibility - Ticking this option will discourage web crawlers from indexing your website. This should keep away all legitimate bots.
Although there are not many reading options, they are all important and can change how your website's homepage looks and behaves.
Discussion
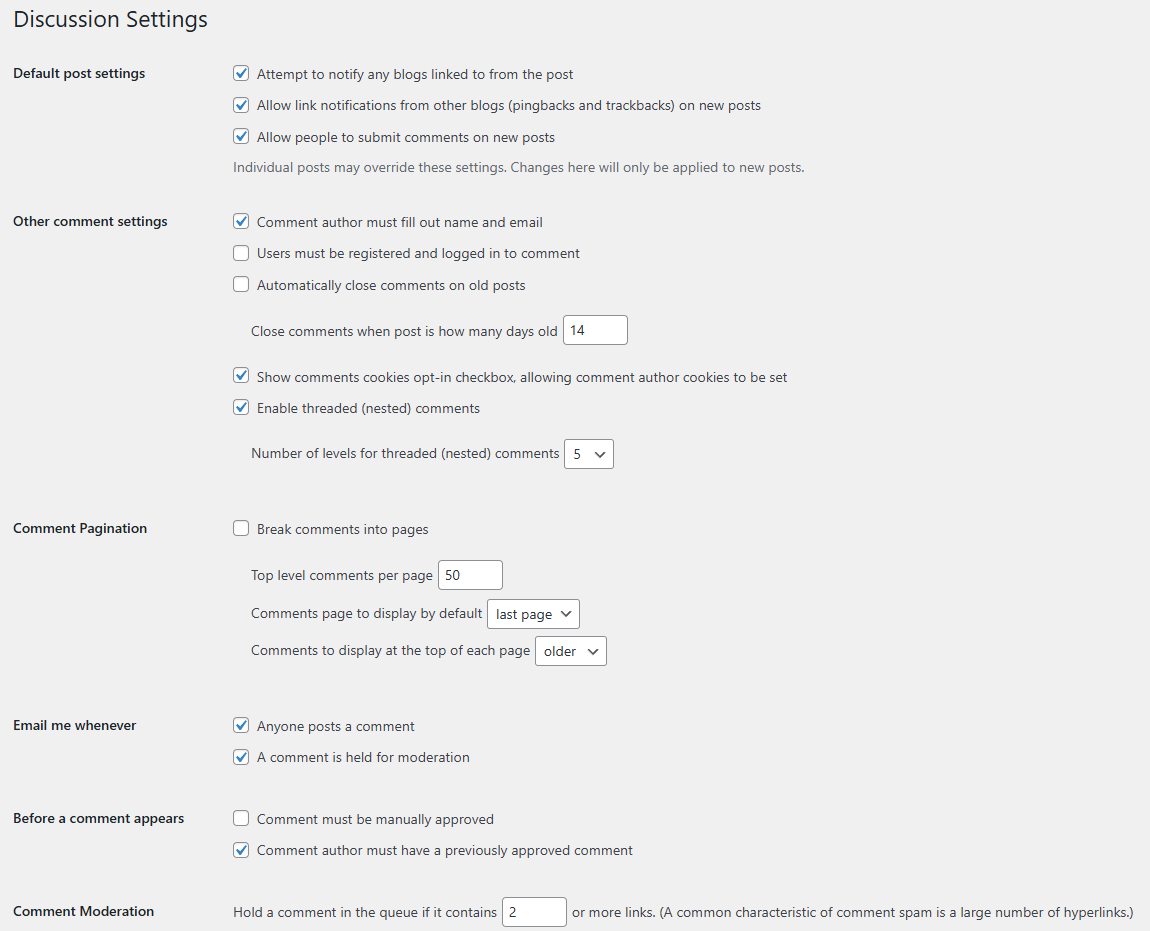
Next in the Settings section of the WordPress dashboard is the Discussion page. It primarily revolves around comments on your posts and how they are moderated and behave. This is an essential page for any website that allows comments on its posts, so ensure it is set up correctly. Here is a breakdown of what each individual option does.
- Default Post Settings - Here, you will find three options that impact the general behavior of new posts. Keep in mind that individual posts’ settings can change this behavior;
- The first option will attempt to send a pingback to any blog posts linked in your own blogs. Simply put, a pingback is an automated comment that will appear in the comment section of any blogs you have linked in your own blog post. It is a simple comment informing the other blog’s author that you have linked their post to yours. Of course, both blogs must be pingback-enabled for this to work;
- Next is the opposite of the above option. Ticking this option will allow your WordPress blog to accept pingbacks and display them in your comment section;
- Finally, the third tick determines whether visitors can leave comments on new posts or not;
- Other Comment Settings - This section contains even more comment settings in case you want to adjust further how they behave;
- Firstly, you can choose if a commenter must fill out a name and email to post their comment;
- Then, you can decide if a user must be logged in on your website to leave a comment;
- Additionally, you can choose to automatically close posts for comments after a certain number of days;
- You can also enable a comment cookie opt-in checkbox, allowing for a comment author cookie to be created;
- Finally, you can decide if threaded comments are allowed and the number of maximum threads. Threaded comments enable users to reply to other comments, creating a comment threat separate from the primary one;
- Comment Pagination - Here, you can choose how many comments appear per page, which comment page is displayed by default, and how comments are arranged chronologically;
- Email Me Whenever - If you want to be notified whenever a comment is posted or held for moderation, you can enable those functionalities from here;
- Before a Comment Appears - Here, you can dictate the requirements necessary before a comment appears under your blog post. You can set it so that every comment must be manually approved, and the user must have a previously approved comment. For smaller websites that do not have many commenters, these two options are excellent to ensure no bad comments go through;
- Comment Moderation - Firstly, you can set the number of links a comment must contain before it is considered spam. A high number of links often characterizes spam comments. Secondly, when matched, you can write any words, email addresses, or IP addresses that will immediately hold the comment for moderation. The match can occur in the comment’s body itself, the author’s name, IP or email address, or the browser user’s agent string. One keyword or IP address per line;
- Disallowed Comment Keys - This option has the exact same functionality as the previous one. However, any matches here will immediately send the comment to the trash section instead. Good if you are sure what comments you absolutely do not want;
- Avatars - The final section of this set of options is in regards to the avatars of your commenters. You can choose to allow or disallow them, the avatar’s maturity rating (suitable for all audiences, audiences 13 or 17 and up, or only mature visitors), and what the default avatar will be like.
As you can see, there are many important settings here. If you intend to have comments on your posts, spend some time setting these options up in the best possible way for your particular needs.
Media
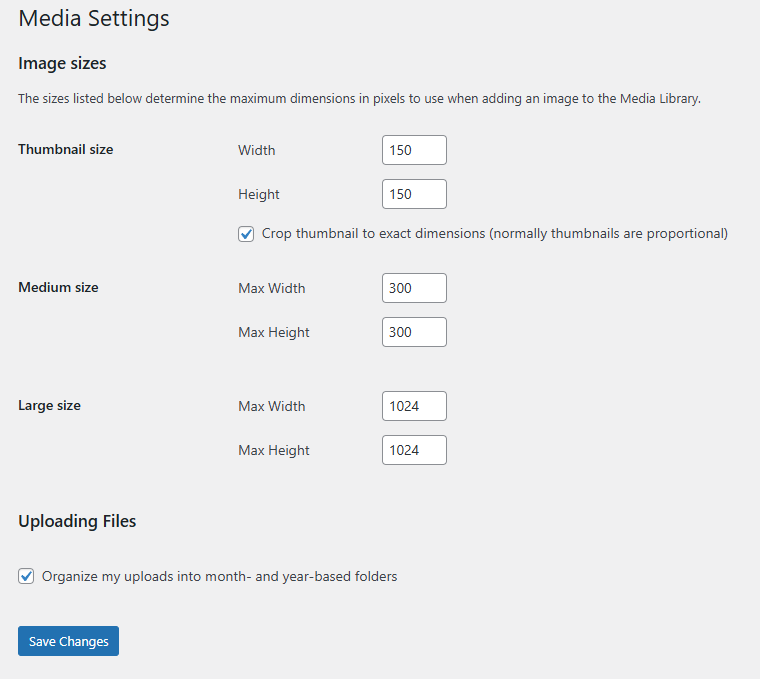
There are not many options in this part of the Settings section. As you can see from the screenshot above, the majority of the options refer to the maximum dimensions (in pixels) of various image types.
To explain more clearly, when you upload an image to WordPress, it generates three different sizes of the image. The three sizes are the ones you see in the screenshot, and you can set their width and height according to your site’s needs. Of course, the original image is also retained, so you end up with four differently-sized images.
Finally, the tick at the bottom will instruct WordPress to organize your uploads (not just the images) in directories based on the year and month of the upload.
Permalinks
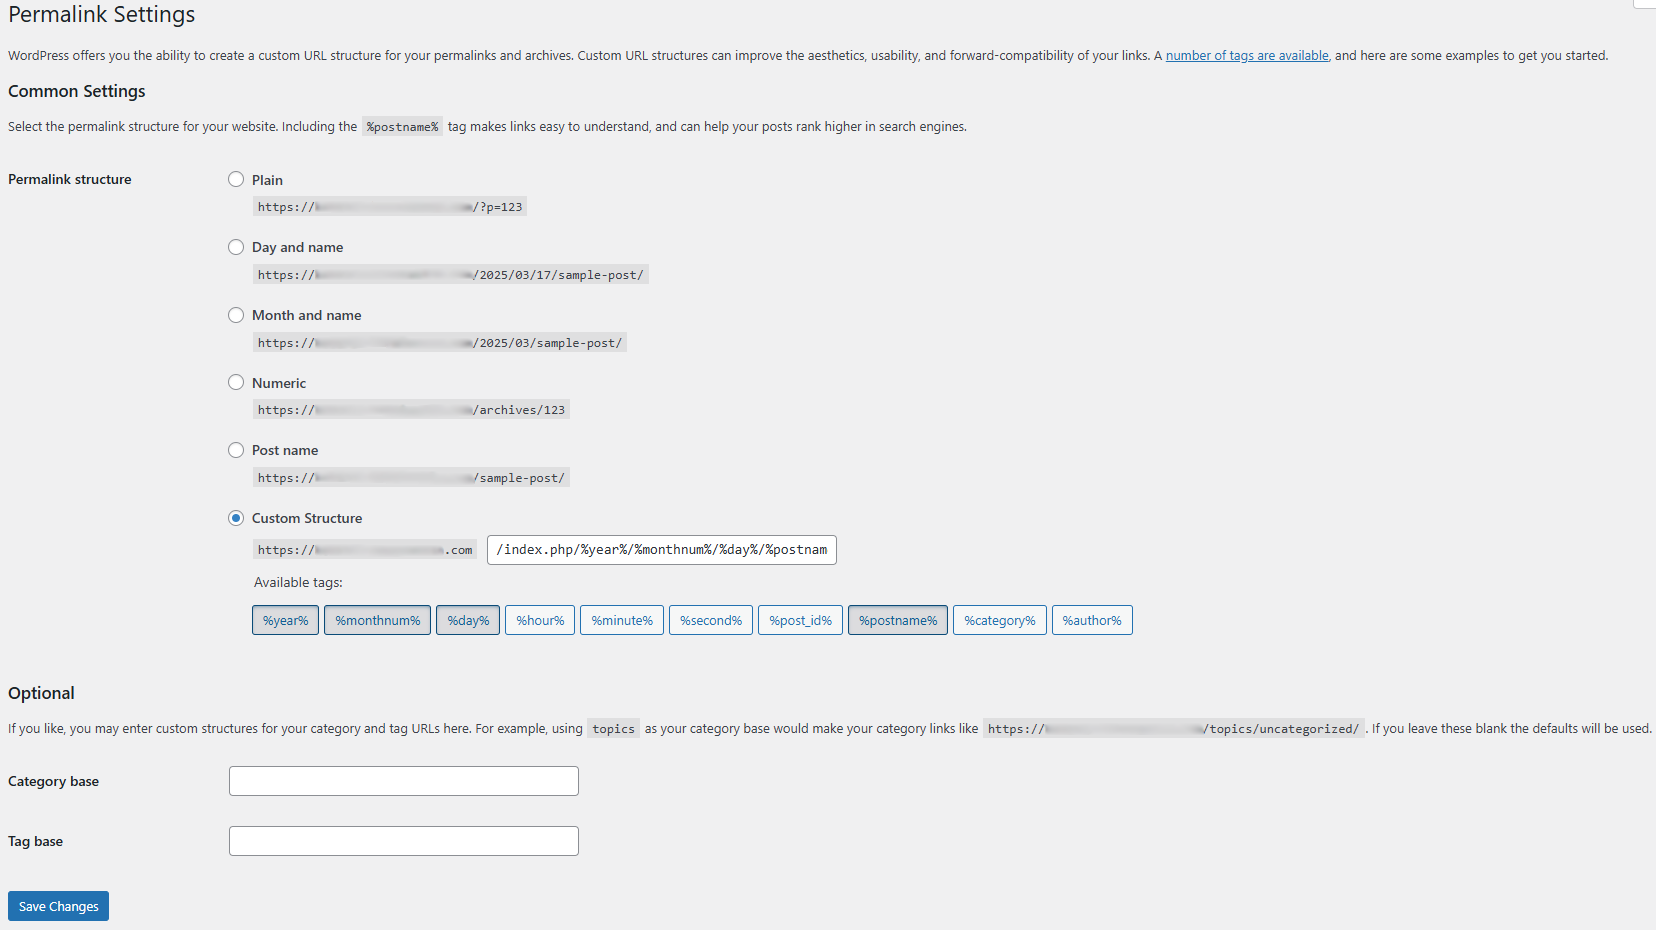
One of the great things about WordPress is that its admins can create a unique and custom URL structure for its permalinks.
A permalink (permanent link) is a URL assigned to a particular post, page, category, or tag in your WordPress website. For example, https://fastcomet.com/blog/category/wordpress is the permalink for our blog’s WordPress category page.
From the Permalink section, you can change the structure of the permalink. You can choose from a few predefined ones or write a wholly new one for yourself. The same goes for the permalinks to your categories and tags. If you are not too picky, we recommend you choose the Post Name option, which is the most clear: website URL, followed by the post’s slug. Simple and easy.
Privacy
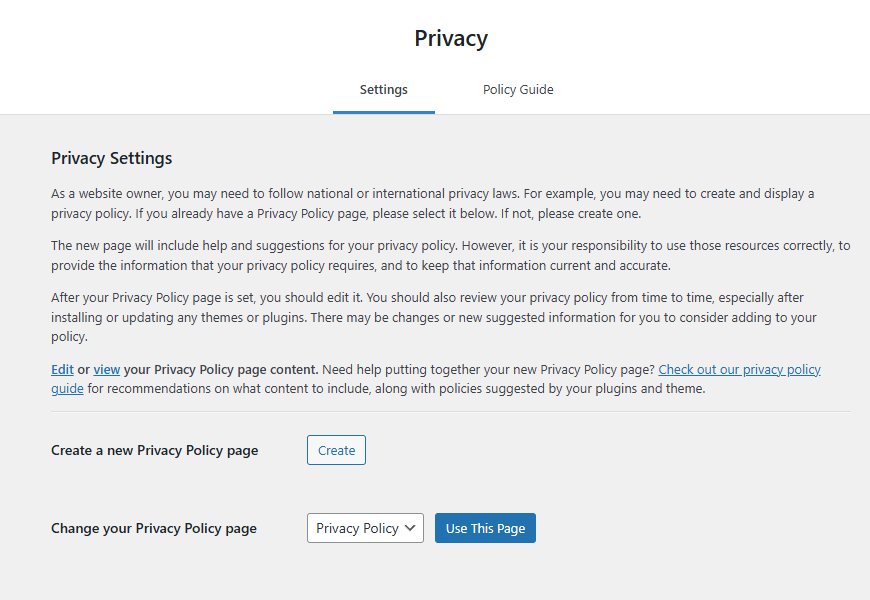
The final page in the Settings section of the WordPress dashboard is as important as all the others we looked at, and in our opinion, even more so.
Online privacy has been a hot topic for a long time and has only become even hotter now. Numerous national and international laws and regulations (GDPR, for example) try to ensure user privacy online. Because of those laws and regulations, websites must abide by them to operate and show their content in those countries.
Having a solid privacy page that explains your website’s policy on user information and how it is handled is a must nowadays. Fortunately, WordPress allows you to easily create such a page (it even comes pre-made after installing WordPress) and will even offer suggestions on what a good privacy page should look like.
In this part of the Settings section, you will find two tabs. The first is where you choose to create or use an existing page as your privacy page. The second tab, Policy Guide, is where you will find extensive guidelines for a solid privacy page. Make sure you read through it if you are uncertain about what is necessary and what is not.
However, with that, not only is our look at the Settings section concluded, but so is our overview of the WordPress dashboard. There are many things going on, but the developers are users themselves, so they know exactly what your everyday website admin needs. All the options and functionalities that the dashboard provides are straightforward to use, only requiring a bit of time to get used to.

WordPress Hosting
- Free WordPress Installation
- 24/7 WordPress Support
- Free Domain Transfer
- Hack-free Protection
- Fast SSD Storage
- Free WordPress Transfer
- Free CloudFlare CDN
- Immediate Activation