Manage Plugins with WordPress Staging
Updated on Dec 6, 2022
Sometimes, you may need to activate or deactivate plugins on different versions of your website automatically when you push changes to staging copies of your WordPress website. For example, you may need that in order to ensure that the Clef two-factor authentication is only enabled on the live version of your website and disabled on the staging copy.
To configure the feature, you will first have to log into the administrative dashboard of your website. Click on the SitePush option on the left-side menu and then Options.

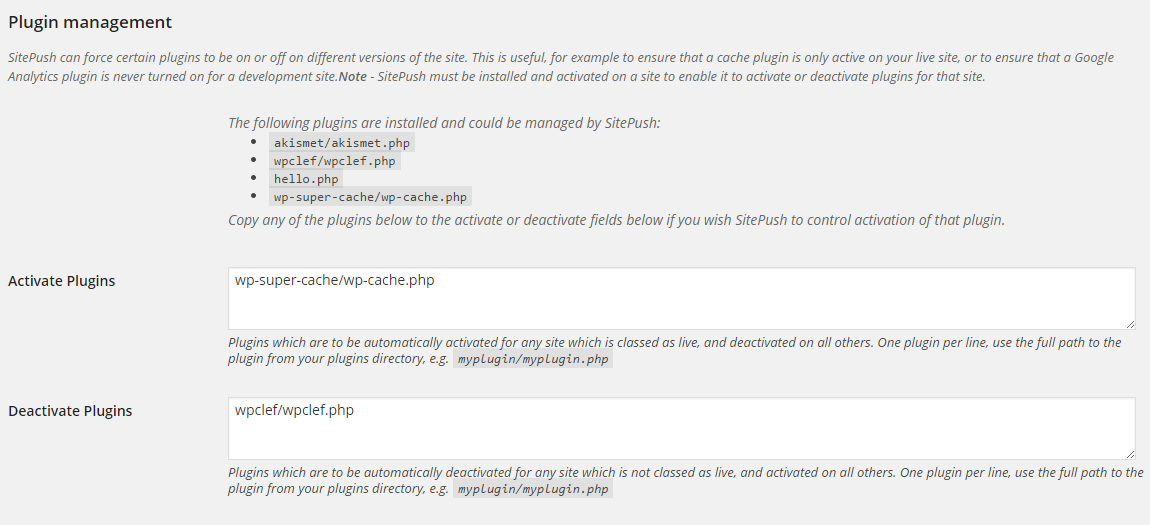
Scroll down to the Plugin Management section. You will see a list of all plugins that are installed on your website and available for configuration within SitePush. Below them, you will notice two fields that you can use for the setup:
- Activate Plugins - Here, you can copy and paste the plugins that you wish to enable for the live version of your website, but disable for all staging copies.
- Deactivate Plugins - You can deactivate a plugin for all websites, not classed as live.
Scroll down to the bottom of the page and click on the Save button to complete the changes. If you see a successful message, this will indicate that the change was successfully accepted.

WordPress Hosting
- Free WordPress Installation
- 24/7 WordPress Support
- Free Domain Transfer
- Hack-free Protection
- Fast SSD Storage
- Free WordPress Transfer
- Free CloudFlare CDN
- Immediate Activation