WordPress Posts
Updated on Jul 9, 2025
The Posts section of your WordPress dashboard is the one-stop shop for all your post creation and management needs. Through this interface, you can create brand-new posts, edit or remove them, and create tags and categories to sort them better. In this section of our WordPress tutorial, we will take a closer look at the Posts interface and elaborate on each of its functionalities.
This post includes:
Posts
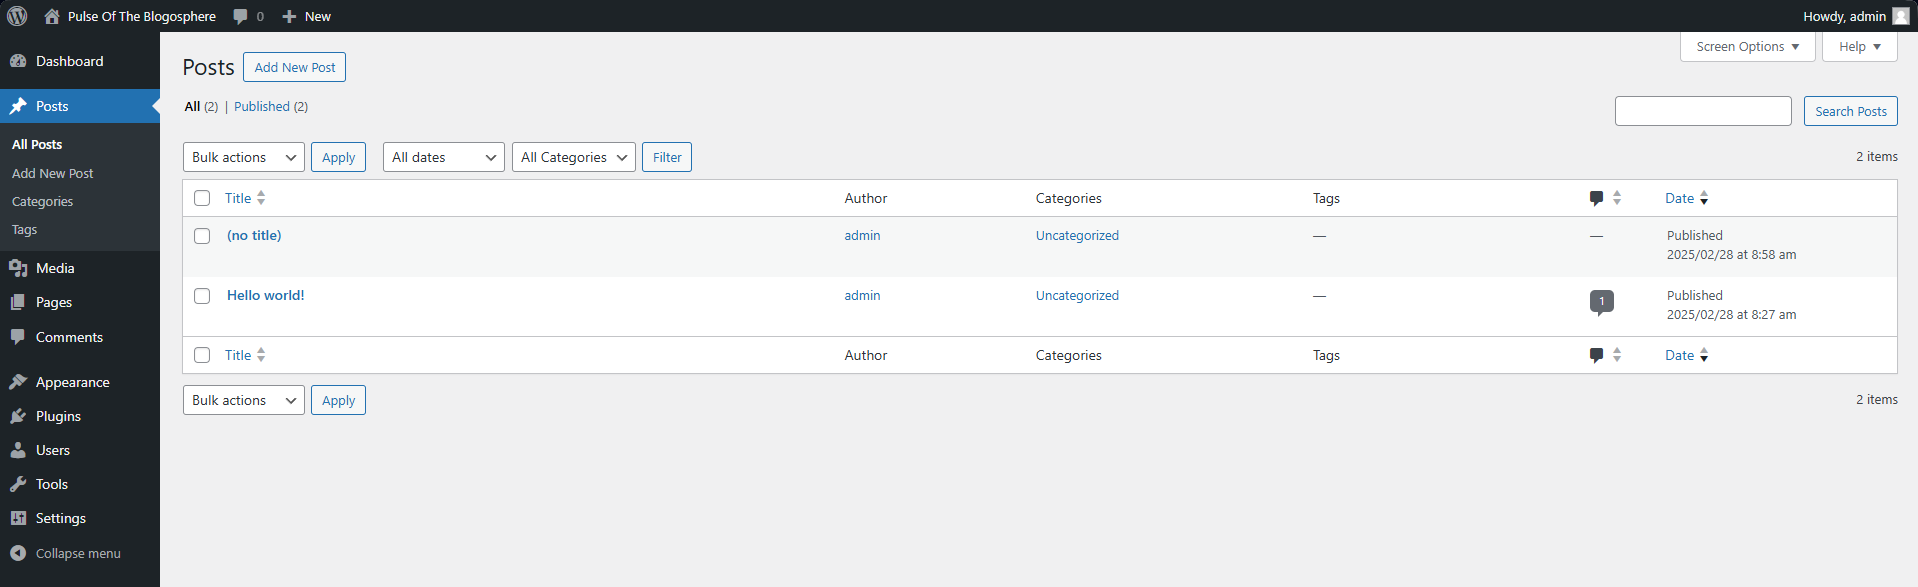
Firstly, it is the Posts interface itself. In it, you will find all the posts on your WordPress website. That includes published, private, drafted, and trashed posts. To quickly explain each status type:
- Published - These posts are online and available on the website, viewable by your visitors;
- Private - Private posts are only visible to administrators and editors and cannot be viewed by visitors;
- Drafted - These posts have not yet been published. WordPress allows you to save drafts of your posts prior to publishing;
- Trashed - Finally, you can trash posts and move them to the Trash category. There, they will remain for thirty days, after which they will be automatically deleted. That action is permanent. It's the same with manually deleting a post from Trash. You can restore a post from the Trash category, which will return it as a draft.
The Posts interface is an excellent tool since it will not only show you a table of all your posts, but you can also filter them by status, search for specific keywords, or perform bulk actions. These bulk actions allow you to delete several posts at a time. Additionally, you can change several of their attributes, including category, tags, author, etc., all at once. To edit multiple posts fully, you must do it one by one.
If you click on Screen Options at the top, you can show or hide the table's columns, change the number of items per page, and change the view between compact and extended. The extended view shows a blurb from the post.
The table itself will show you each post's author, category, tags, number of comments, status, and date. Finally, you can create posts from this page as well by clicking the Add New Post button at the top. Alternatively, you can click the same in the menu on the left. Speaking of it, there are two other sections we want to draw your attention to in the Posts interface.
Categories
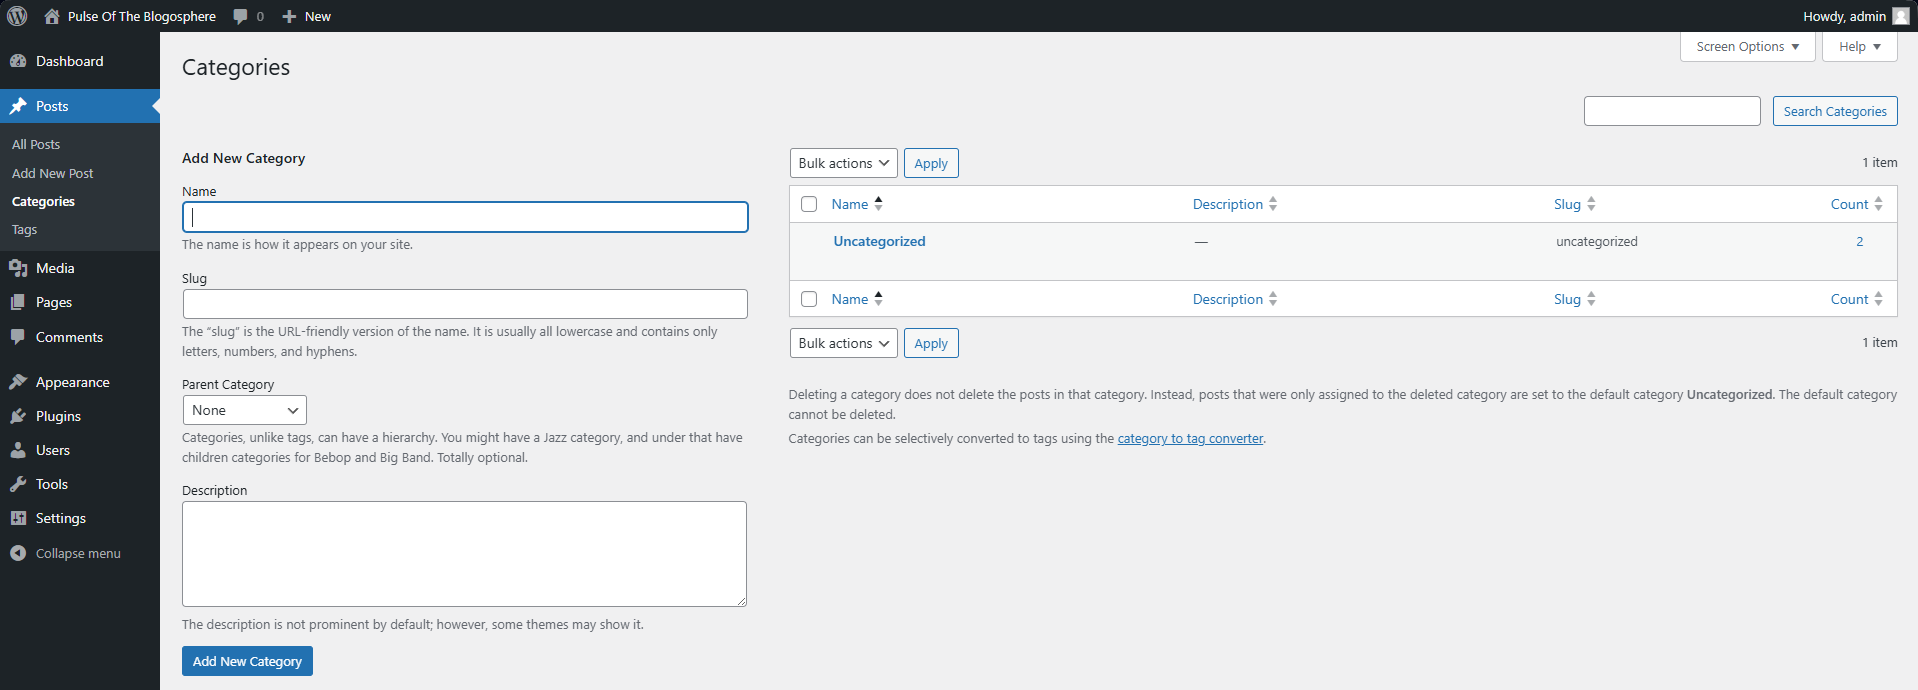
Firstly, the Categories section will allow you to create–as the name suggests–categories for your posts. That in itself is immensely valuable as a functionality because it will enable you to easily and efficiently organize your posts. You can also assign a slug (https:example.com/this-is-the-slug) for your category that will allow users to view all posts under that category. If you want to create a subcategory, you can assign a parent. Finally, depending on their setup, you can also assign a description to the category that some themes might show. The table on the right side of the page shows the currently existing categories with their descriptions, slugs, and the number of posts within that category.
Tags
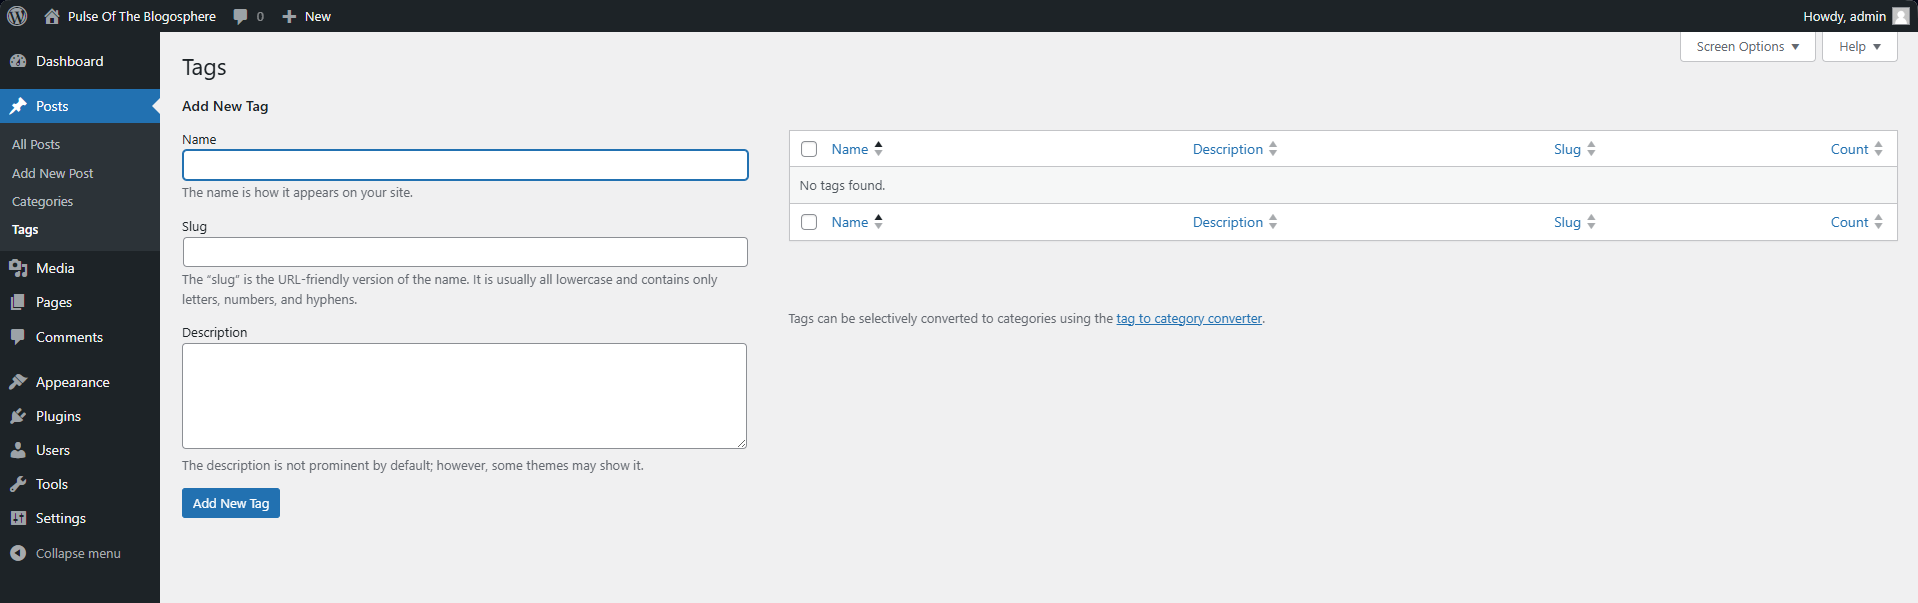
The last part of the Posts section is Tags. Similar to Categories, Tags allow admins to add specific tags (short phrases or keywords) to their posts, enabling them and users to search or filter according to those particular tags. For example, a post about clothes would likely have tags such as clothes, fashion, brand, etc. When users search for a specific tag in your website's posts, they will see the ones marked with it.
Tags and categories are a great way to organize your posts and make searching for specific topics much easier. They also help with SEO, as tags and categories help crawlers understand the structure of your website and, therefore, navigate it better. Such ease of navigation boosts search rankings.
There is not much else to say about the Posts section of the dashboard. The main functionality of it is to create and manage posts. You can check this section of our tutorial on how to do those things, as this part is a simple overview of the dashboard's functionalities.

WordPress Hosting
- Free WordPress Installation
- 24/7 WordPress Support
- Free Domain Transfer
- Hack-free Protection
- Fast SSD Storage
- Free WordPress Transfer
- Free CloudFlare CDN
- Immediate Activation