Toolbox
Updated on Mar 7, 2024
The Toolbox is the final section of options for the LiteSpeed Cache plugin for WordPress. Here, you can find all sorts of options to manage the cache in case you need to intervene manually. Let’s go through the various tabs!
Purge

The Purge tab allows you to purge the cache from various parts of your website. Don’t worry. Just because it says Purge Front Page doesn’t mean it will delete it! Each button clearly explains what cache it purges, and you can even purge specific lists of pages.
At the bottom of the page is Purge By… and you can use it to purge a whole list of pages from the chosen category. Input the list one per line and hit the Purge List button when you are set.
Import/Export
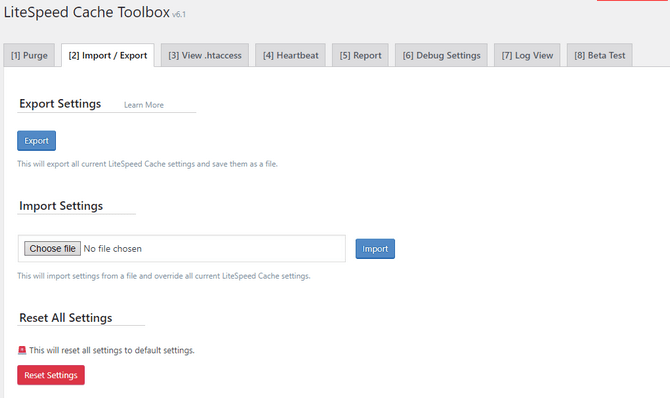
As the name suggests, the Import/Export tab allows you to export your LiteSpeed Cache configuration or import a configuration you might already have. We don’t need to tell you how handy this feature is!
Additionally, there is a Reset Settings button that will apply the default settings for the plugin.
View .htaccess
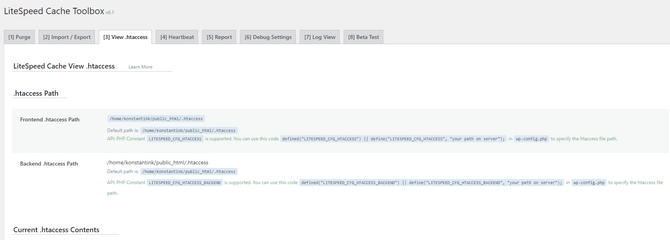
The View .htaccess tab allows you to do precisely that: view your website’s .htaccess without opening your file browser. It will also show you the front and backend paths to your .htaccess file.
Heartbeat
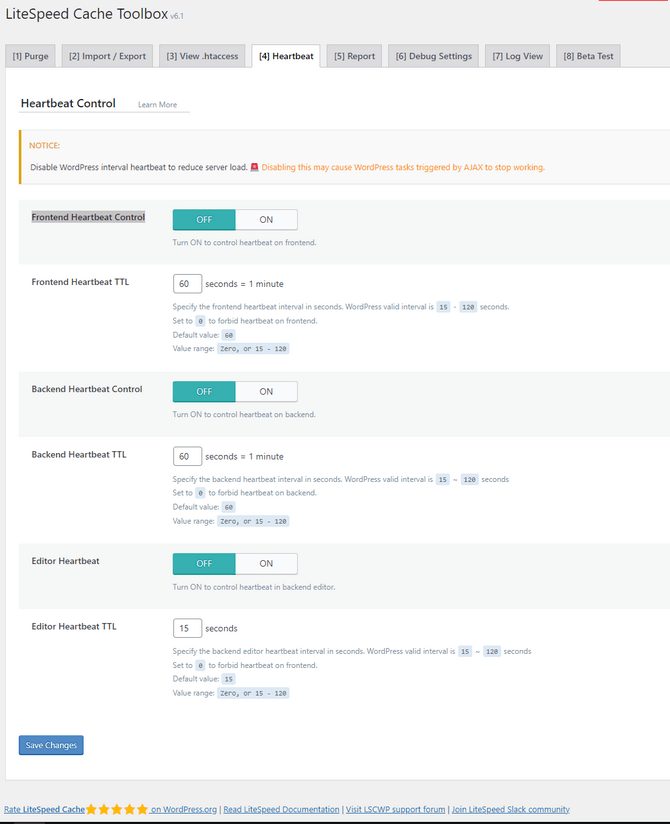
Next up is the Heartbeat tab, which is a bit more important than the rest. Here, you can control WordPress’s heartbeat. We strongly recommend testing these settings before committing to them. While they can reduce CPU load, they can also interrupt WordPress tasks triggered by AJAX. Here is what each of the options does.
- Frontend/Backend Heartbeat Control - For the most part, we recommend turning both ON. That will allow the plugin to take over WordPress’ frontend and backend heartbeat and either disable it or have it follow a specific time frame;
- Frontend/Backend Heartbeat TTL - The interval at which WordPress’ heartbeat will work. The value can be between 15 and 120 seconds. Setting it to 0 meaning will deactivate it entirely;
- Editor Heartbeat and Editor Hartbeat TTL - Same as the other two above, but specifically for the Editor. We recommend turning them ON and actually keeping them active, as it dictates how often your posts are automatically saved.
Thoroughly test these options before committing to them. Sometimes, WordPress’s AJAX processes are vital to its operation.
Report
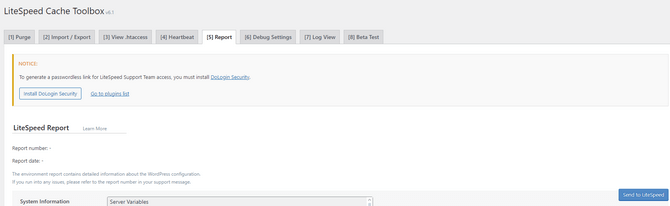
The Report tab will provide you with an environment report containing the settings you have enabled, what other plugins you have installed, and the contents of your .htaccess file, among other valuable things. Additionally, you can send this report to LiteSpeed directly if you require their assistance. Finally, you can generate a secure passwordless link so a support team member can safely log into your website’s admin and provide more personalized help.
Debug Settings and Log View
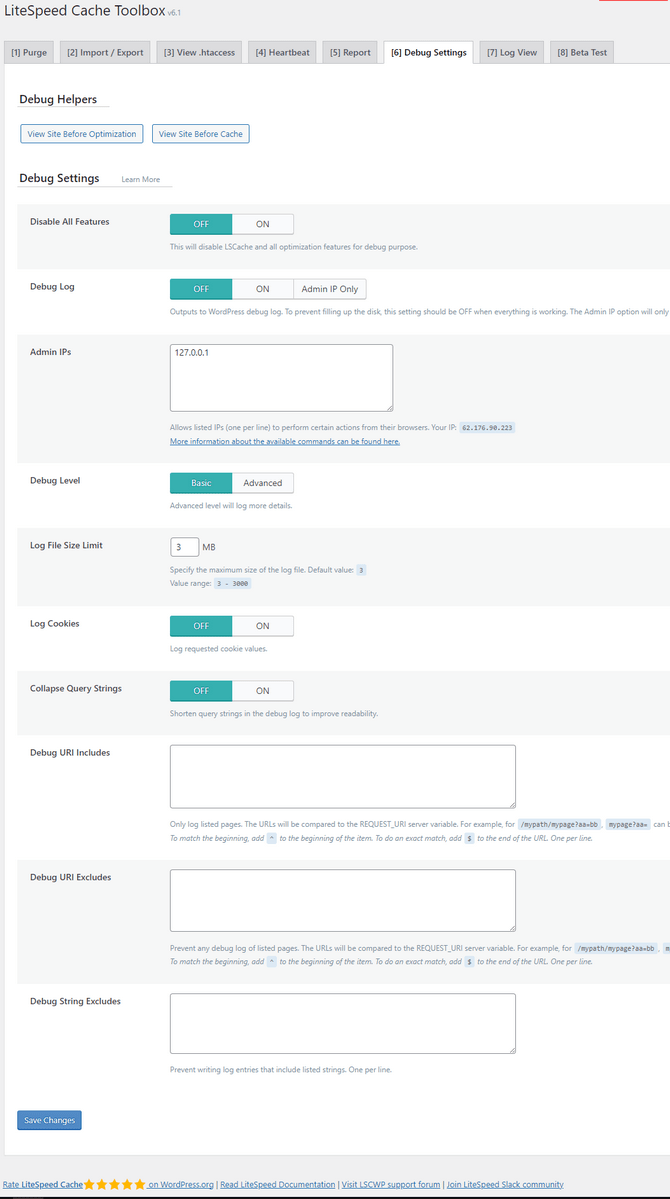
The Debug Settings can allow you to view your website as if it is not being cached or optimized by the plugin. The two buttons at the top of the page can do those things for you. As for the other options below, here is what they all do.
- Disable All Features - Turns off all LiteSpeed Cache features for debugging purposes;
- Debug Log - This will show the WordPress debug log if turned on. The Admin IP option will show the log only to requests made from the admin’s IP address. Keep this turned off to save disk space if everything is functioning correctly;
- Admin IPs - Input the admin IPs that will have access to the debug log here;
- Debug Level - Choose the level of logging. Advanced will log more details;
- Log File Size Limit - Self-explanatory. Assigns a limit to the size the log file can be;
- Log Cookies - Turn this ON if you want the log also to contain cookie values;
- Collapse Query Strings - This option will shorten query strings in the log for better readability. Turn it ON to see the effect;
- Debug URI Includes/Excludes and Debug String Excludes - URIs/Strings (one per line) listed in the fields will either be excluded from the log or will be the only ones shown in the log.
The Log View tab, on the other hand, will show you the logs you’ve just enabled. That is one of the most valuable features of the plugin when it comes to troubleshooting. You don’t have to rummage through files or look at which one is the most recent one. Simply click the buttons on your screen to see all the logs you might need. It is a self-explanatory tab that we don’t need to spend too much time on. It is also the final tab we will discuss because the Beta Test tab is for those of you who want to test different versions of the plugin or try out beta versions. It is not recommended for the average user.
With that, our tutorial about the LiteSpeed Cache plugin for WordPress is concluded. We sincerely hope you will find it helpful when setting up this stellar plugin. It is one of the best cache and optimization pieces of software for WordPress. The difference in performance should be immediately apparent when you set up this plugin.

WordPress Hosting
- Free WordPress Installation
- 24/7 WordPress Support
- Free Domain Transfer
- Hack-free Protection
- Fast SSD Storage
- Free WordPress Transfer
- Free CloudFlare CDN
- Immediate Activation