How to Edit the WordPress Footer
Updated on Jul 8, 2025
The footer of a website is a valuable element that can not only hold useful information but also be a good ending point for a page. Without a footer, pages would simply abruptly end. That is why most websites you see nowadays have some sort of a footer. The footer our website uses is an excellent example of what a footer can contain and look like.
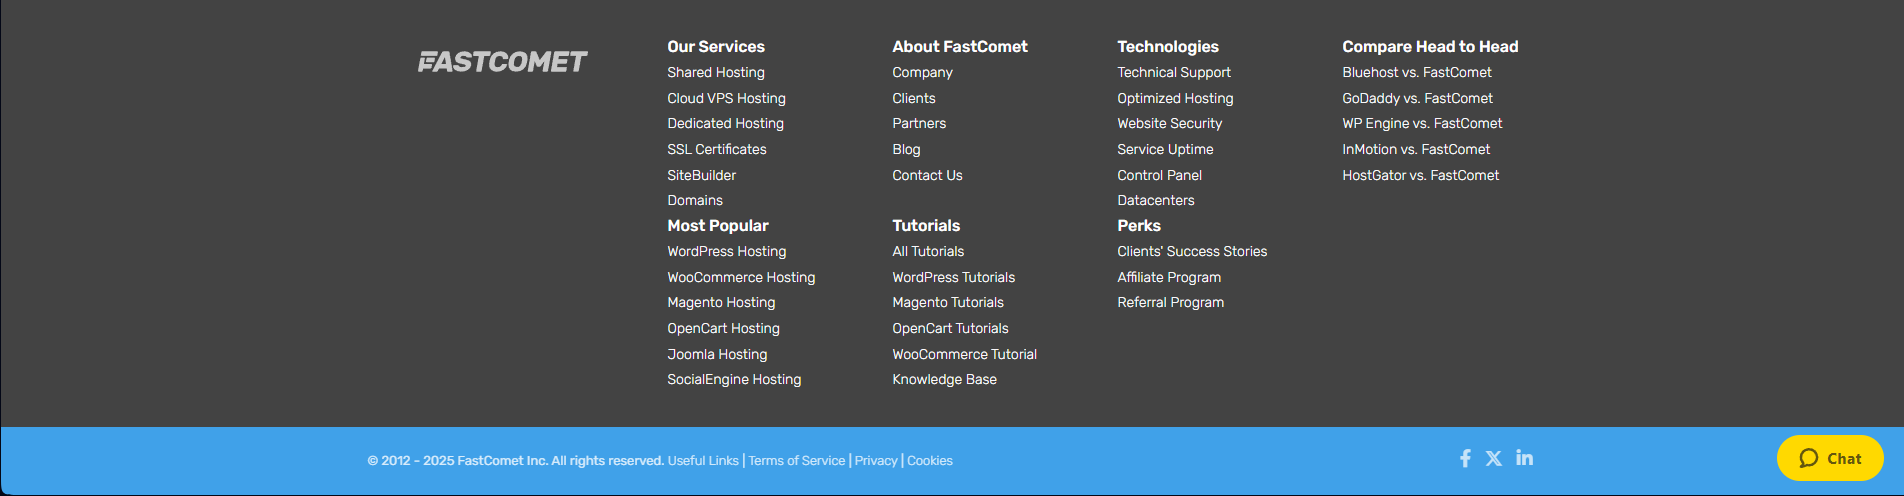
As you can see, it has a ton of useful links, including our services, information about our company, knowledge base, blog, and tutorial, to name a few. There is also a button for our live chat and links leading to our social media pages.
With the footer being such a valuable website element, you should always have one. Therefore, this article will explore the steps needed to create and edit a footer for a WordPress website.
We will be using the Twenty Twenty-five theme for the purposes of this tutorial since it fully supports WordPress’ block editor, making things extremely easy to manage. The block editor has been the focus of WordPress developers ever since it was released, so we suspect block themes are the future of WordPress. However, for those who still prefer to use the “classic” themes, we will also provide a quick guide on how to edit the footer on those, too.
This post includes:
Editing the Footer
The Twenty Twenty-five theme we will use for our tutorial is a minimalistic but incredibly robust and customizable theme that is perfect for beginners and advanced users. It offers all the tools necessary to create a great-looking website with ease. It comes with several crucial styles, patterns, and templates that cover core pages (homepage, post page, etc.) and page elements (header, footer, etc.).
For our purposes, we will solely use the Footer patterns. The theme has five, each with a different layout that should be perfect for most websites. Not only that, but they are highly customizable. So, let us begin!
Locating the Patterns
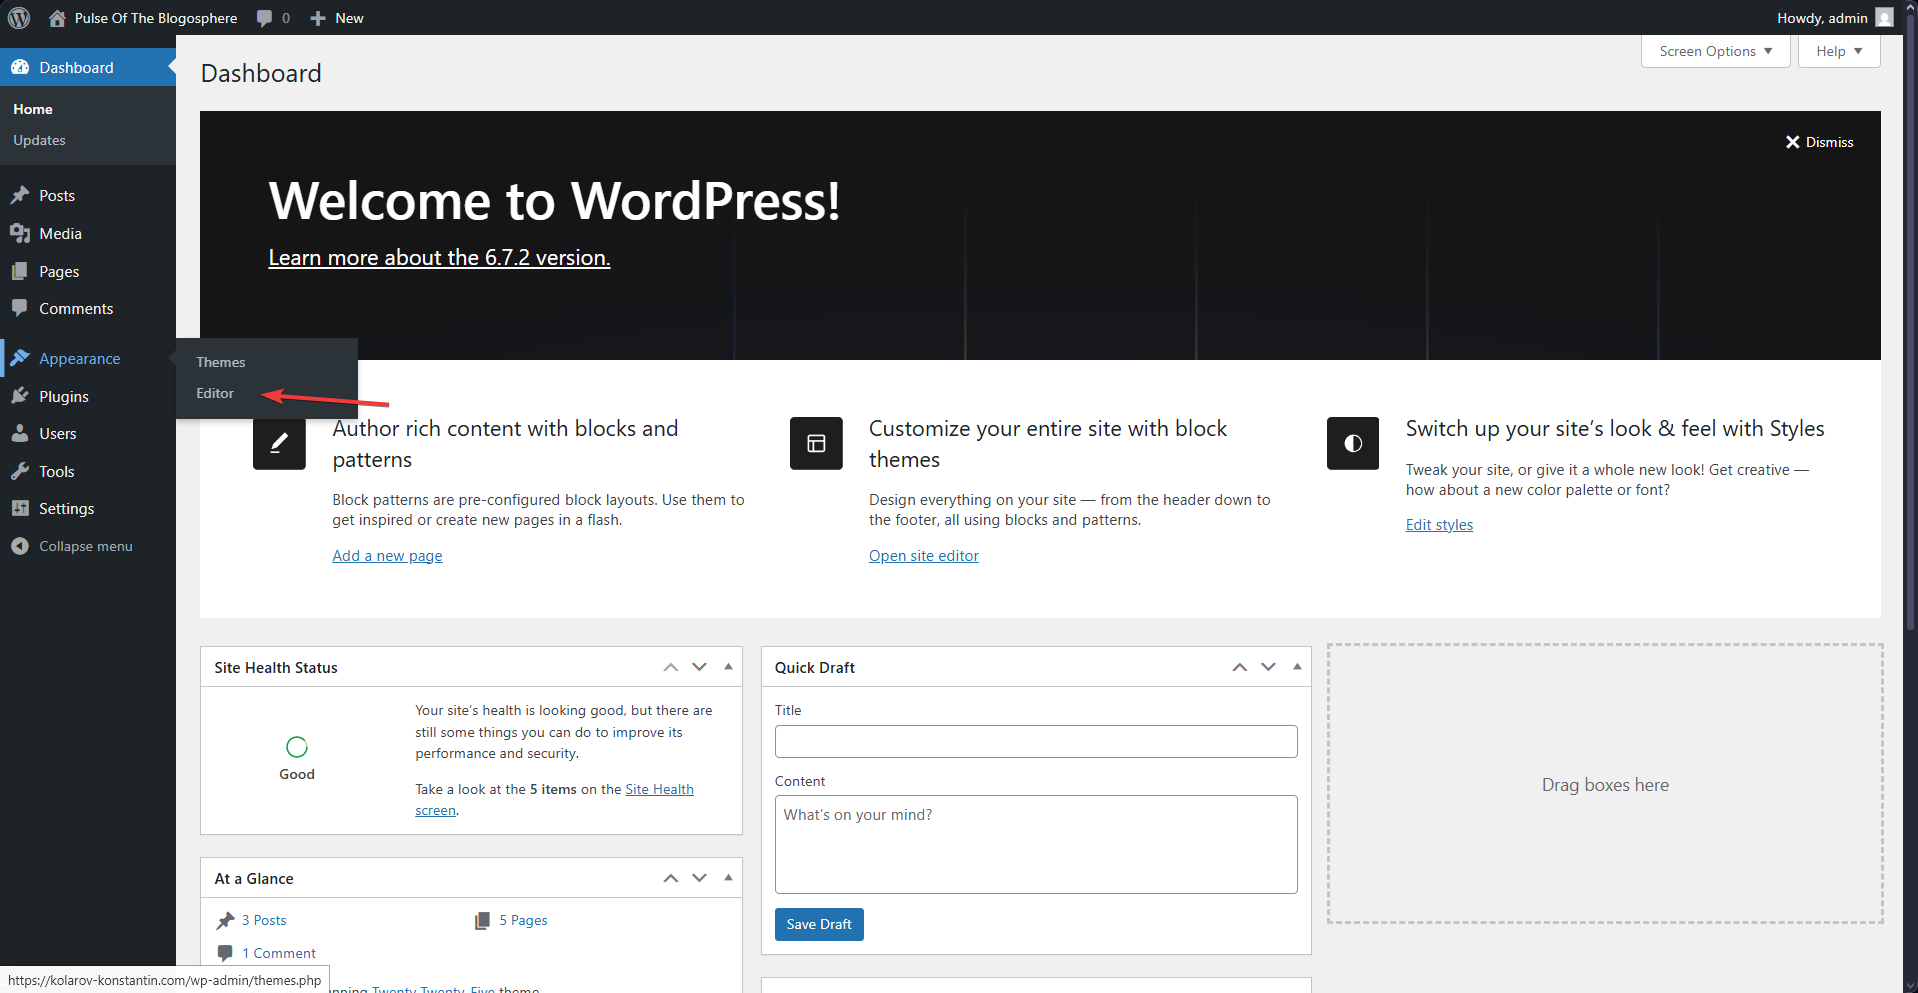
To begin, go to your WordPress dashboard and look for the Appearance section in the menu on the left. Hover over it, and the Themes and Editor subcategories will appear. Click on Editor.
Once in there, you will see your website on the right and a menu on the left. If you would like to learn more about what the Themes and Editor two subcategories of the dashboard do at a glance, as well as the options within them, check out the WordPress Dashboard Overview section of our WordPress tutorial. In it, we discuss what each part of the WordPress dashboard does.
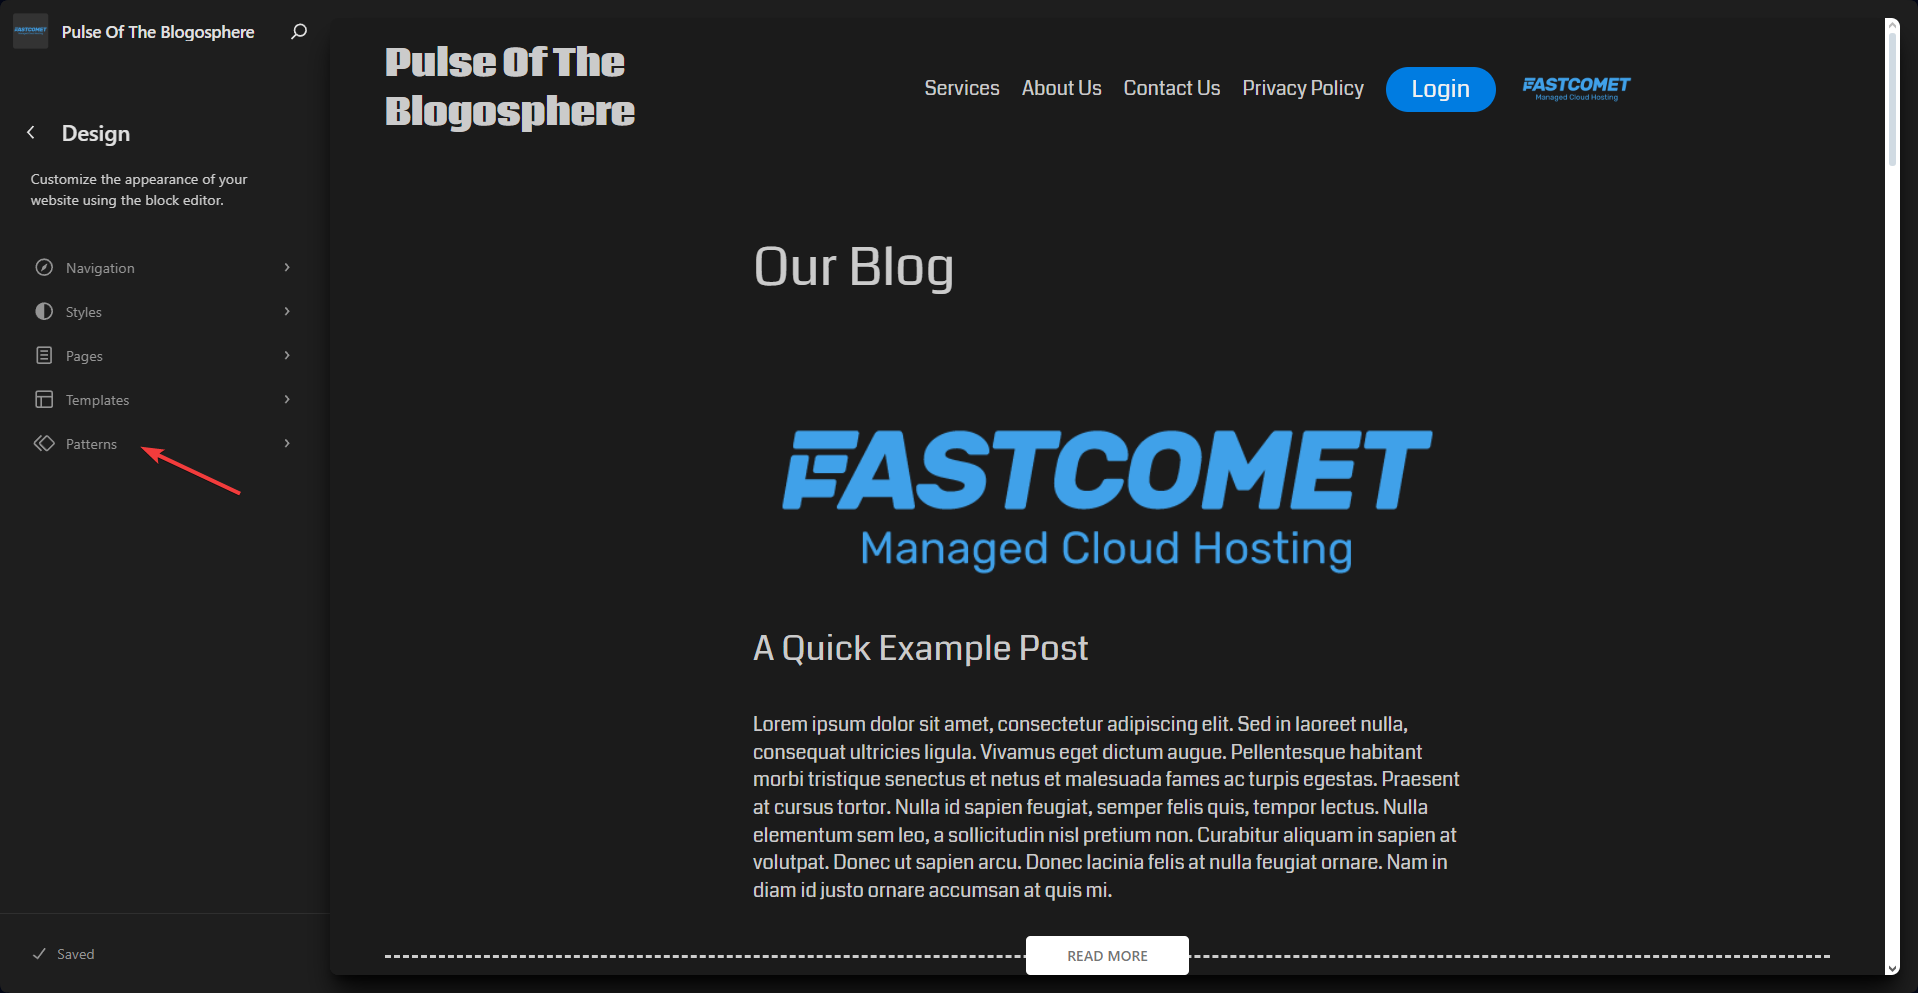
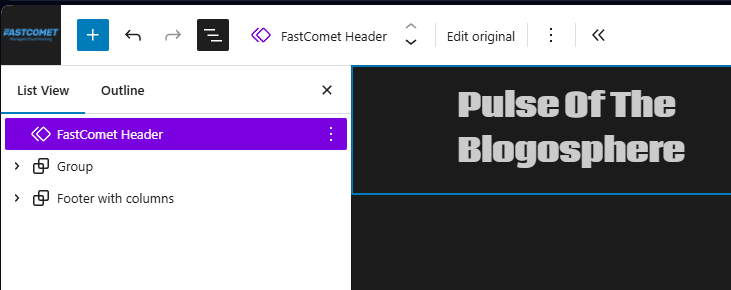
For now, though, we are interested in the Patterns section of the Editor. In the screenshot below, you will see Patterns on the left, but also our testing website on the right. We created the header in the previous part of this tutorial.
Patterns are a handy tool that allows you to create reusable block layouts. These patterns can be slotted anywhere on a page or post, saving users a ton of time compared to creating those layouts from scratch. Many modern block themes come with many patterns that make creating or editing parts of your website very easy. Here is what the Twenty Twenty-five theme has to offer.

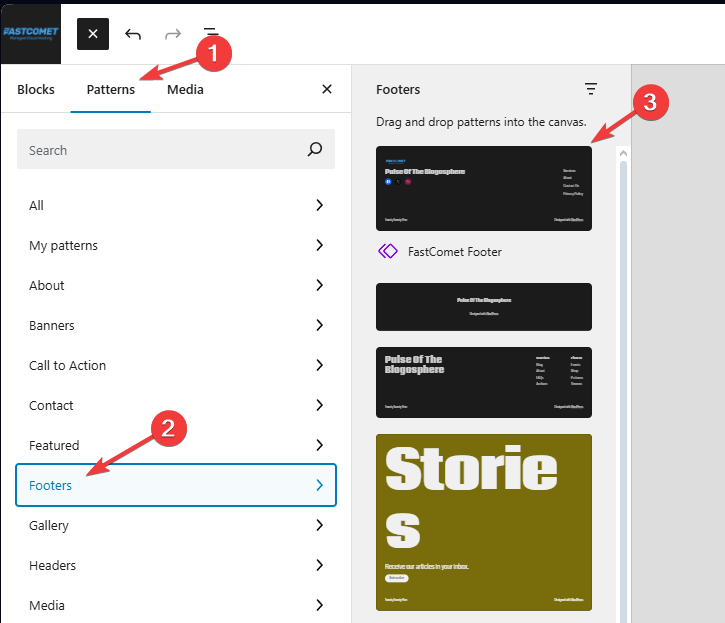
As you can see, there are many patterns for all sorts of things: pages, posts, headers, footers, galleries, contact us, etc. These are pre-made collections of blocks that you can simply pop into your page or post. Here, let us show you how it works. Head over to the Footers patterns so we can have a look.

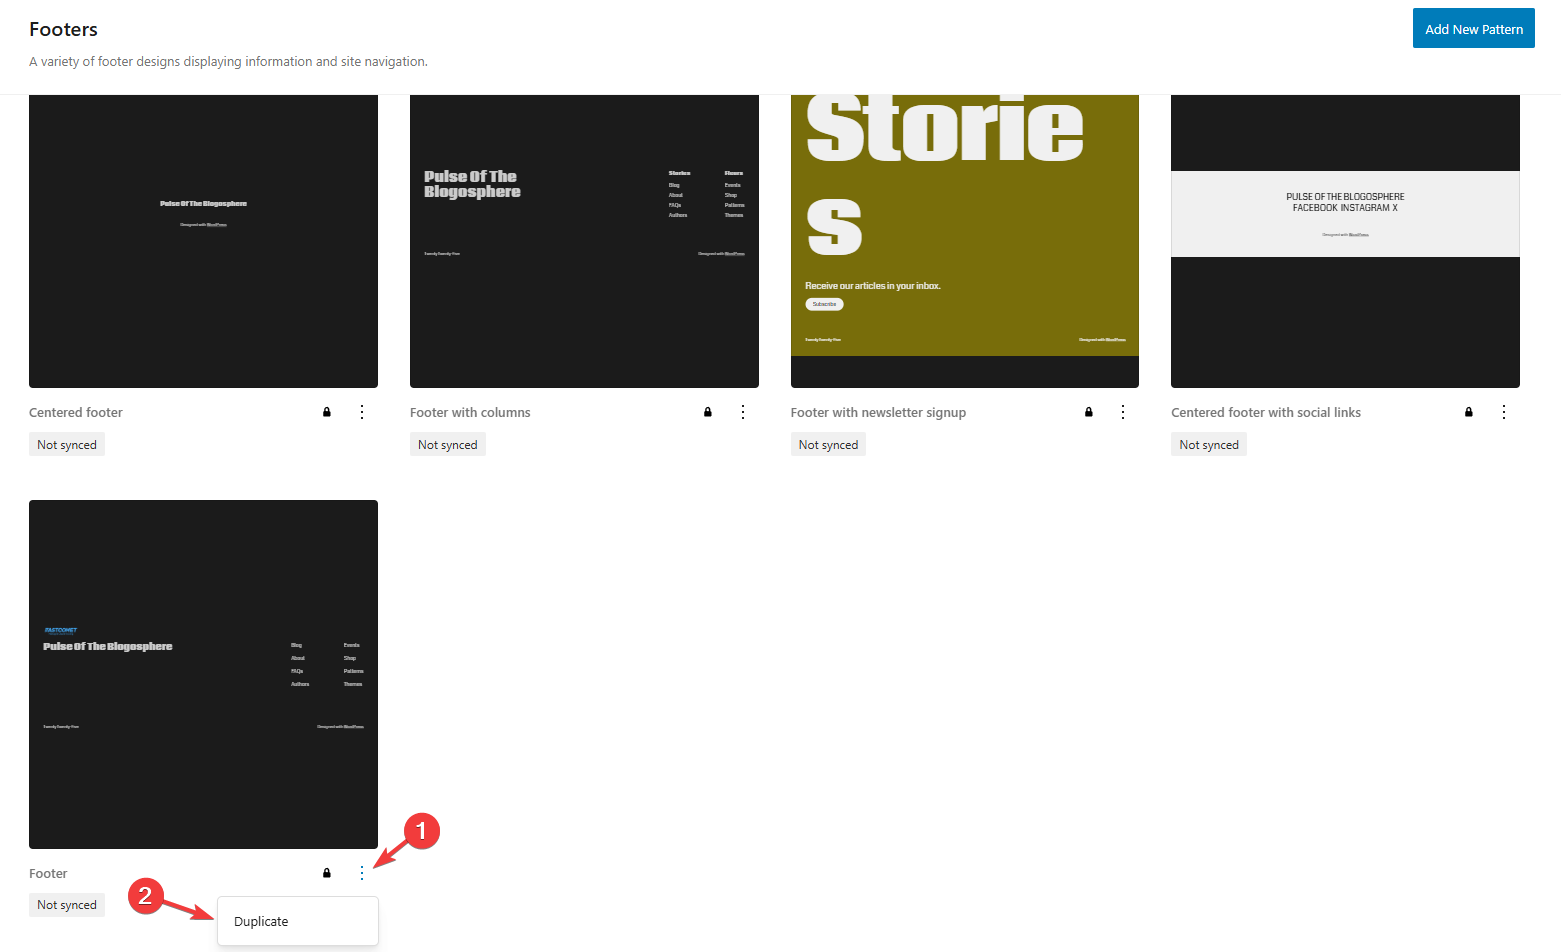
The Twenty Twenty-five theme has five footer patterns, each with a different configuration. Each of these is fully usable and customizable to make it even better. However, you might notice a little padlock next to each of them. That is a simple precaution the developers have put in place to prevent users from accidentally destroying one of the default patterns that come with the theme.
While these patterns are all fully customizable, we must first duplicate them. The five default ones are actually not editable, so to begin, click on the three dots under your preferred one and then on Duplicate. We will use the last one for this tutorial.
A window will pop up, so simply fill in the fields. Name your new pattern and assign it a category (Footers in our case). We recommend toggling it Synced. This will make it so that anytime you change this pattern in the Editor or in any of the pages it is in, those changes will apply throughout the website. Since this is a footer, a static element of our website, we want it to be consistent throughout the website. When ready, click Duplicate.
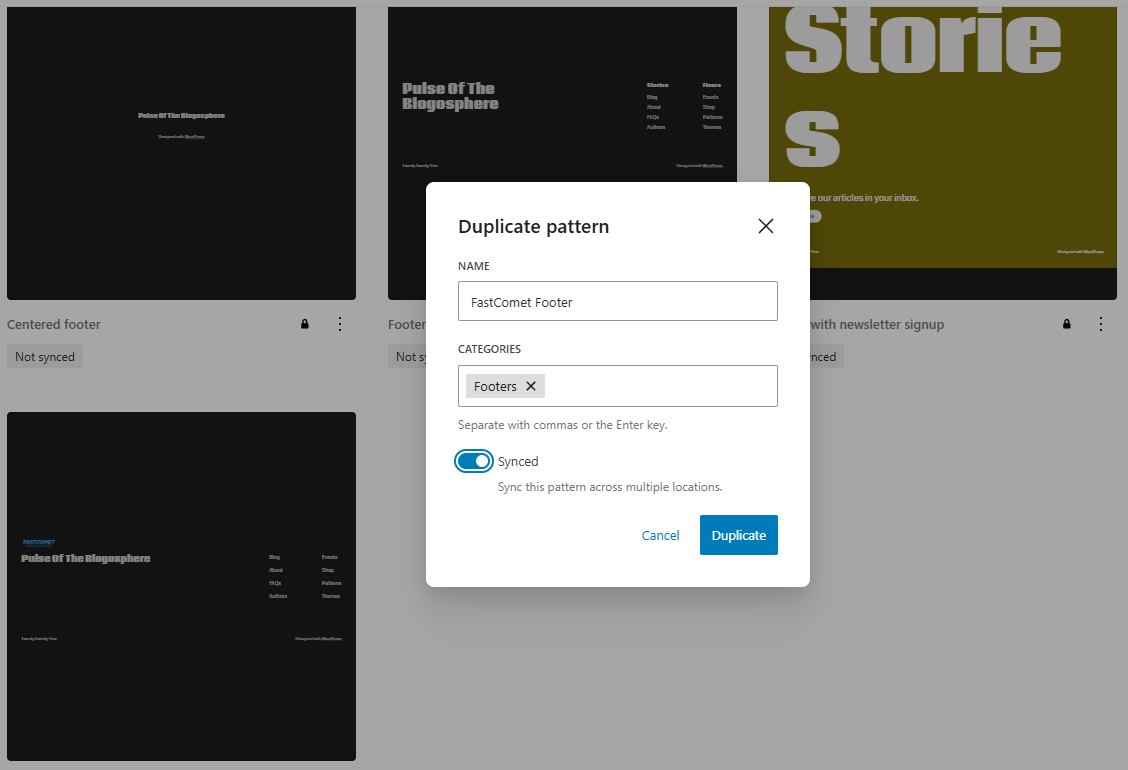
That will create a copy of our selected footer, which we can then edit at our leisure.
Editing the Pattern
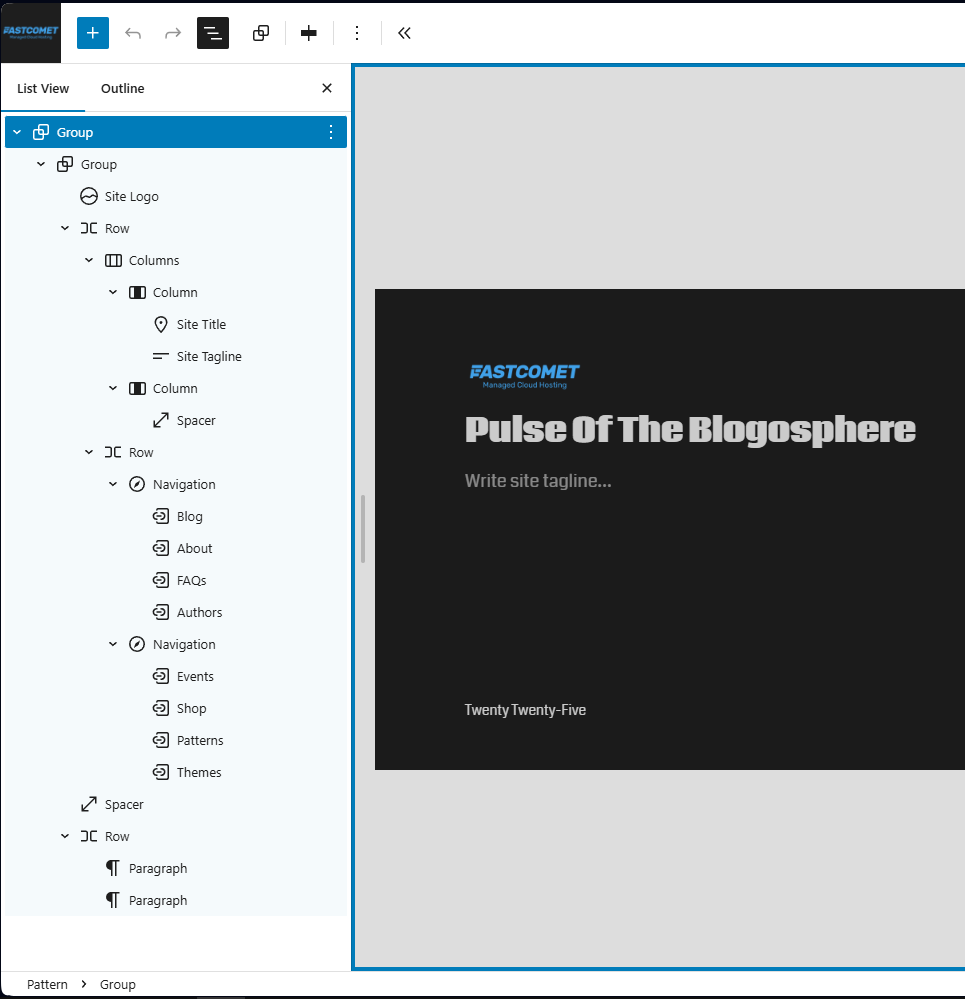
Click on the three dots again and then Edit. This will open the WordPress editor, where we can make all our desired changes. On the left, you will see a list of all the blocks that currently make up this pattern. Here is what it looks like by default, with all categories expanded.
Those are a lot of blocks, but they are super easy to understand. Even better, you can drag and drop blocks in that list, which will change where they lie on the page, giving you full freedom over the pattern layout. So, let us edit this footer to show how easily it can be transformed. Let us begin with removing some blocks we will not need.
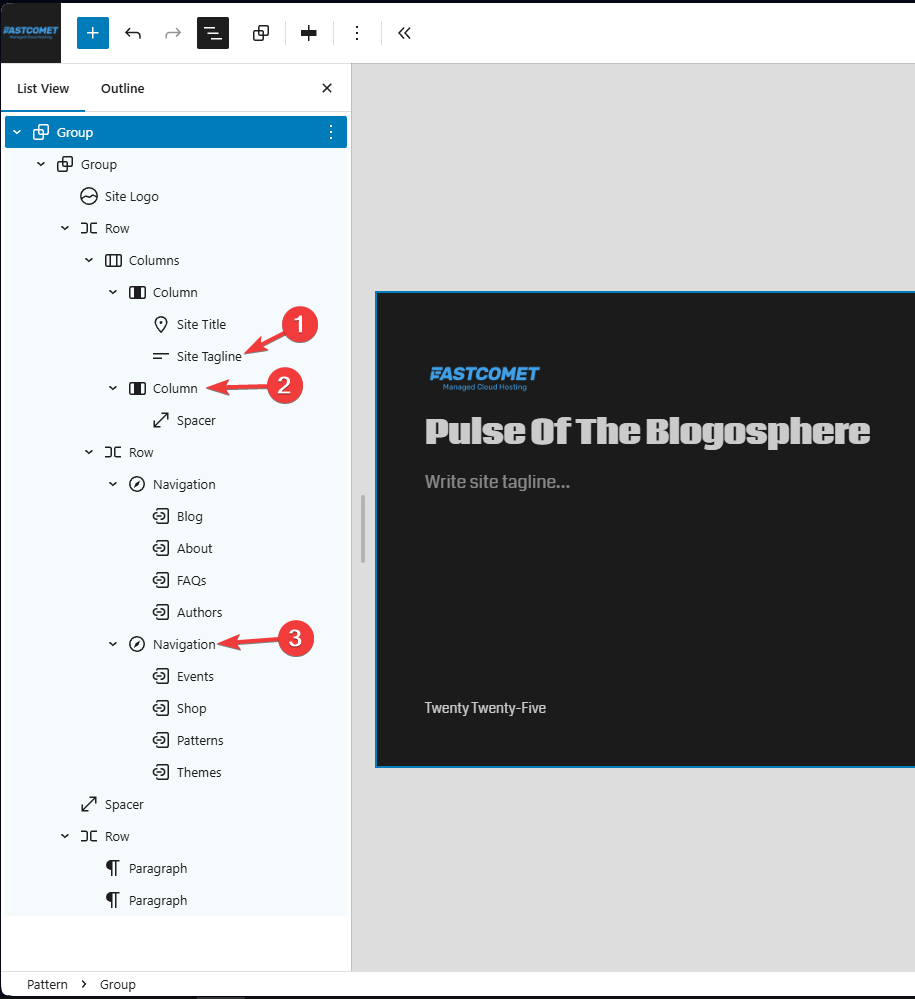
Right-clicking on a block will open a contextual menu with several options. With that in mind, let us tidy up this pattern before adding things. Our site has no tagline so we will delete that block. Additionally, we will delete the second Column block, as we do not need it since we will not put anything in that middle space of the footer. The final thing to go is the second Navigation block since we do not have that many pages to show off.
However, let us add something to this footer since we have removed so much. Firstly, we need social media icons. Click on the + symbol at the top of the screen and type in Social Icons in the Blocks search bar. Then, click on the block to add it to the pattern.

Now, depending on your theme and the chosen colors, you might not see the block appear on the screen. As long as it is in the list on the side, though, everything is fine. Click on it, then look for the + symbol in the pattern itself.
![]()
Clicking it will open a small window to search for blocks—type in your favorite social media platforms. We will keep it simple and add The Big Three. However, you will notice that the block is in the middle of nowhere. This is perfect because it allows us to showcase what we mentioned earlier. Simply drag the block to the position you want in the list on the left. We want it to be directly under our site title, so that is where we will put it.
![]()
Great! Now, our website also has some social media links. However, we are not done yet. We must assign URLs to those icons; otherwise, they will lead nowhere. We also want the links themselves to open in a new tab. Click on the Social Icons block and on the right, you will see the block’s options: the first tab is for its general settings, and the second is for its style. In the style tab, we can change how the social media icons appear, the spacing between them, etc. However, for now, we only care about this toggle in the settings tab.
![]()
Next, adding URLs to the icons themselves. That is super easy. Click on each icon individually and simply type in the URL.
![]()
The last thing we want to change is the links in the navigation bar on the right. That is done just as easily as adding the URLs to the social icons. Simply clicking on the links under the Row block in the list opens their options on the right side of the screen. There, you can change what the text says and where the link leads.

As always, you can change some stylistic elements of these blocks in the respective tab, but for our purposes this looks perfect. Time to click on the Save button in the top right corner and assign this footer to our pages.
Assigning the Pattern
Finally, all that is left is to assign our new footer to our pages. That is simple since all that is necessary is to add it to your templates. The procedure is the exact same as editing the footer itself: locate the pattern, add it to the template, and move it to the desired position. Here is how it goes.
Firstly, go to Appearance > Editor > Templates.
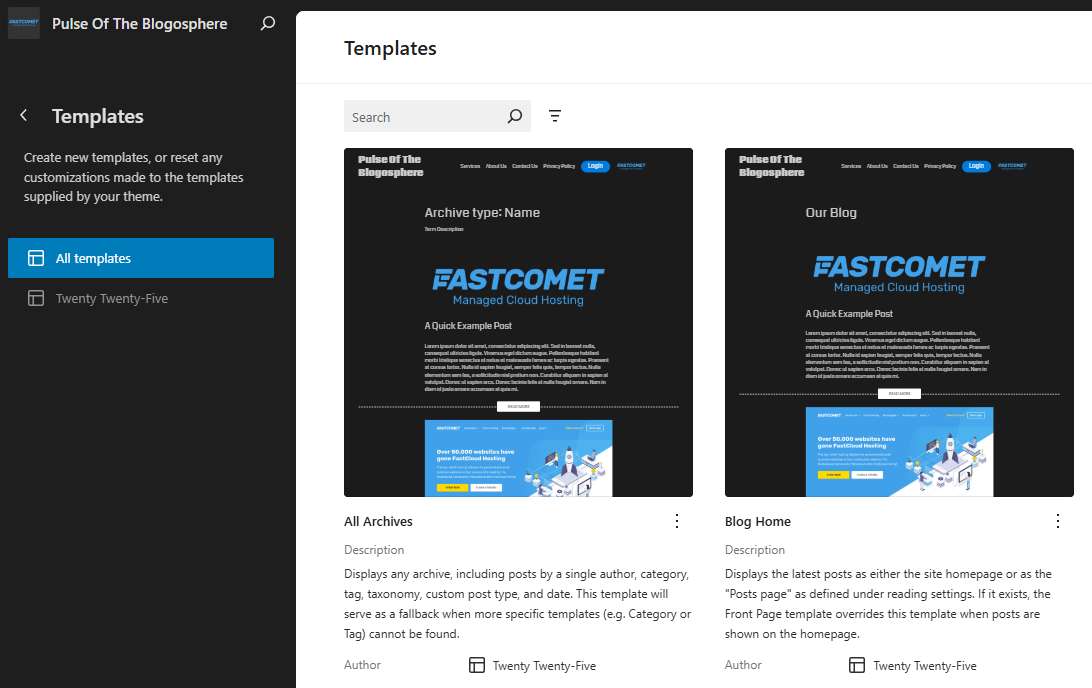
Then, click on the page template to which you want to add the footer. You will likely want to add it to all of them, so start from the beginning and navigate the ones your website uses. The best part is that once you add the footer to the template, you do not have to add it again when you create a post or page with that template. That is the whole point!
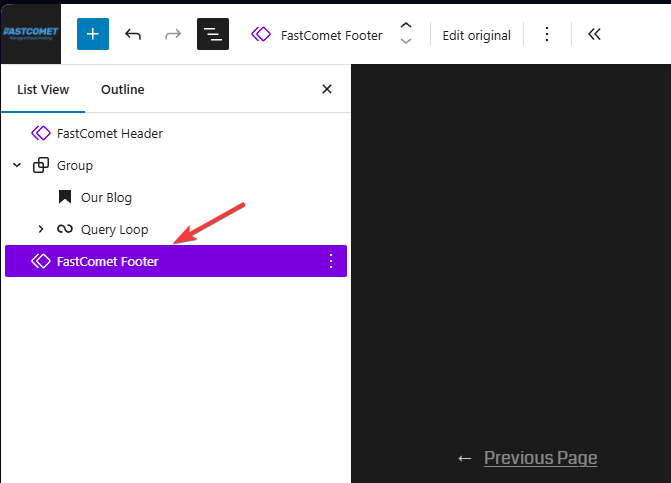
So, click on the dots under your desired template and select Edit, or simply click on the template itself. The editor will open, and you will see a familiar setup. On the left is the list of blocks, but there are patterns here, too.
As you can see, we already have a footer: Footer with columns. We do not want that one, though, so right-click and delete it. Then, hit the + button and then go to the Patterns tab. From there, either search or locate your footer.
Click it to add it to the list. The last thing left to do is to ensure it is in the right spot. If your template has groups, columns, rows, or grids, it might end up in those blocks. So, drag and drop it as far down and to the left on the list as possible.
Save your changes! Then, when we go to a page on the website that uses this template, we will see our brand-new footer!
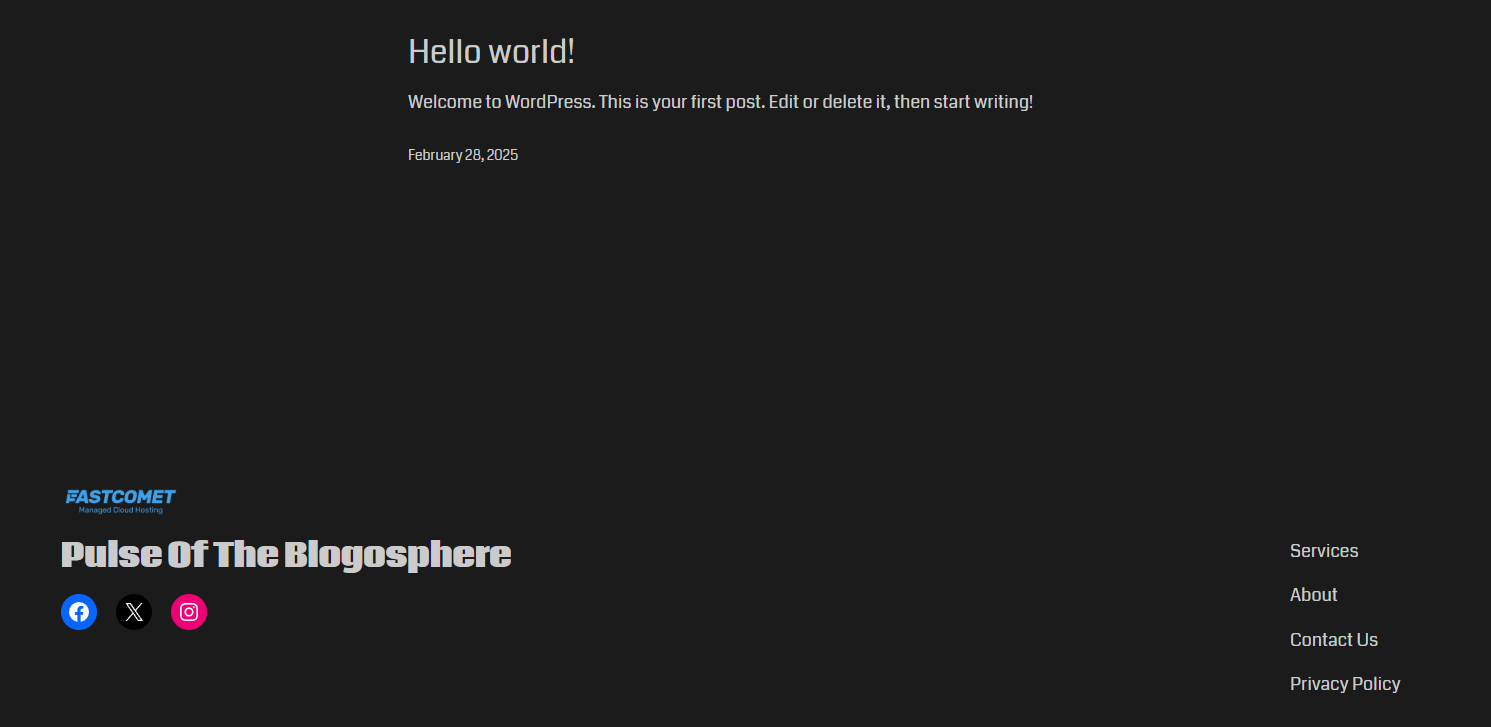
And there you have it! Editing a footer in the new WordPress block editor is extremely easy, which is the point of it. What we showed you were a few quick and simple edits, but we wanted to relay just how straightforward the process itself is. Of course, feel free to do more than what we showed you. Experiment with different blocks, decorate them as you wish, and customize them to your brand’s needs.
Editing a Non-block Theme Footer
To close off this tutorial, we will show you how to edit the footer of a theme that does not support the block editor WordPress is so famous for. Firstly, we will need a "classic" theme. Astra is a good choice as it is one of the market's most robust and easy-to-use themes. We will also be using it for this tutorial.
It is important to note, though, that the steps to changing the footer of a classic theme are not as uniform as when it comes to block themes. That is simply because classic themes are created by different developers with their own customization processes. There is no unifying factor like the block builder to streamline the steps. However, most classic themes seem to use a relatively similar customization process, so what we describe here should still help you figure out how to do it if you are not using Astra specifically.
After activating the theme (you can check out our tutorial on how to do that here), head to Appearance > Customize. That will open the theme's editor, where we can see there is a Footer Builder.
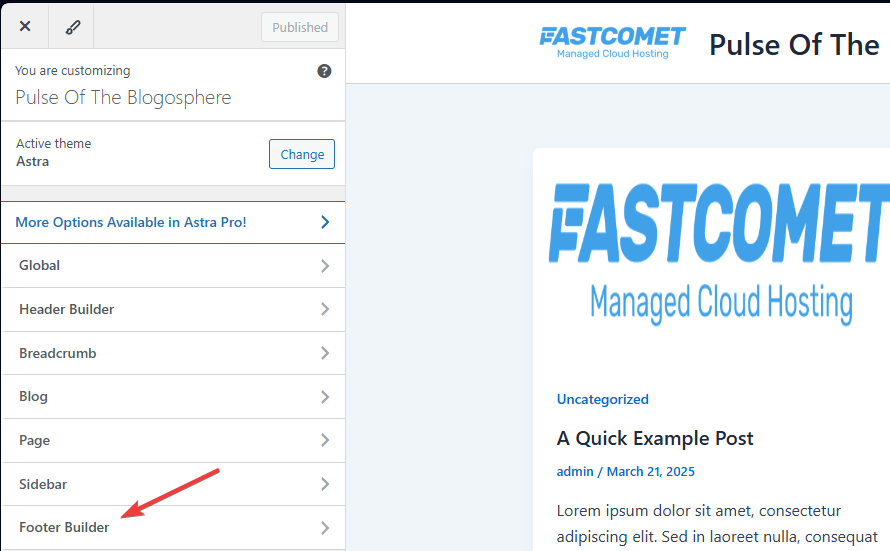
Clicking on it will open a new menu, and the page on the right will be changed to show three lines. These three lines are our three slots for footers. There is the primary one in the middle and two additional ones on top and bottom in case you need more space.
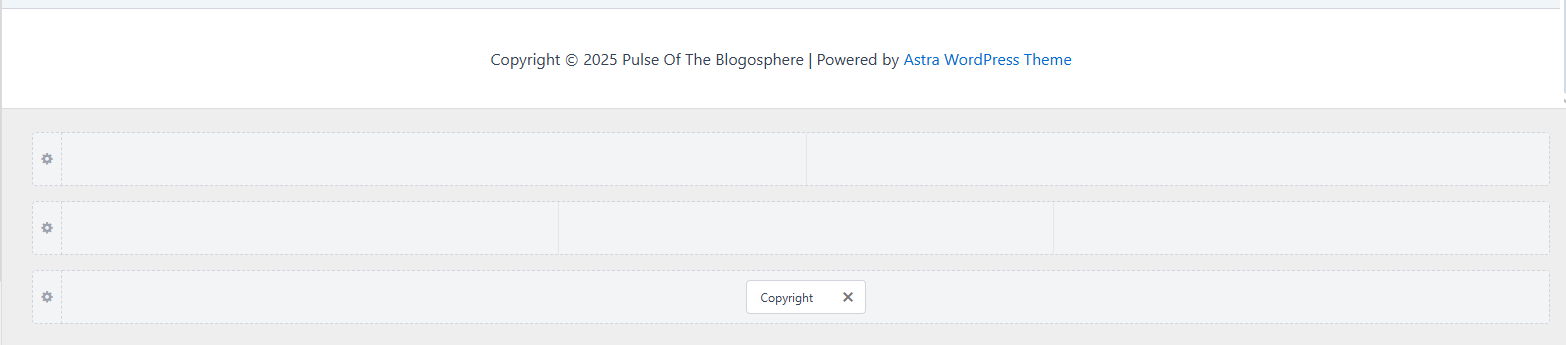
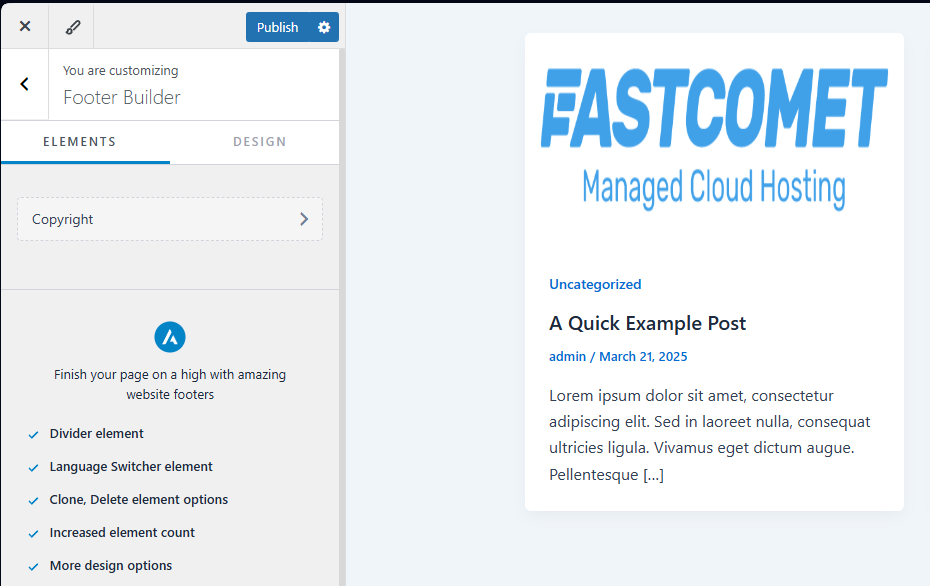
On the left, you will see the builder itself and it should currently have two tabs: Elements and Design. It should also have a single element called Copyright.
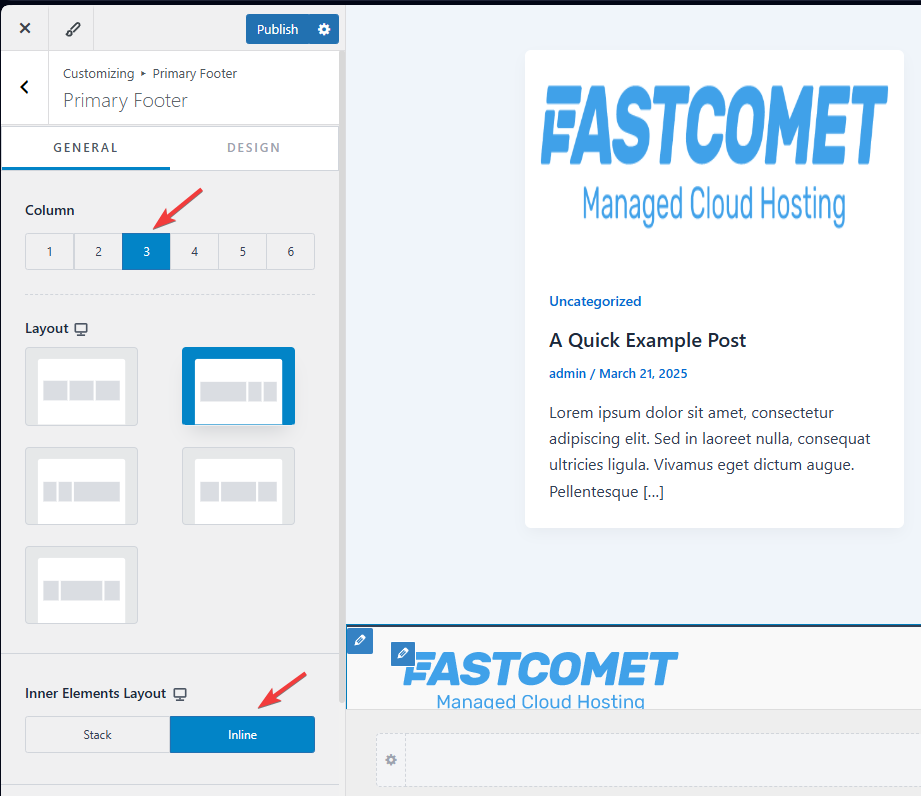
You will also notice in the screenshot previous to the last there is a Copyright element in the third footer (the below footer). So, let us add something above it. We do not want the copyright to be on top of our actual footer. Doing so is really easy, but let us set up our footer slot first. Click on the cogwheel next to the middle one and change it to three columns. We will also change the inner elements layout to inline and the vertical alignment to “middle.”
Then, hovering over the footer, you will see plus signs appear. Click on the left one so we can add our site logo there. Add a widget from the small window that will pop up.
Then, by clicking on the widget, we can edit its properties on the left. Click on the + symbol and add an image.
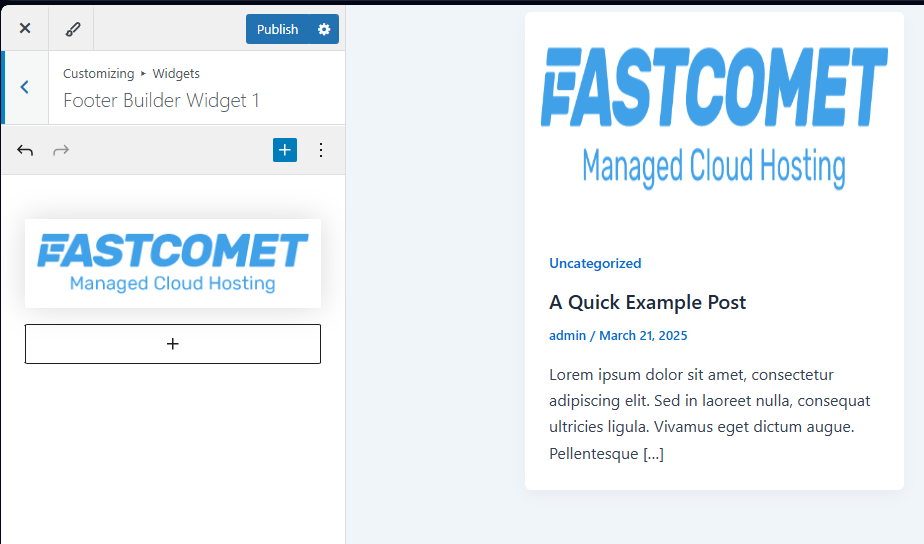
It will appear in the footer, where you can hover over it and click the pencil button to edit the image’s own properties. Feel free to play around with the various options you can change until you have it just right. Then, let us add some social media icons. The process is the exact same: click on the plus in our footer and select Social.

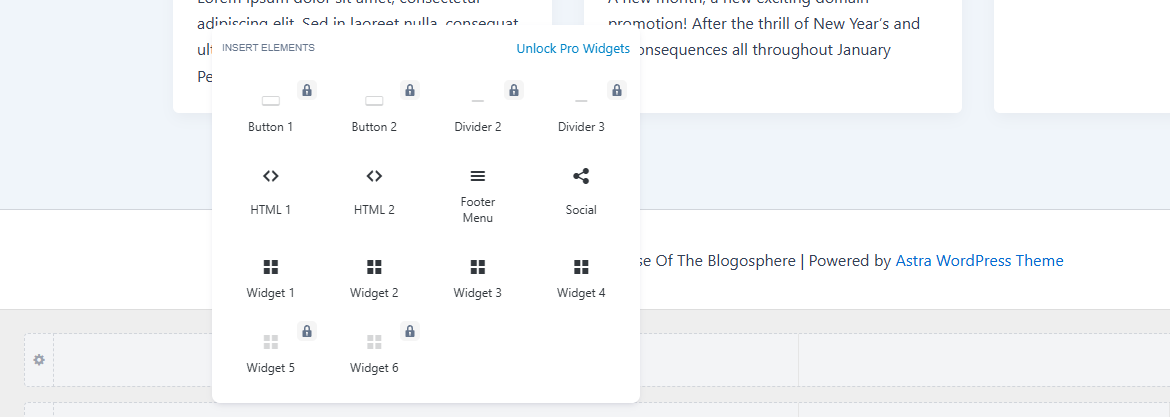
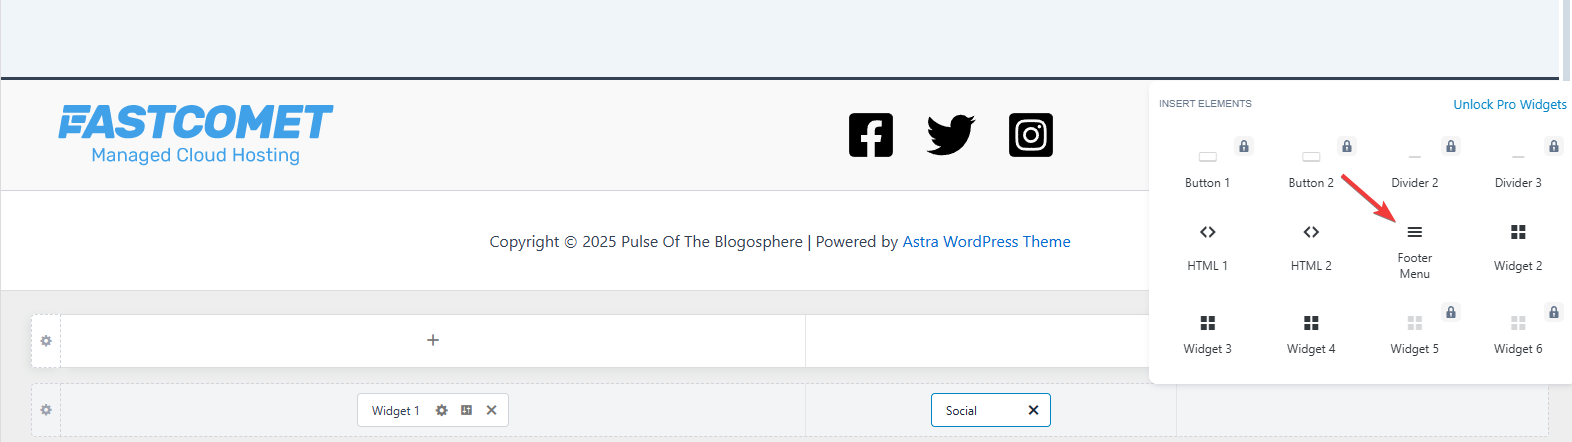
Clicking on the footer element after that will open the options menu on the left as always, where you can add any social media platform you want. You can even change some of the icons’ designs. When you are ready, let us add the last element of our footer: a menu with some page links. So, as you might already suspect, click on the + to add another element. This time, select Footer Menu.
Click it to open the options on the left and then Configure Menu From Here. At the bottom of the list, you will see Footer Menu, but there should be nothing in the drop-down list. Click +Create New Menu. Assign it a name and ensure that Footer Menu is ticked. Then, we can add some items.

Click the drop-down with the elements you want to add. For our example, we will add a few pages. The + next to each element will let you add it to the menu. When you are done adding things, you can click on the page on the right to see how it looks.
If you are not satisfied with the position of any of these footer elements, you can just go back to the Footer Builder and drag them around to where you need them. When ready, click Publish at the top to save your changes and apply the footer to your entire website. This is what ours looks like in the end.

And there you have it! Two ways of editing a footer for your website based on the type of theme you are using. As you can see, everything is straightforward and very intuitive. The footer is vital to any modern website, so take the time to make yours the best!

WordPress Hosting
- Free WordPress Installation
- 24/7 WordPress Support
- Free Domain Transfer
- Hack-free Protection
- Fast SSD Storage
- Free WordPress Transfer
- Free CloudFlare CDN
- Immediate Activation