How to Add a Navigation Menu in WordPress
Updated on Dec 6, 2022
Having a well-maintained website full of content is great. However, as you add more content to your website, you will need to cater to users searching for specific content more and more. The search function is a great way to do that, but depending on your website, a good navigation menu can do much better. The main thing you should focus on is a simple yet effective structure. Overcomplicating the navigation index will only take away from its functionality.
Note that this tutorial is made with WordPress 6.0 and one of the default WordPress themes - Twenty Twenty-One. We are not using Twenty Twenty-two (for the majority of the content) because there are differences in the design due to the Full Site Editing (FSE) feature, which results in some missing options in the Appearance section. One of those options is managing Menus.
Not being able to quickly find the thing they are looking for will make visitors annoyed and push them to leave your website. That is especially bad if you monetize your website, and your livelihood depends on steady visit numbers and retention rates.
We'll demonstrate several ways to improve your website's navigation:
What is a Navigation Menu?
An important section of a website's navigation menu is a list of links. On a WordPress website, they are often shown as a horizontal bar of links at the top of each page.
Visitors can find what they're looking for with the aid of navigation menus, which provide your website structure. It's quite simple to add menus and submenus with WordPress. Your most significant pages, categories or subjects, WordPress blog posts, and even unique links like your social media profile can all be added.
Your WordPress theme will determine exactly where your menu will appear. You may construct many menus that can be displayed in various locations because most themes will have a variety of options.
For instance, the majority of WordPress themes provide a top-level primary menu. Some themes might also have a footer menu, a secondary menu, or a menu for mobile devices.
After that, let's look at how to make a customized navigation menu in WordPress.
How to Create a New Navigation Menu
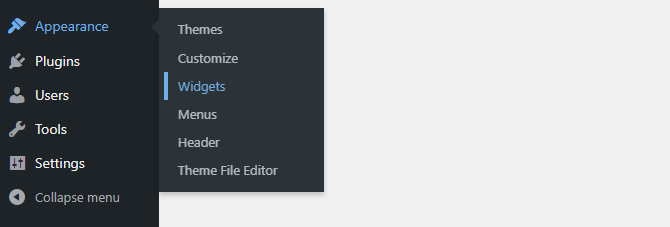
You must log in as the platform administrator and go to Appearance → Menus to access the WordPress menu building feature.

Write a name for your menu that will help you identify it in the dashboard once you have accessed the area, and then click Create Menu:
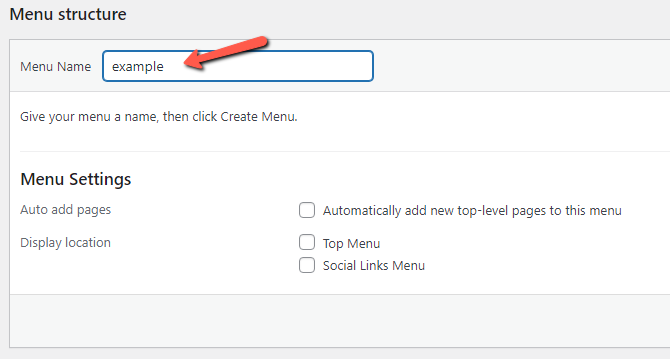
Your menu is now generated, however, it is empty as of right now. You will learn more about populating such lists in the subsequent phase.
How to Add and Arrange Menu Items
The menu interface is divided into two pieces. The one on the left has all of your content, including pages, articles, entire categories, and custom links. To add a page to your list, you must select it from the ones shown in this block and click the Add to Menu button.
Additionally, many pages may be added simultaneously. Don't worry about the order because you can move individual pages around later using drag and drop.
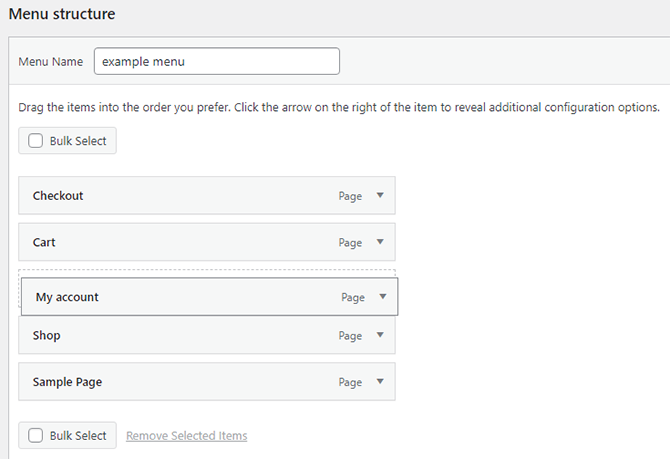
The items you added to the menu are included in the second section, which is titled Menu Structure. This is followed by the Menu Settings:
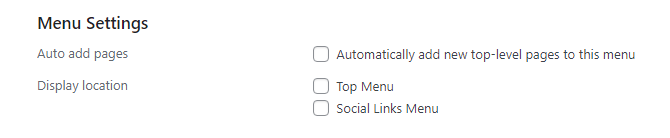
- Auto-add pages - New pages will be immediately added to the menu as a result. You can add content to listings using this option. When adding information to your website in the order you want it to display. This function is helpful. Since everything will be added in order, it is also helpful for archiving listings of posts.
- Display location - Choose where the menu will appear from this point on. Keep in mind that depending on your theme, you may have access to extra display options such as footer or left side slots. You can also add those on your own by using the widget options on your admin dashboard.
How to Change Labels and Remove Menu Items
Changing the label of an already created item might be needed when you only want to make the change in the menu but not change the name of the actual element. This feature works great for pages and posts. If you change the name of a page, that page in the menu will also change its label automatically.
Click the arrow button next to the item you want to modify, and you'll see more information about it. You will still be able to view the element's previous name both during and after updating the label.
The same interface can also be used to completely remove the item without altering the remainder of the navigation hierarchy. To remove an item from the menu, click the Remove button at the bottom of the Item section. When you are finished, don't forget to click the Save button.
How to Create a Drop-Down (sub) Menu
Navigation menus with parent and child menu items are drop-down menus, often known as nested menus. A sub-menu will open when you hover your cursor over a parent item, showing all of the child items underneath it.
Drag an item below the parent item and then drag it just a little bit to the right to create a submenu.
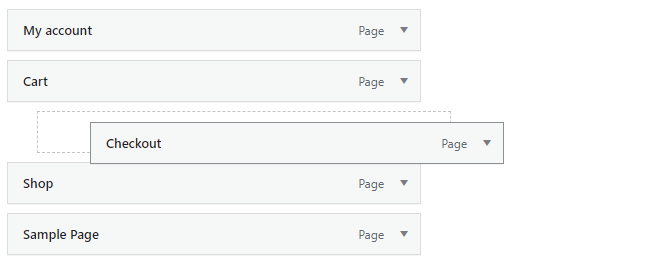
Even more dropdowns can be added so that your sub-menu can have its own sub-menu. Given that many themes do not allow multi-layer drop-down menus, this may wind up looking a little cluttered.
How to Add Categories to WordPress Menus
If you’re using WordPress to run a blog, then you may want to add your blog categories as a drop-down in your WordPress menu.
You can easily add categories to your menu by clicking the Categories tab on the left side of the menus screen. You may also need to click the View All tab to see all your categories.
Simply select the categories you want to add to the menu, and then click the Add to Menu button.

The categories will appear as regular menu items at the bottom of your menu.
How to Add Custom Links to Your WordPress Navigation Menus
In addition to pages and categories, WordPress also makes it incredibly simple to include unique links in your menu. It can be used to link to other websites you own as well as your online store and social media profiles.
The Custom Links tab on the Menu screen must be used. Click the Add to Menu button after adding the link and the text you wish to use in your menu.
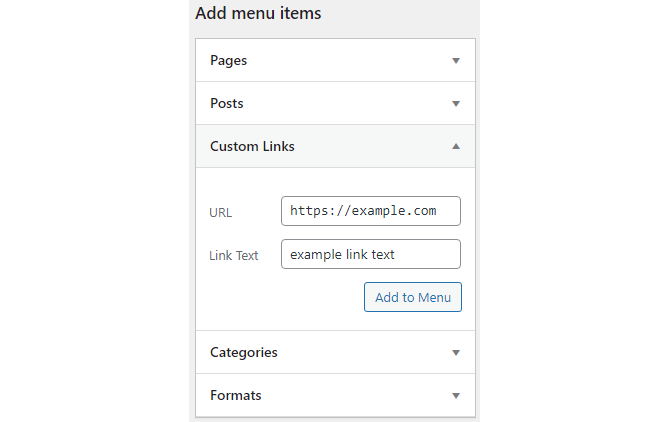
To increase conversions, you may even get creative and include social media icons or call-to-action buttons in your menu.
How to Edit or Remove a Menu Item in WordPress Navigation Menus
WordPress uses the page title or category name as the link text when you add pages or categories to your custom navigation menu. If you would like, you can modify this.
The downward arrow adjacent to any menu item can be clicked to alter it.
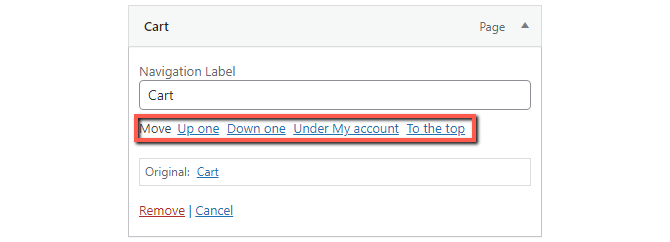
Here, the menu item's name can be modified. You may also click Remove here to completely remove the link from your menu.
You can also relocate the menu item by selecting the relevant Move link if you're having trouble using the drag-and-drop interface.
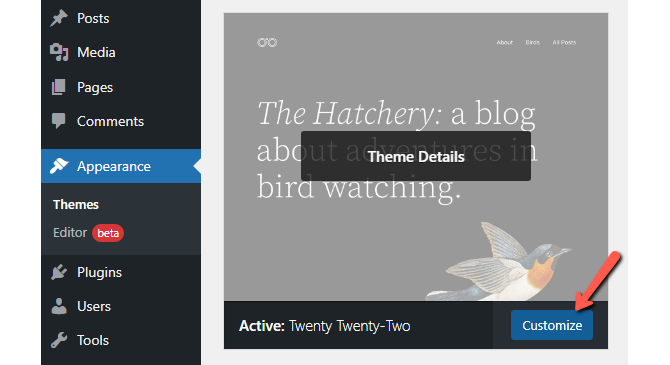
How to Add Navigational Menus in Full Site Editor (FSE)
You can use the block editor in the new Full Site Editor to modify your WordPress themes. You can add several blocks to your templates to make a distinctive style thanks to this feature, which was introduced in WordPress 5.9.
The full site editor, on the other hand, is currently in beta and may only be used with certain supported themes. For this part, we'll utilize the Twenty Twenty-Two default theme. See our article on the top WordPress full site editing themes for more information.
You must first access Appearance → Editor from your WordPress dashboard in order to install a navigational menu utilizing the complete site editor. To access the complete site editor, you may also click the Customize button on the Twenty Twenty-Two theme.
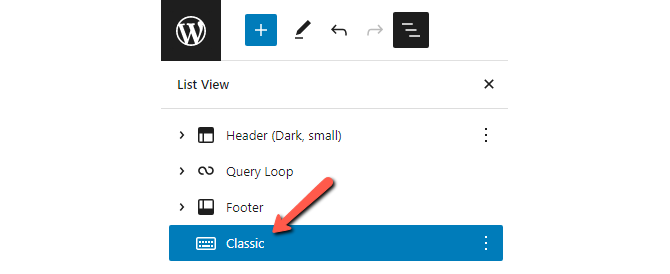
Click on the navigation menu that displays at the top of the website header once you're within the editor.
The navigation menu block can then be customized using the choices available in the panel on your right.
You can modify the layout, tweak the display options, enable a submenu upon clicking, change the text, background, and submenu colors, as well as the font size.
The Select Menu option will open a dropdown menu with additional options, such as modifying the menu or adding a new one.
For instance, in the Classic Menus area, you can choose any menu you've already built.
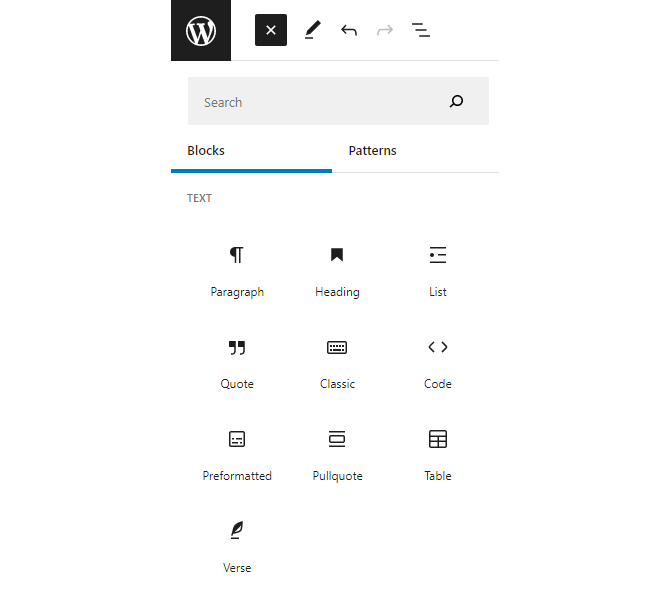
After choosing a menu, you may expand it with more pages, blog articles, site logos, social media icons, or a search option.
To add a block to your navigational menu, just click the "+" sign, then pick an option from the dropdown menu that appears.
The ability to add a navigational menu block to any location on your site is the best feature of using the full site designer.
When you're finished, you can preview the modifications to see how the menu will appear immediately. Don't forget to press the Save button at the top after that.

How to Add WordPress Menus in Sidebars and Footers
You don't have to limit yourself to displaying your theme in the designated areas. Any area that employs widgets, such your sidebar or footer, can have a navigation menu added.
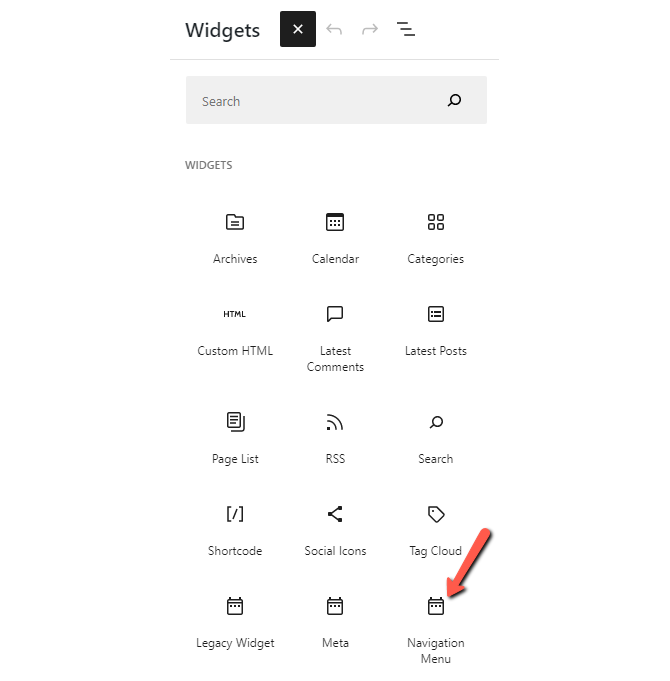
Simply add the Navigation Menu widget block to your sidebar by going to Appearance Widgets and clicking the "+" symbol at the top.
Then, give the widget a title and select the appropriate menu from the Select Menu selection list.
Simply click the Update button when finished:

Once you have completed this tutorial, you will gain valuable knowledge on how to reduce your bounce rate by making relevant information for your users easy to access. Menus are a great way to do this and one of the most underestimated elements of a website.

WordPress Hosting
- Free WordPress Installation
- 24/7 WordPress Support
- Free Domain Transfer
- Hack-free Protection
- Fast SSD Storage
- Free WordPress Transfer
- Free CloudFlare CDN
- Immediate Activation