How to Setup Disqus for WordPress
Updated on Dec 6, 2022
Disqus is a service for web comments and discussions. The Disqus plugin makes commenting easier and more interactive, while connecting websites and commenter’s across a thriving discussion community. The Disqus for WordPress plugin seamlessly integrates using the Disqus API and by syncing with WordPress comments.
Comments are resource intensive. If you have a lot of comments on a post, then it will take a long time to load. If a lot of users are leaving comments at the same time, then it would also impact your server load. The advantage of using a third-party commenting system like Disqus is that you shave that server load off from yours and send it their way. Even if your site is getting attacked by a malicious user, it won’t impact your server because it has to go through Disqus first.
You can always revert back if you don’t like the platform because it syncs with your WordPress database. If you’re running a fairly large site across multiple servers, then having a third-party commenting system helps with redundancy. You don’t have to worry about syncing comments because they are not tied to your database. Disqus comments are connected with the URL of the post or page.
To use Disqus instead of the default commenting system,you should:
Create a Disqus Account
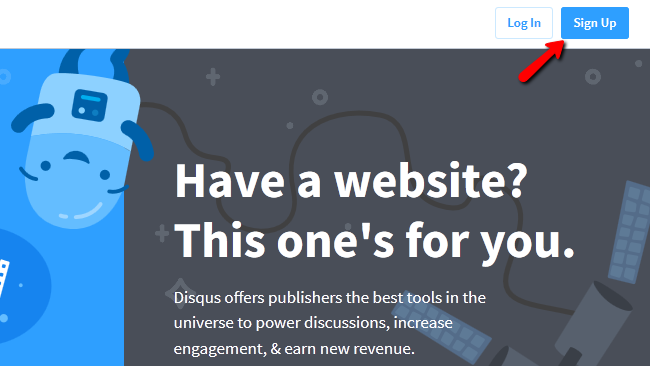
Adding Disqus commenting system to WordPress is fairly easy. The first thing you need to do is go to Disqus website and Sign Up for a new account.
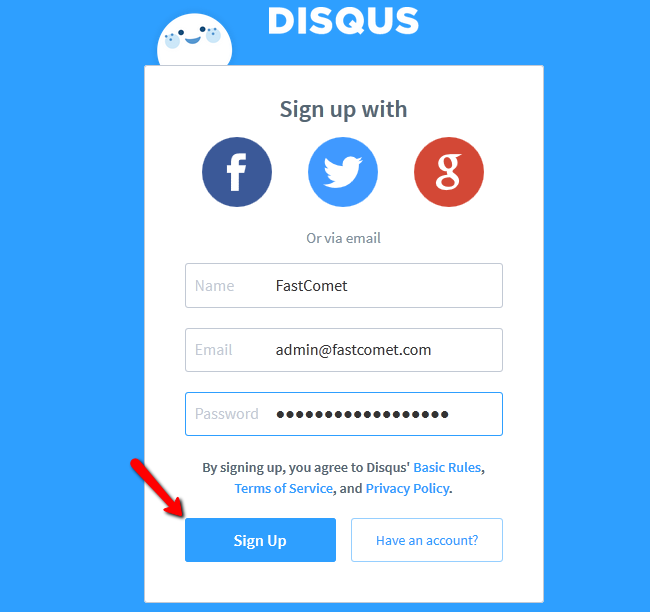
Now input your registration details and click Sign Up again.
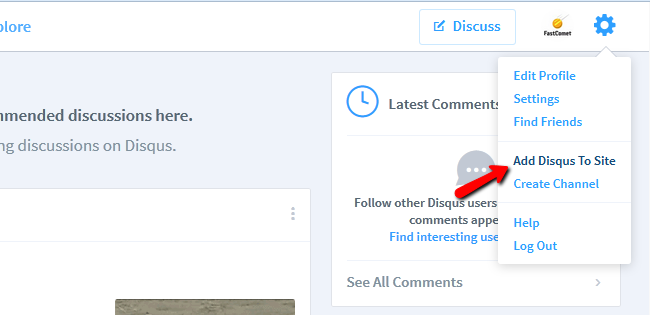
After your account has been successfully created, you will need to clock on the Option button (Gear Icon) and select the Add Disqus To Site option.
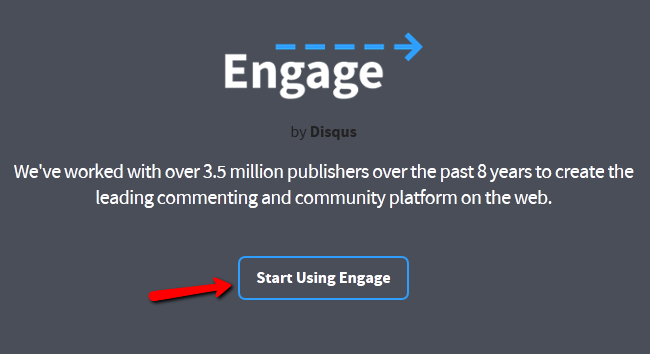
On the next screen, you need to click the Start Using Engage button.
This will take you to a signup form where you need to provide your website’s information. Fill in the title of your blog or website, choose a unique URL for your website’s Disqus commenting system and a category for your website.
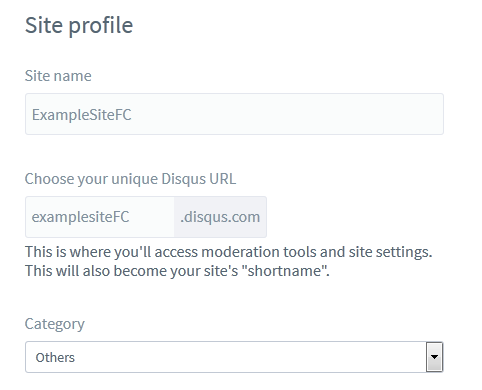
When you are ready to proceed, click on the Finish Registration button.
After the registration, you will be asked to choose your platform.
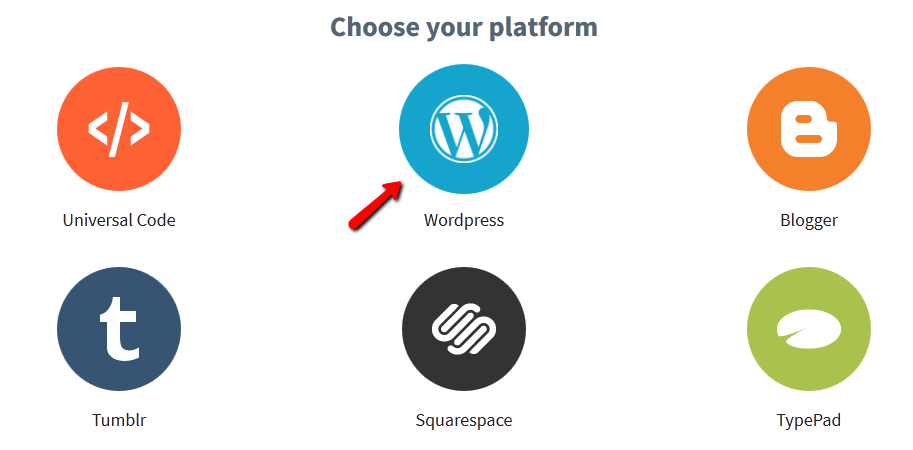
You will need to click on WordPress, and it will show you further instructions on how to setup Disqus commenting system on your WordPress website.
Activate the Discus plugin for WordPress
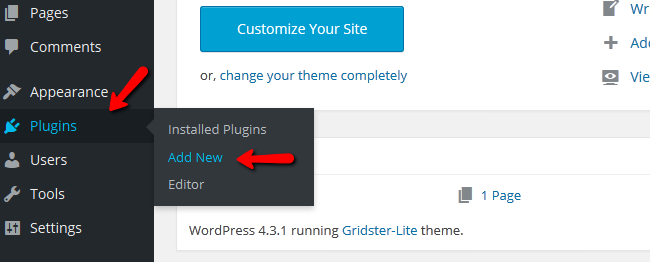
Now that you have an account, you will also need to install and activate the Disqus Comment System plugin. In order to do that, you will need to be logged in your WordPress admin dashboard. From there navigate to Plugins → Add New.
Here you should search for Disqus, find the official plugin and select Install Now.
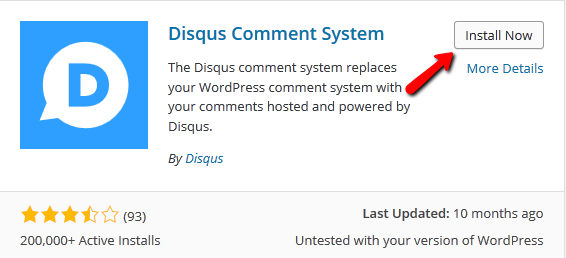
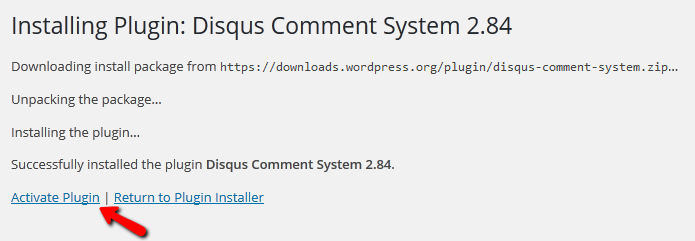
After the installation process has been completed you will need to click on the Activate Plugin link to enable the plugin.
Configure Disqus
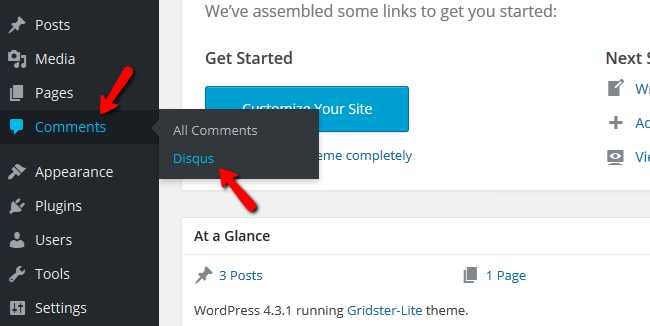
To enter the Disqus menu you will need to navigate to the Comments→Disqus section of your main admin panel.
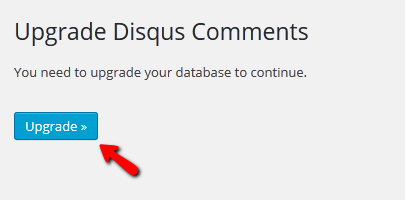
Here you will need to Update your website’s database so it can work properly with Disqus.
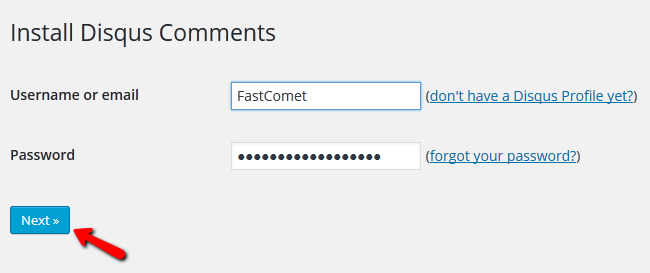
To install the Disqus comments system to your WordPress you will need to connect it to your Disqus account, so input your username and password and then select your website.
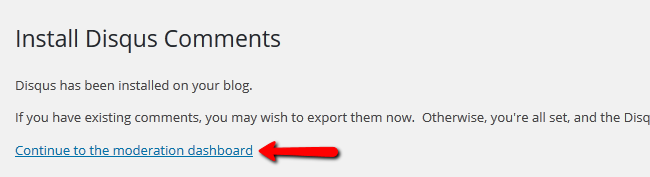
The installation process is now completed. Click on the link Continue to the moderation dashboard to view and moderate your newly created Disqus section.
That’s all. You have successfully added Disqus comment system to your site. The Disqus Comment System plugin will completely overrides the default WordPress commenting system and then replaces it with the Disqus system. With Disqus, visitors can sign into a Disqus account or sign up with Google+, Facebook or Twitter.

WordPress Hosting
- Free WordPress Installation
- 24/7 WordPress Support
- Free Domain Transfer
- Hack-free Protection
- Fast SSD Storage
- Free WordPress Transfer
- Free CloudFlare CDN
- Immediate Activation