Install FastComet free Joomla templates
Updated on Mar 13, 2019
Warning
As of June 1st, 2019 we no longer provide the Free Themes mentioned in this tutorial. However, you can still use the technical guide provided here to install templates packaged in the same way.
FastComet offers a number of free templates that will allow you to start the development of your website with style. The templates provide a quick-start installation, which means that the installation will configure a fresh Joomla application, the template that you wish to use as well as the extensions that are required for it.
Please consider:
Our free Joomla templates are intended for new websites. They contain a quick-start package and you cannot install them on an existing website.
When you start the development of your website, the first step of the process always involves careful planning. You need to concider what kind of audience will be targeted for your website, the content you will place on it and much more. These questions will help you determine the correct look for your website as well. The design must match the actual conept of your website. We understand this process and this is the reason why our Joomla templates provide a description and screenshots so you can decide which one to use. For more information on that, you can review our Free Joomla Templates page.
To install one of our free templates, you will have to:
Download and Prepare the Template
Once you locate the actual template that you wish to use for your website, you can simply download it via the big Download button at the top right corner of the actual template page. For the purpose of this tutorial, we will review and install our Marketika Joomla template.

The next step is to extract the files of the template on your local computer. Note that you need to first create a folder and then extract the contents of the archive in it. This will ensure that you do not leave any files behind.
First, you need to decide where you wish to install the template. As stated above, this is a quick-start installation package, which means that it will configure a new Joomla instance, the template and all of the required extensions for it. Once you decide the location of the new installation, simply upload all of the files in it. You can use your favorite FTP client for that purpose or the File Manager service within your cPanel account.
Working with FTP
To learn more on how to install a FTP client and access your hosting account via FTP, please visit our step by step FTP tutorials.
Configure the Admin Account and Database
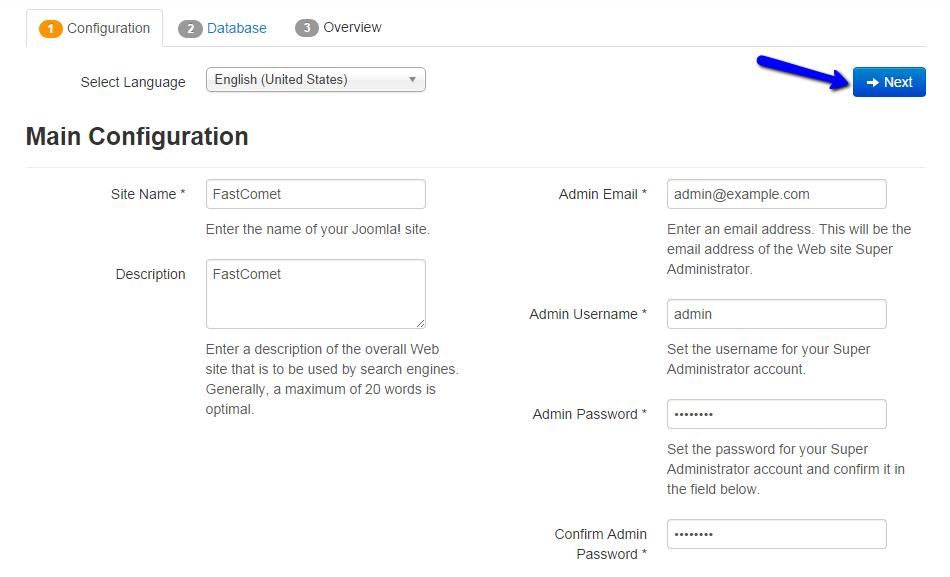
To initiate the installation, you need to point your web browser to the location, where you have uploaded your template. The system will bring up the default Joomla installation screen and the first step is called Configuration. You need to edit the following details:
- Site Name - Enter the name of your new website
- Description - Enter a short description for your website
- Admin Email - Enter the administrative email account
- Admin Username - Enter the username for your administrative user
- Admin Password - Enter the administrative password you would like to use
- Confirm Admin Password - Enter the password twice for verification
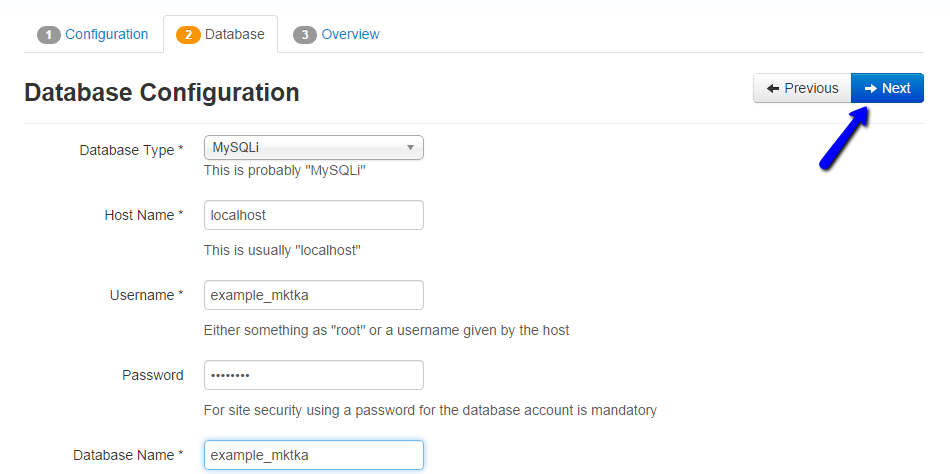
You will need to enter the details of an empty database on your account and a user assigned to it with all privileges. Enter the following details:
Create MariaDB Database
For more information on how to create a MariaDB database and username, please check our cPanel tutorial on How to create MariaDB Database.
- Database Type - Select the MySQLi option
- Host Name - If the database is on the same server, you need to enter "localhost" without the quotes
- Username - Enter the user, assigned to your database
- Password - Enter the password for it
- Database Name - Enter the database that you will use on your website. Make sure that it is empty
- Table Prefix - Set a database table prefix
Overview
The last step of the installation process is called Overview. It will summarize the data for your new installation. The only available option here is quite important as it will install the template on the new Joomla instance. You need to select:
- Install Sample Data: Set this option to Default Englis (GB) Sample Data.
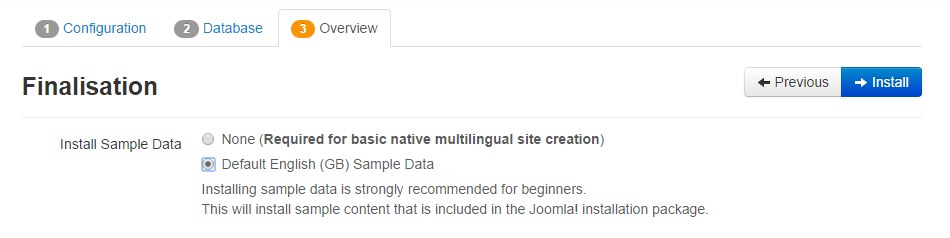
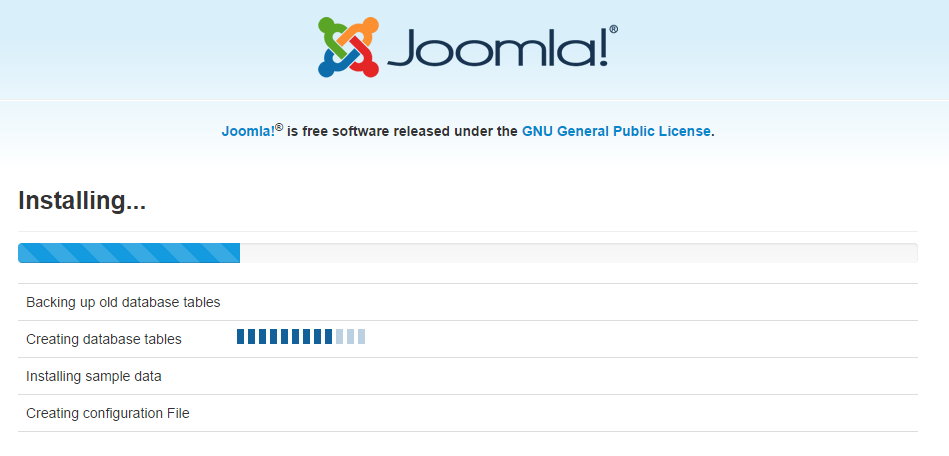
The system will then automatically proceed with the actual installation of Joomla, the template you chose and the extensions required for it.
The installation is now completed. You need to click on the Remove Installation Folder button as a security measure.

You can now proceed further to the Site or Administrator via the buttons available on the screen.
Joomla Hosting
- Free Installation
- 24/7 Joomla Support
- Hack-free Protection
- Fast SSD Storage
- Free Domain Transfer
- Free Joomla Transfer
- Free Cloudflare CDN