Zopim Live Chat integration
Updated on Mar 8, 2019
Warning!
Zendesk bought Zopim on April 10, 2014. The new service does not abide by all of the previously established terms and no longer provides free accounts for partners rendering this Tutorial Section out of date.
This tutorial will review the integration of the Zopim live chat feature on your Magento website. This is an excellent way of reaching to the visitors on your website, if they need any assistance before placing an order for your products.
The add Zopim in Magento, please follow these steps:
Get the Zopim Addon
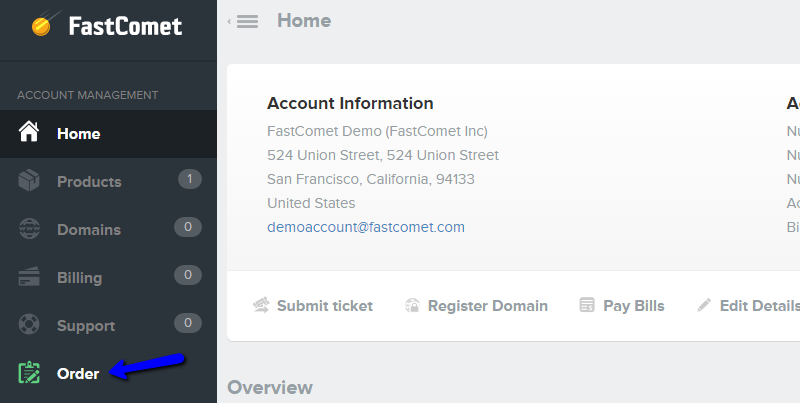
FastComet is an official Zopim reseller and we offer free account and integration with each of our SSD Magento Hosting plans. If you are an existing client, you can simply log into your Client Area and then navigate to the Order section.
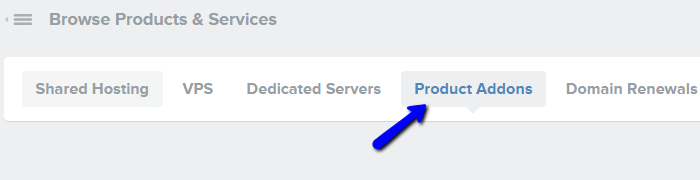
Select the Product Addons tab, which is available on the top navigation menu on the Orders page. It includes all extra services that we offer.
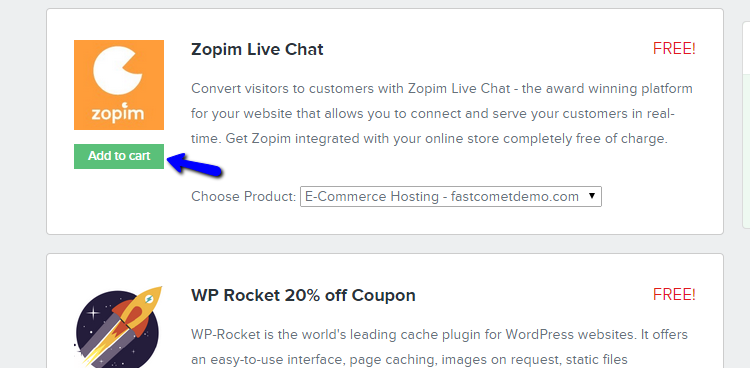
Scroll down to the Zopim Live Chat service. It is free of charge for our existing customers so simply click on the Add to cart button.
Complete the order for the extra service and shortly after, you will receive an email to verify that. The new email includes a direct link to your Zopim live chat dashboard and the login details for it as well. Once you have those, you can safely proceed to the second part, which is the integration of the Live chat on your Magento website.
Integrate Zopim with Magento
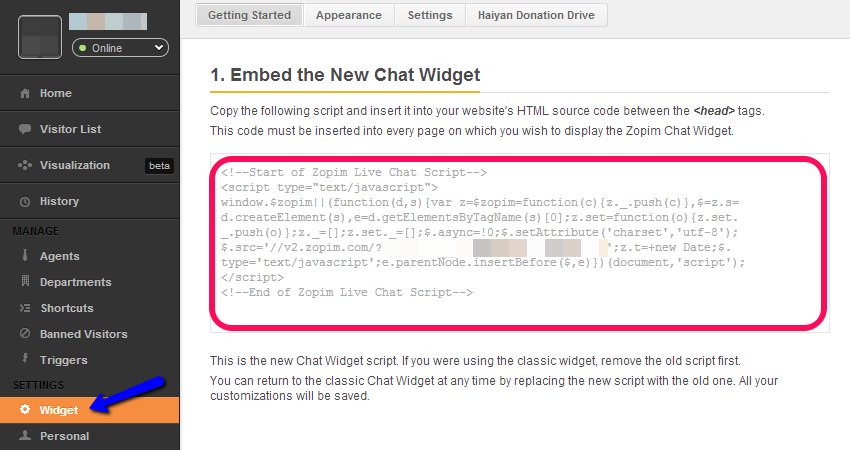
The integration of Zopim with Magento is an easy process. You will have to place the Zopim widget in the footer area of your website. To find the widget code, simply log into your new Zopim account, locate the Widget tab and then Embed The Live Chat Widget.
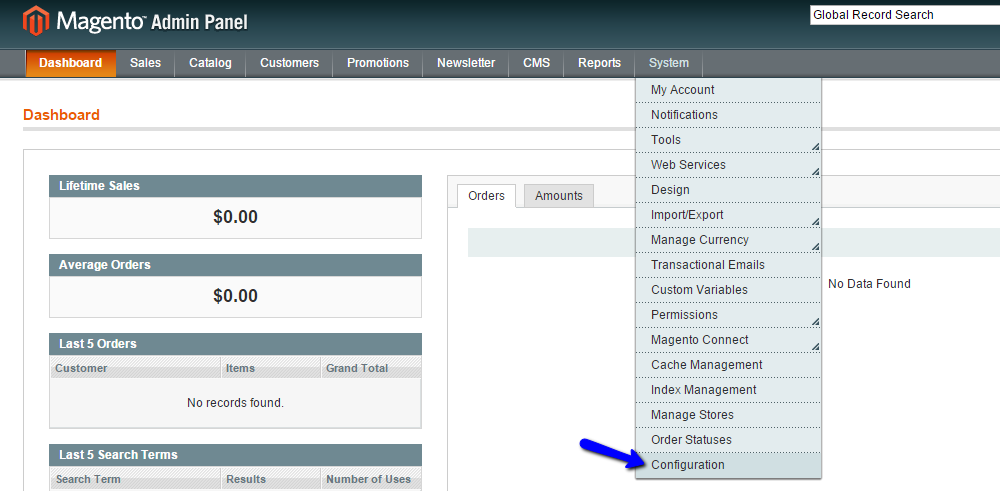
Once you get the Zopim widget code, you can proceed with the integration on your Magento website. Simply access the administrative area and locate the System tab from the main menu and then Configuration.
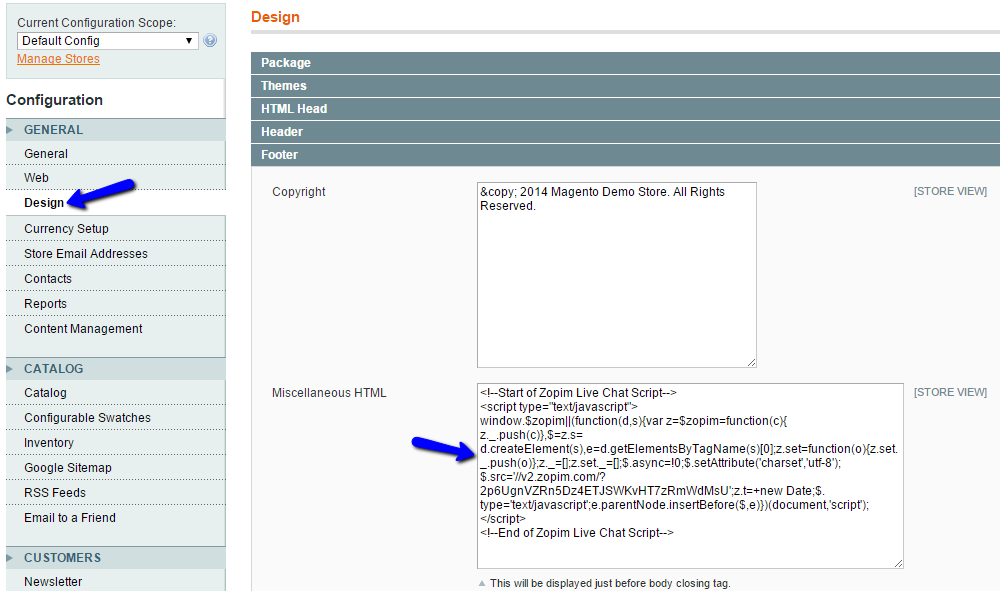
In the General tab, select the Design option. This will bring up the editable design items and you can expand the Footer section. In this section, you can place the code for your Zopim widget in the Miscellaneous HTML field.
Save the changes on your website and access the front-end. You will be able to see the Zopim widget displayed at the bottom of the page. Enjoy!

Magento Hosting
- Free Installation
- 24/7 Magento Support
- Hack-free Protection
- Fast SSD Storage
- Free Domain Transfer
- Free Magento Transfer
- Immediate Activation
- Free Cloudflare CDN