Installing a Custom Template in Dolphin
Updated on Dec 14, 2015
If you would like to build a good looking, user friendly community using Boonex Dolphin as a platform for your website you will reach a point when editing the overall design could be quite hard for achieving and timely consuming activity. Instead most of the website owners prefer to use already designed and verified templates which can be found over the web.
In this tutorial we will illustrate and describe the entire process of installing Boonex Dolphin template on your website. Of course some templates require different custom modifications to be performed which unfortunately we will be unable to review.
To install a new Template in Dolphin, you will need to:
Step 1 Prepare the new Template
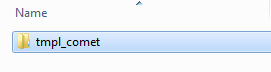
Usually when you download a template installation archive you will find different amount of files once you extract the archive. The name of the folder you are specifically looking for begins with the “tmpl_” prefix followed by the name of the template. This is the actual folder which holds the files and folders your template uses and you will need to upload that folder on your website in order for the template to be available for use.
There are quite a lot of websites providing free and licensed templates so you should be able to pick a template. Once you have downloaded the template installation archive extract in on your local computer and find the folder which names begins with tmpl_.
Step 2 Upload the Template Files
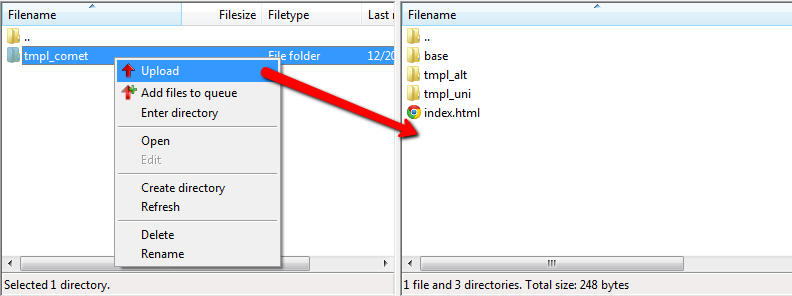
Now you will need to upload that folder to your Boonex Dolphin platform based website. The best way to handle that procedure would be if you connect to the hosting space for your website using the FTP service. If you are not quite sure how to do that please check out complete FTP tutorial series.
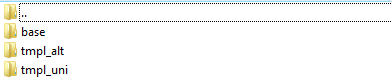
Once you are connected to the FTP Service for your website navigate to the folder where your Boonex Dolphin platform is installed and then find the templates folder. Once you access that folder you will probably notice that there are already installed templates which are the default templates provided by the platform.
In order for the new template you would like to install to be available for activation and for further use you will need to upload the folder we have mentioned earlier in this tutorial (the one which name begins with tmpl_) in the templates folder.
Step 3 Activate the Template
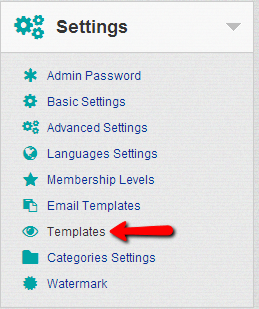
Since you have already uploaded your new template it is time for the same to be activated. This can be easily achieved if you login into your website’s administration area and navigate to Settings>Templates.
There you will notice a new template has appeared along the default templates “Uni” and “Alt” and the new template is the one you have just uploaded.
In order to activate the new template you will need to click on the Make Default button located just below the name of the new template.
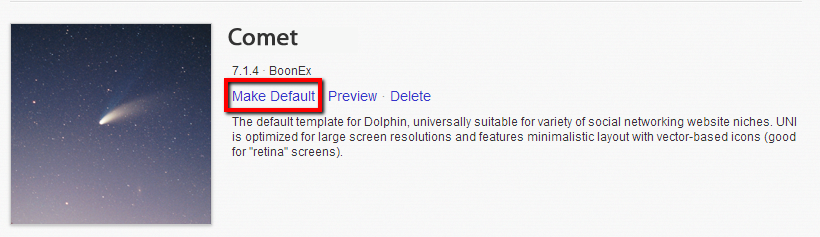
Once you click that link the page will reload and you will now see that the “Make Default” has been replaced with the Default option indicating that this is the default template for your application from now on.
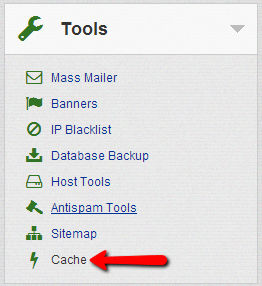
Step 4 Clean the Cache
The last thing you need to do is to clear the cache of your application. This is quite an easy task to handle and in order to do so you will need to navigate to Tools>Cache once you are logged in the administration area of your Boonex Dolphin platform based website.
On that page you will be presented with a the types of cached contents your application has already cached. In order to clean the cache you will need to use the All link next to the graphic in the center of the page.

Once clicked this option will clear all of the cached contents and the graphic you have been presented with will disappear as there will be no cached contents once you clear the cache.
That’s it! Congratulations, your new template has been successfully installed and activated. Navigate to your home page and verify if the template is displayed properly.

Dolphin Hosting
- Free Dolphin Installation
- 24/7 Dolphin Support
- Hack-free Protection
- Fast SSD Storage
- Free Domain Transfer
- FFmpeg Support
- Free Cloudflare CDN