Managing Membership Levels in Dolphin
Updated on Dec 15, 2015
The Membership Level in Boonex Dolphin allows you to easily manage the permissions for the members of your Social Community. By using this feature you will be able to edit the actions certain user can take based on his/her Membership Level.
In this tutorial we will show you how to create a Membership level, how to modify the actions under that level and how to promote a user to the newly created Membership Level.
To correctly manage the membership levels in Dolphin:
Step 1 Add a Membership Level
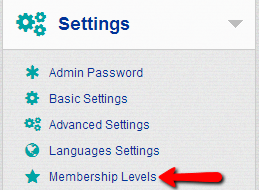
First we will begin by adding a new Membership Level. In order to do that you will need to login into the Administration area of your Social Community and navigate to Settings>Membership Levels.
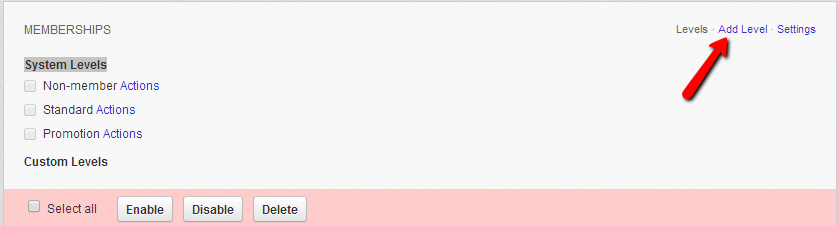
There you will be presented with the Membership Interface where all of the Membership Levels will be displayed. In order to add a new Membership Level you will need to click on the Add level link.
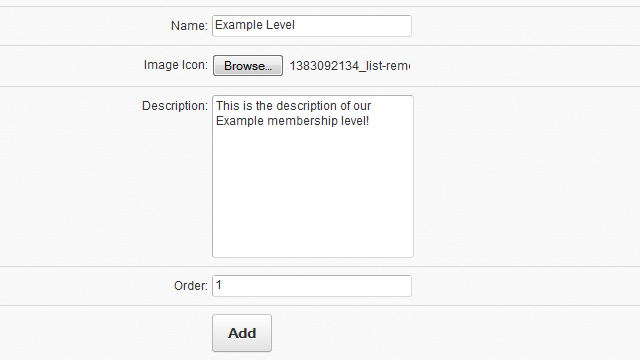
Then a new interface will come up where the required fields for the new Membership Level will be presented. The fields are:
- Name – The name of the new Membership Level
- Image icon – The icon for the new Membership Level
- Description – The description for the new Membership Level
- Order – The order used by the new Membership Level when it should be displayed with the other membership levels. You should set this as 1 or any other number so the field can have different than 0 value
Once you are finished filling the fields you should click on the Add button in order to create the new Membership Level.
This action will ensure that the new membership level is properly created.
Step 2 Edit Membership Levels
Once the new Membership Level is added you will be redirected back to the Membership Levels page where you should be able to see the newly added level under the Custom Levels category.
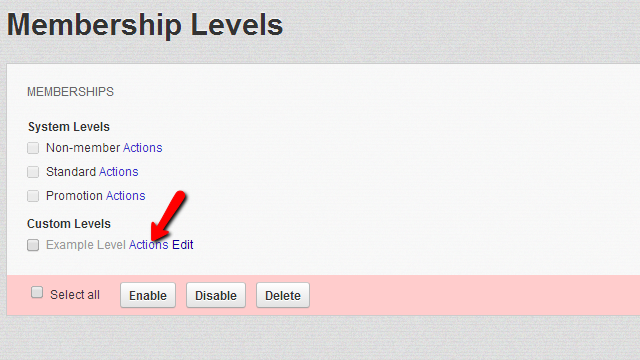
Click on the Actions link so you can configure the actions this membership level will be allowed to perform. You will be presented with additional section on that page called ACTIONS OF 'EXAMPLE LEVEL MEMBERSHIP LEVEL where the EXAMPLE LEVEL sting will be replaced with the name of the membership level you are editing the actions for.
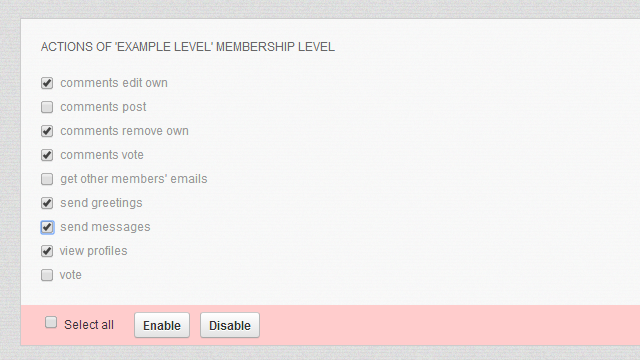
Select the actions you would like the new membership level to be allowed to take and use the Enable button at the bottom of that interface to enable the actions you have selected.
Step 3 Assign a Membership Level to a User
Now that your new membership level is created it is time to assign the level to existing user. You can do that by navigating to the edit profile page for the user you would like to edit. This can be achieved via the Administration area>Members. There by clicking on the member avatar or name you will be redirected to the member’s Profile Page.
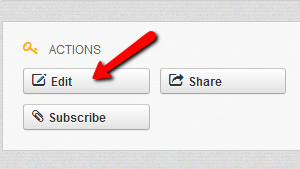
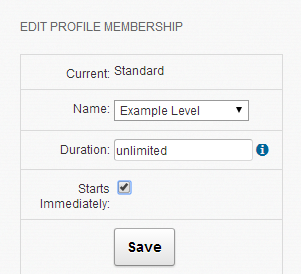
Once there you will need to click the Edit button in order for the Edit Profile Info page to be displayed. On that page you should be able to find the EDIT PROFILE MEMBERSHIP block where you will be able to select the Name of the Membership Level you have just created. If you would like the new membership level applied immediately please use the Starts Immediately checkbox and finally press the Save button so the change can be saved.
Congratulations! Now you know how to manage the membership levels in your Social Community !

Dolphin Hosting
- Free Dolphin Installation
- 24/7 Dolphin Support
- Hack-free Protection
- Fast SSD Storage
- Free Domain Transfer
- FFmpeg Support
- Free Cloudflare CDN