Installing Modules in Dolphin
Updated on Dec 14, 2015
In order to have different functionalities available on your Boonex Dolphin Social platform based website you will need to learn how to install and manage the modules which are actually providing most, not to say all of the functionalities you might want to have on your social community website.
In this tutorial we will not only explain how to install a module via the admin interface of the social platform but we will also provide you with more information on how can you uninstall or recompile the language for a specific module.
To manage the modules in Dolphin, you need to:
Step 1 Find and Review the Modules page
In order to access the modules page of your social community you will needto login into the administration area and then navigate to Modules>Add & Manage.
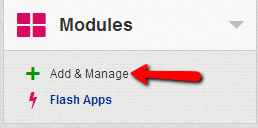
There you will notice few sections which will present you with the following lists of modules:
- Installed Modules – The modules you have already installed on your social community
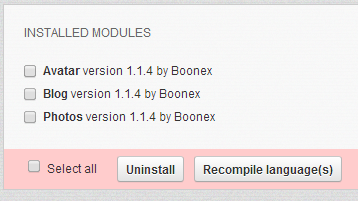
The available actions you are allowed to perform with these modules are Uninstall – for uninstalling a module from your website (making it inactive) and also Recompile language(s) for compiling the language pack used by the module if there are some misspelled links for example.
- Not Installed Modules – A list with all of the modules currently uploaded to your social platform, however still inactive or waiting for installation
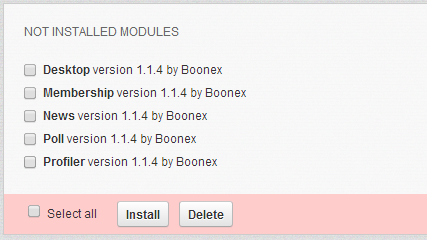
The available actions here are Install for installing the selected module(s) and also Delete for permanently deleting a module from your social community which will prevent the module from being installed in future.
- Available Updates – An interface which will provide you with any available updates for the modules you are currently using

The available options here are again Install for installing the updates and Delete for deleting updates.
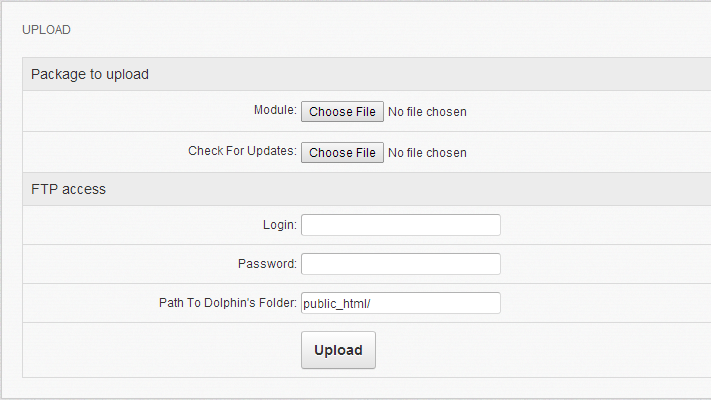
- Upload – The last and maybe most useful interface is the upload interface. It will provide you with the option to upload modules’ installation packages to your social community so you can install them once uploaded. Note that for this feature to work you will need to configure the FTP Access part of this interface with valid settings for the FTP service for your account
Step 2 Install a Module
Now that you know what features that page offers it is time to actually install a module. You might already be aware of how this should be achieved by reading the previous lines of this tutorial but just in case you are not bellow we will describe the process.
Assuming that your module is properly uploaded from the Upload interface it will appear in the Not Installed Modules interface. There by selecting the checkbox before the module’s name and then pressing the Install button your module will be successfully installed.

Once the module installation process finishes the page will be automatically refreshed and you will notice the result from the installation operation at the top of the page.

This is how a module should be installed using the administration module management interfaces.
Congratulation! You can now install modules for your Dolphin social community!

Dolphin Hosting
- Free Dolphin Installation
- 24/7 Dolphin Support
- Hack-free Protection
- Fast SSD Storage
- Free Domain Transfer
- FFmpeg Support
- Free Cloudflare CDN