Managing Newsletters in Dolphin
Updated on Dec 15, 2015
Managing a newsletter for your Social Community has never been so easy. With the provided by default Mass Mailer feature of the Boonex Dolphin platform you will be able to easily send a message to all of your registered users at once informing them for example about any ongoing events, meetings or just to let them know that your website might take some time in maintenance if for example you would like to apply some patch.
In this tutorial we will discuss how you should configure and use the Mass Mailer feature of the Boonex Dolphin platform so you can easily send emails to your members at once.
To manage your Newsletters in Dolphin, you will need to:
Step 1 Access the Mass Mailer
First you will need to access the feature. In order to do so please login into your administration area and navigate to Tools>Mass Mailer.
There you will find a page with 3 sections displayed.
Step 2 Configure the Mass Mailer
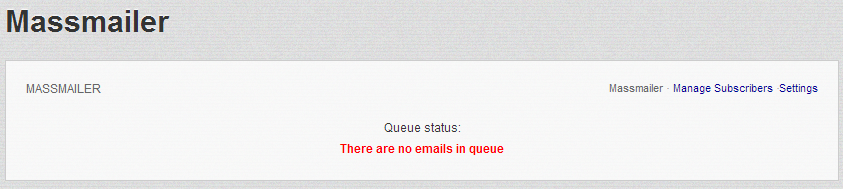
The first section is called MASSMAILER as the name of the feature and it provides information regarding the emails in the global sending queue of your Social Community. If you would like to tweak the number of sent emails per run you can simply click on the Settings link in that section and you will be presented with the option to modify that value.
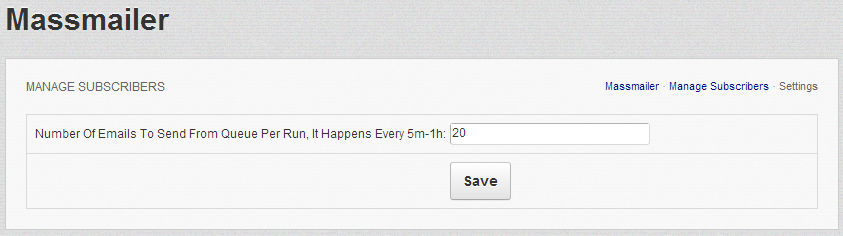
If you would like to receive information regarding the subscribers of your newsletter then you should use the other link in this section - Manage Subscribers.
The second section is called Email Message and as the name suggests it serves exactly for the message you are about to send.
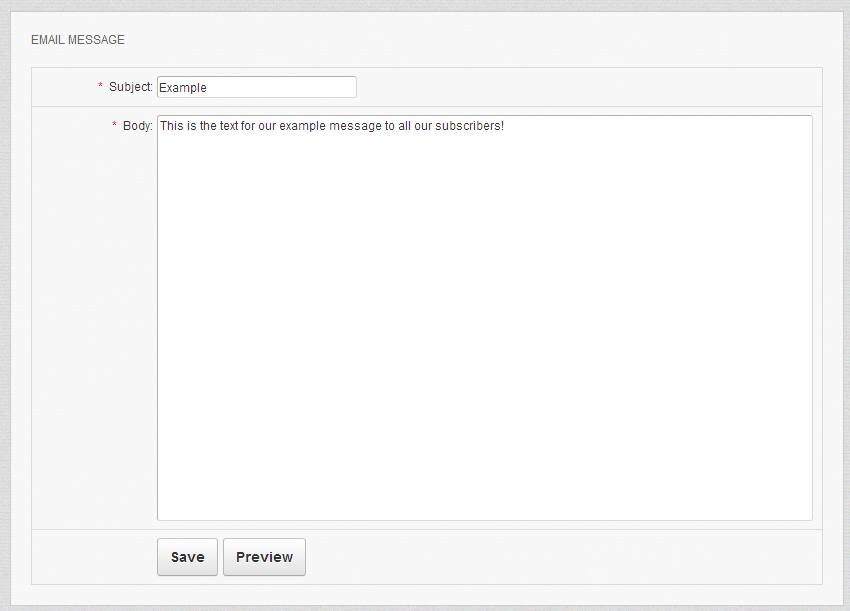
Once you have both of these filled please use either the Save or Preview button provided at the bottom of this section so you can respectively save or preview the message you have just wrote.
Now that you have saved your message it is time for the same to be queued for sending and here comes the third section in use. The section is called ALL MESSAGES and it consist of your saved messages presented in a drop-down list.

Immediately after you select a message from the drop-down menu an additional section will appear bellow called Queue Message this section serves for configuring the queuing process for the message you are about to send and there are the following fields available in this section:
- Send to subscribers – If the message should be sent to all of the subscribers of your newsletter
- Send to members – If the message should be sent to all of the members no matter if they are subscribed to the newsletter or not
- Man – If the message should be sent to all men
- Woman – If the message should be sent to all of the women
- Age From – The starting age for the recipients of your message
- To – The ending age of the recipients of your message
- Country – The country where the recipients of your message are living
- Membership Levels – The recipients of your email added to the concrete membership level
Once you configure all these settings please use the Submit button so you can push the message to the global mail queue of the application so it can be sent properly.
Step 3 Configure Subscriptions
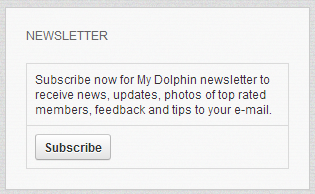
Now that you know how to create a messages and to send them to all of the members you would like to it is time to configure the actual subscription option for your Newsletter. In order to enable the users to subscribe to your newsletter you will need to add a block to the Homepage of your Social Community for example.
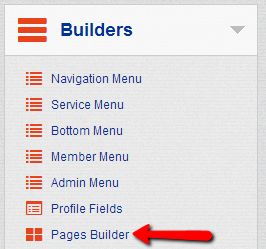
This can be easily achieved if you simply add the newsletter block to the location you would like the block displayed. In order to add the block you will need to login into the administration area of your website and to navigate to Builders>Pages Builder.
Once there please select the Homepage from the Pages drop-down list and then you will be presented with a complete list of the currently added blocks on the Homepage of your social community.
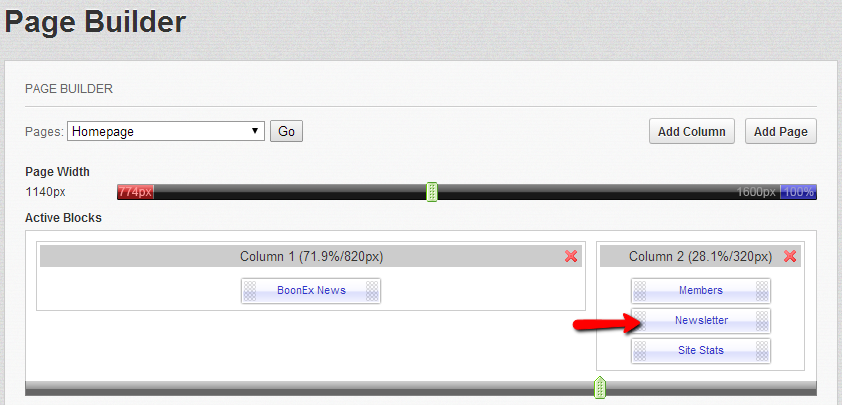
If the Newsletter block is still not added please add it by simply drag-and-drop its block in the concrete column on your page.
That is all! You now know how to send emails to your newsletter subscribers (or to all other users) of your Social Community!

Dolphin Hosting
- Free Dolphin Installation
- 24/7 Dolphin Support
- Hack-free Protection
- Fast SSD Storage
- Free Domain Transfer
- FFmpeg Support
- Free Cloudflare CDN