Enable and Manage Blogs in Dolphin
Updated on Dec 14, 2015
Blogging in your social network has never been so easy. With the integrated Blogs functionality the Boonex Dolphin platform will allow you to have fully functional blogs on your social network for each and every user signed up in it.
The Blogs feature is an actual module included in the default set of modules Boonex Dolphin comes with after successful installation. Thus in order to have that module installed you will need a basic knowledge on how to install modules in Boonex Dolphin.
If you are not quite sure how to install a module on your Social Community please read the following tutorial where we have well explained the process.
To enable and use Blogs in Dolphin, you will need to:
Step 1 Install the Blogs Module
The installation begins at your Administration area>Modules>Add & Manage.
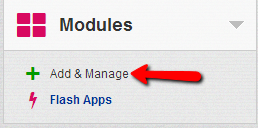
You should be able to find the Blogs module in the list of Not Installed Modules if of course you have not already installed that module.
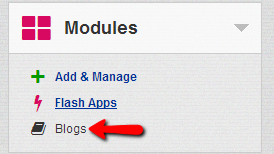
Once the module is installed you will be presented with a link to the module administration page
Step 2 Manage the Installed Blogs Module
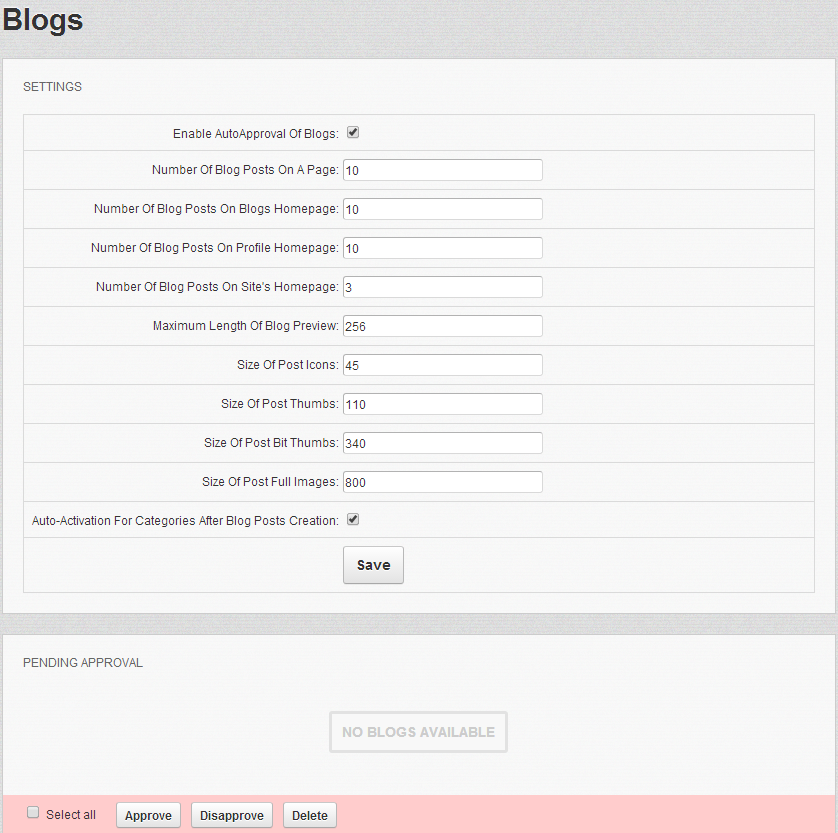
The administration page of the module is separated on two sections. The first one is called Settings and it contain the actual settings for your blogs:
- Enable AutoApproval Of Blogs – This option enables the new blogs to be automatically approved and published
- Number Of Blog Posts On Blogs Homepage – The number of blog posts displayed on the Blogs home page
- Number Of Blog Posts On Profile Homepage – The number of blog posts that should be displayed on the Profile Homepage for each user
- Number Of Blog Posts On Site's Homepage – The number of blog posts that should be displayed on your Social Community Home Page
- Maximum Length Of Blog Preview – The length in characters for the preview of each blog post
- Size Of Post Icons – Тhe size of the icons for your post in pixels
- Size Of Post Thumbs – The size of the blog thumbnails in pixels
- Size Of Post Full Images – The size of the full images in each post in pixels.
The second section is called Pending Approval and as the name suggests it contains the blogs which are either disapproved or are not approved entirely.
Now that you know how to activate your Blogs feature and to configure its settings it is time to check the frontend of the feature.
Step 3 Add a Blog Post
By the time you have installed the module the installation interface have already added the Link to the main navigation menu of your Social Community.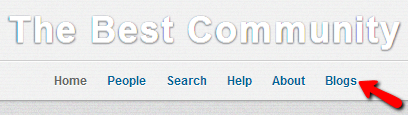
If you click on that link you will be redirected to the Blogs Homepage where you will be presented with the existing blogs on your Social Community. The page is fairly self explanatory however we will cover the simple actions of creating and editing your posts.
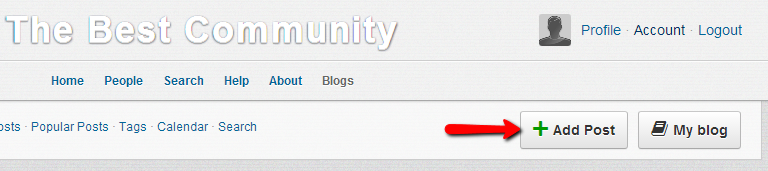
In order to create a posts use the Add Post button at the top horizontal menu of the Blogs Home page.
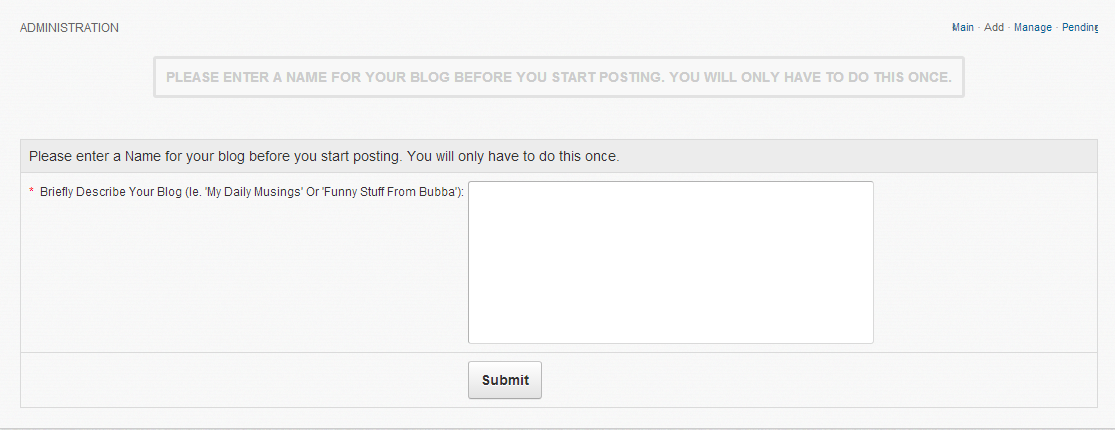
If this will be your first post and you have not created your own blog you will be prompted with the message to specify the name for your Blog.
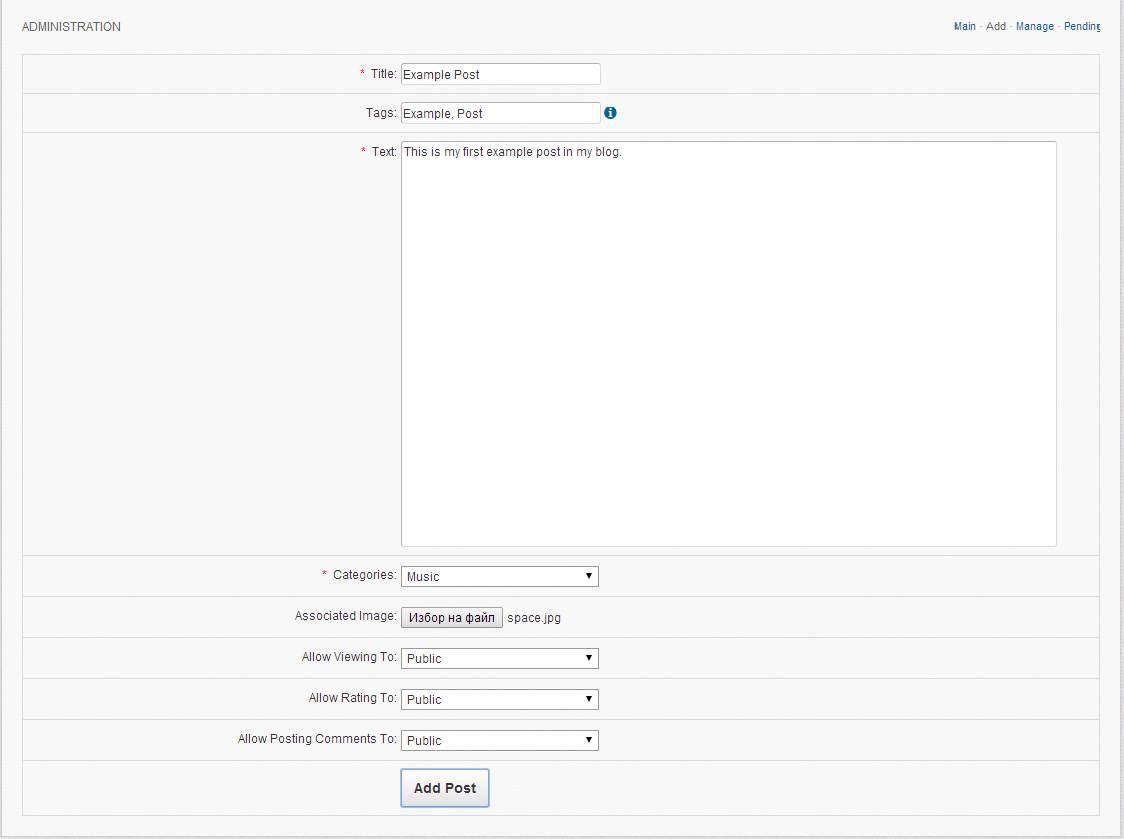
Once you have entered a name for your blog you will be redirected to the interface for adding a post which is a simple form containing the following fields:
- Title – The title of your post
- Tags – The tags related to your post
- Text – The actual content of your post
- Categories – The categories your post can be assigned to
- Associated Image – The featured image for your blog post
- Allow Viewing To – The allowed group of members which can view the blog post
- Allow Rating To – The allowed group of members allowed to rate your blog post
- Allow Posting Comments To – The allowed group of members allowed to post comments on your blog post
As soon as you are ready filling the fields on that form you will need to press the Add Post button right below the form in order for your post to be saved.
Now that you have a post added to your Blog it is time to edit it or even delete it. Actually there are quite a lot of actions you have perform related to your posts. All of those actions are conveniently stored in a block called Actions located inside the Post View page where all of the content in your post is displayed.
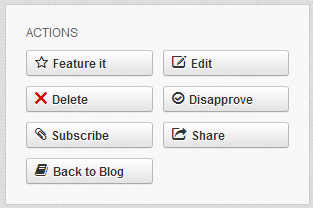
The actions are quite self explanatory and their interfaces are also quite user friendly so you can be able to take the desired actions easily.
Congratulations! You have successfully installed the blog feature and you should be able to add as many as posts you would like to there.

Dolphin Hosting
- Free Dolphin Installation
- 24/7 Dolphin Support
- Hack-free Protection
- Fast SSD Storage
- Free Domain Transfer
- FFmpeg Support
- Free Cloudflare CDN