Dolphin Administration Area
Updated on Dec 14, 2015
In order to manage your Boonex Dolphin platform based website you need a convenient way of configuring how the website should look or what features it will include. The authors of the application took care for these needs by creating easy to use administrator’s panel which we will describe in this tutorial.
Step 1 Access the administration area
First of all you will need to access the administration area of your newly installed Boonex Dolphin social platform. The administration area is located by default in the administration subfolder available via the URL for your website plus the name of that folder - “administration” or if your domain name is http://example.com the administration area will be available under http://example.com/administration.
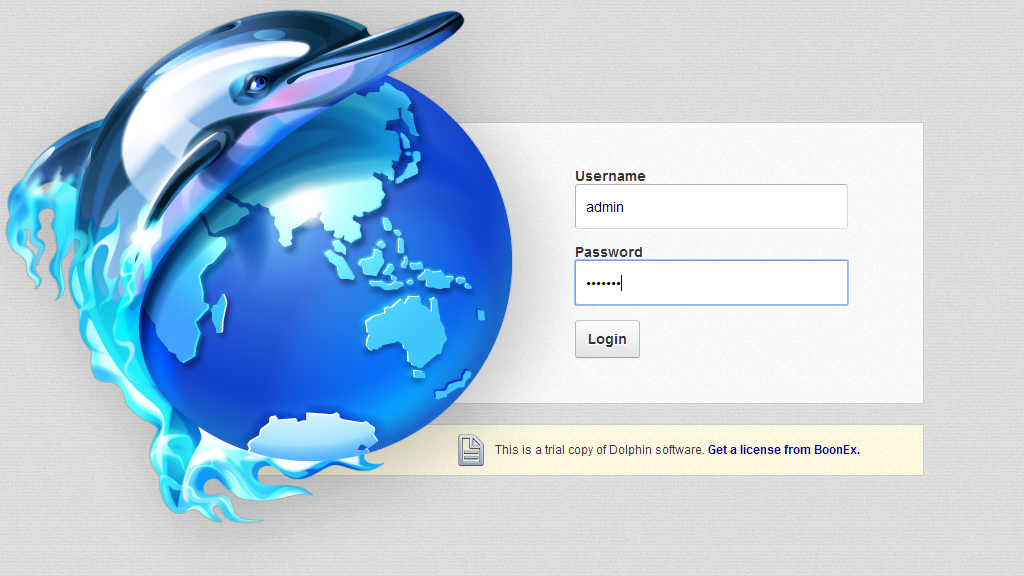
Once you access that location you will need to enter your admin user username and password which you have created with the installation process of the platform.
Step 2 Administration area overview
The first thing you will probably notice if you are using the trial version of the platform will be a warning prompted right after a successful login into your admin area. If you are just testing the platform or you are about to build your website you will most probably like to use the platform without purchasing a license. If that is the case simply use the “continue trial” link locate right below the trial notice: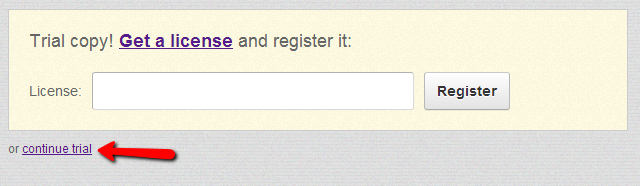
By clicking on this link you will be redirected to the Dashboard page of your admin area where you will be presented with few INITIAL STEPS you should consider, GROWTH CHARTS displaying the actual growth of your website, CONTENT chats and some more useful information.
Since the purpose of this tutorial is to get you familiar with the features in the administration area of your Boonex Dolphin platform we will briefly discuss all of the links you are able to see in your admin area.
The main navigation menu of the administration page is located in the left part of the page and it is vertically structured into different sections.
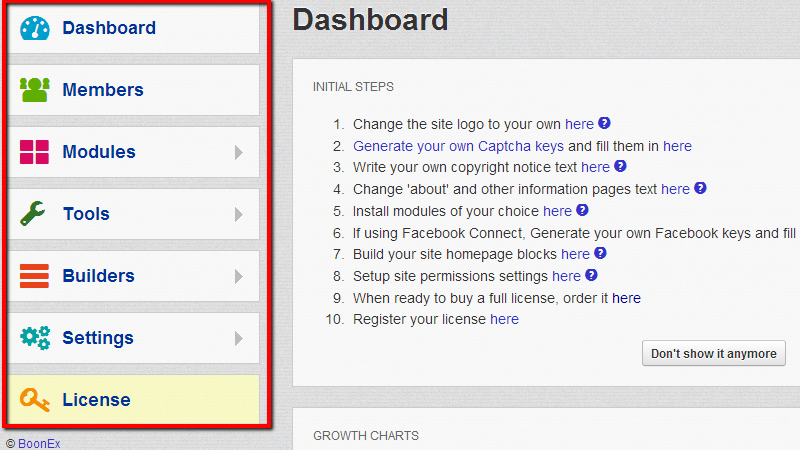
- Dashboard - The first link is the same page you are directed to when you login into the administration area – your Dashboard
- Members – This link will direct you to a page where you will be able to manage the users having an account on your social platform
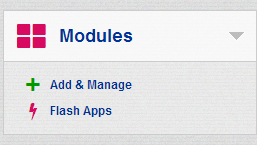
- Modules – This link provides you with options to manage all of your modules along with a list of the modules once such are installed
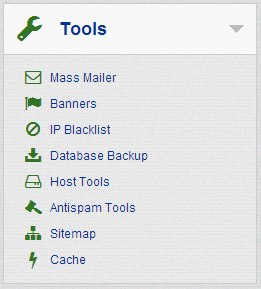
- Tools – This link will present you with a list of the tools your application offers for managing its functionality and content.
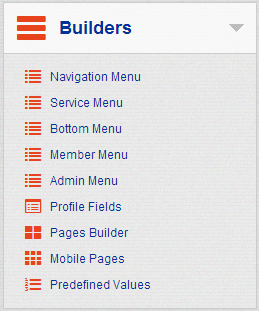
- Builders – This link will provide you with all of the builders your social platform uses for building the contents displayed to the users.
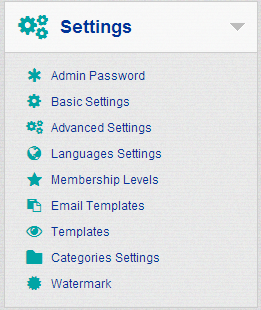
- Settings – This link contains all of the available settings you might need to perform from time to time. Here you can change for example the look of your social platform of the language it is displayed on
- License – This link will lead to a single page where you should enter any existing license if you have purchased such of course
There is one additional menu at the header of the administration area and it is for easing the access of the administrators to the frontend of the website or for purchasing modules for example.
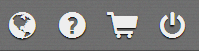
The links are pretty much self explanatory even presented only with images.
That's it! You should be well familiar with the structure of the administration area provided by the Dolphin social platform!

Dolphin Hosting
- Free Dolphin Installation
- 24/7 Dolphin Support
- Hack-free Protection
- Fast SSD Storage
- Free Domain Transfer
- FFmpeg Support
- Free Cloudflare CDN