How to install Dolphin using Softaculous
Updated on Dec 14, 2015
As most of the Open Source application we are supporting Boonex Dolphin can also be installed via the Softaculous auto installer provided for all our customers absolutely free or charge.
To install Dolphin via Softaculous, you will need to:
Access the Installation page in Softaculous
In order to begin the installation process you will need to navigate to your cPanel and access the Softaculous application.

There you can either search for the Boonex Dolphin application using the search bar located at the right part of the top horizontal navigation menu.

or you can find the Boonex Dolphin application in the left vertical menu under the Social Networking category.
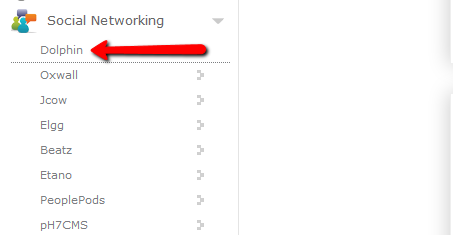
No matter which from the options for finding the script you may prefer at the end you will be presented with the home page of the application where further actions will be available.
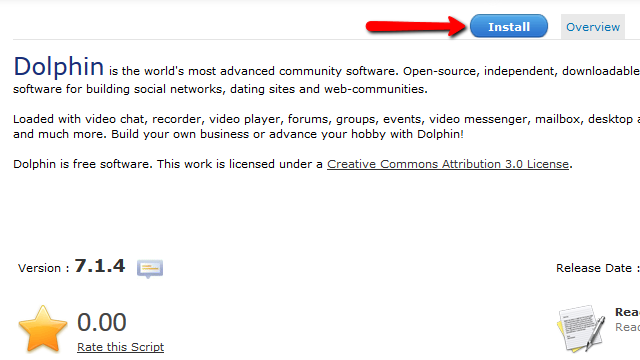
If you click on the “Install” tab you will be able to begin the installation process for the script.
Configure the Auto Installer
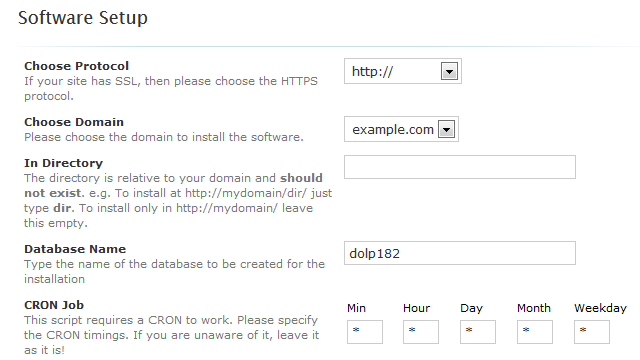
The installation is fairly simple and in order for the whole process to be performed smoothly you will need to configure the options presented at the Install page. The first group of options is called Software Setup. The options you will need to configure here are:
- Choose Protocol - This option is for choosing if your application should be installed with the http/https protocol support or with or without www. prefix in the URL. If you have SSL protocol installed for your domain name you should choose the https:// protocol so the application can be working with that type of protocol.
- Choose Domain - Here you should choose the domain/subdomain where the application should be installed at. All of the domains/subdomains associated with your account will be listed in the dropdown menu next to that option.
- In Directory - By default the value for this option will be “dolph”. You should change this value with the name of the actual folder you would like the application installed in. If you prefer the application to be directly installed on one of your domains please leave this option empty.
- Database Name - The name of the database your application will be using. By default Softaculous will fill the field for that option with random generated database name. It is recommended for that database name to remain the same as the auto installer will automatically create that database and also user associated with the same.
- CRON Job - The configuration for the Cron Job associated with your application. The auto installer will automatically create this Cron Job for you and you will not need to change any of the settings for this field. Of course if you would like the Cron Job executed on larger period of time than every minute you should configure it manually.
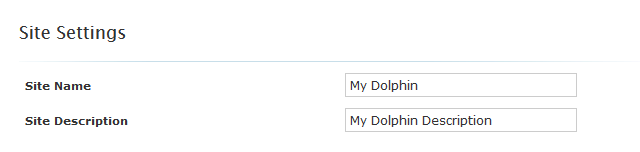
The second group of options is called Site Settings and as the name suggest it contains settings related to the configuration of your website:
- Site Name - The name of your website.
- Site Description - Few words describing what your website will be for.
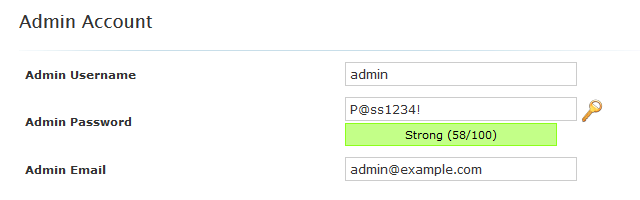
The third and final group of options is called Admin Account and it contains settings related to the admin account you will be using for basically everything on your application once it is installed:
- Admin Username - The username you will be using for logging in with the admin user for your application.
- Admin Password - The password for the admin user of the application. Please make sure that you are using “Strong” password type so you can avoid any security issues.
- Admin Email - The email account associated with the admin user for your application.
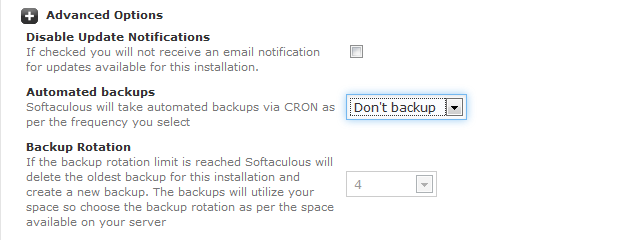
>An optional group of settings is the Advanced Options group which you can find right below the Site Settings group. This group contains settings related to the notifications from the Update Service provided by Softaculous and also the Automatic Backup Service:
- Disable Update Notifications - This option will disable the automatic notifications you are receiving whenever an update for your application is released and available.
- Automated backups - This option is for configuring the basis which the automatic backup service will be using for backing up your application. The available options are “Once a day”, “Once a week” and “Once a month”
- Backup Rotation - The amount of backups Softaculous should store for your application. This option will be available only if you choose a basis from the previous option.
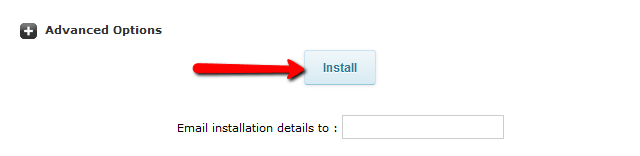
Initiate the Installation Script
As soon as you are done will all these configurations you can press the Install button so the installation process can begin.
The process itself is fairly fast and in a few seconds you will be presented with the access details like the URL and Admin URL for your newly installed application.
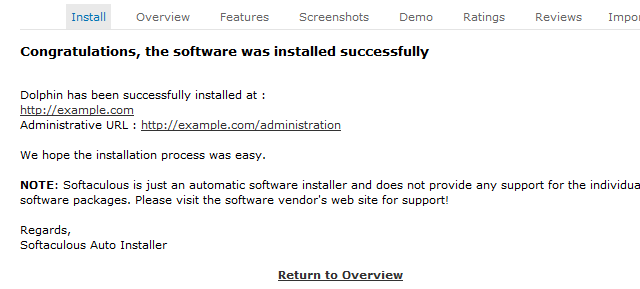
Congratulations your Boonex Dolphin platform has been successfuly installed!

Dolphin Hosting
- Free Dolphin Installation
- 24/7 Dolphin Support
- Hack-free Protection
- Fast SSD Storage
- Free Domain Transfer
- FFmpeg Support
- Free Cloudflare CDN