How to Manage DNS Records via the Zone Editor
Updated on Nov 4, 2019
If you have your domain name pointed to your hosting server via Nameservers, this means that your DNS zone can be managed via cPanel's Zone Editor. DNS zones contain records that are essential for the uninterrupted operation of your website and web services, such as email delivery. More on the different record types, some of which we will discuss in this tutorial, can be found in our DNS Records tutorial.
Note
After cPanel version 62, the two different DNS Zone editing options - Simple Zone Editor and Advanced Zone Editor have been merged into the Zone Editor, which we will cover in this tutorial.
To manage the DNS records of your domains via cPanel, you should learn:
How to Access the Zone Editor's Domain List
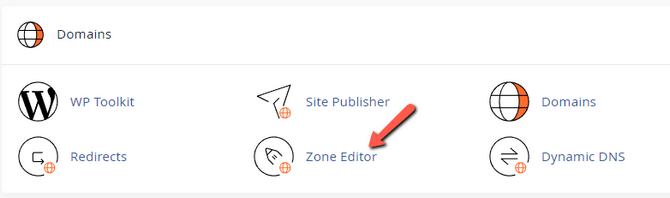
Accessing the DNS Zone interface can be done via your cPanel → Zone Editor.
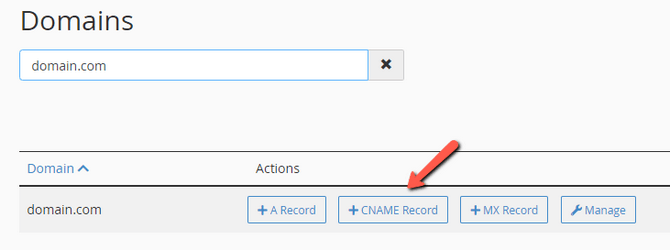
Here you will see a list of your domains. The most used records have been taken out of the Manage menu and highlighted here. That is done so that you can add new A, CNAME, and MX records quickly and by filling only two fields with data. Functionally, this part of the Zone Editor looks a lot like the Simple Zone Editor available in past cPanel versions.
There is one more record type which while available in cPanel but not on most Shared Hosting Servers. The DNS Security Extensions (DNSSEC) add a layer of security to your domains' DNS by using digital signatures and encrypted keys to authenticate DNS interactions.
Note
You can enable DNSSEC on our VPS and Dedicated Server plans by disabling DNS clustering and installing PowerDNS via WHM → Home → Service Configuration → Nameserver Selection.
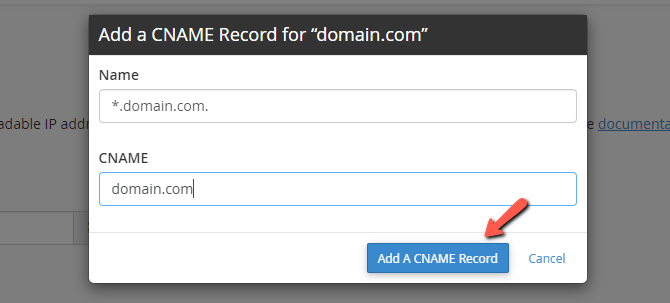
As an example, we can add a new wildcard CNAME record for a domain.
Click on the Add a CNAME record to complete the process. The process will be similar for the MX and A records. With valid parameters for each of the types, of course.
How to Manage your DNS Zone
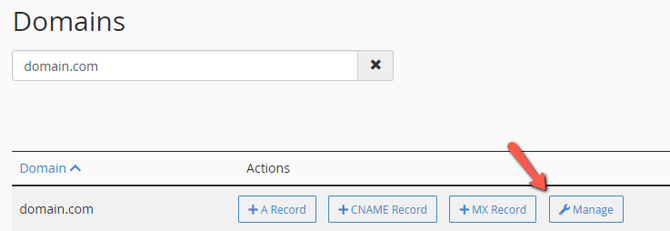
If you want to add one of the record types without quick access or edit an existing record, you will need to enter the Manage menu of your Zone Editor.
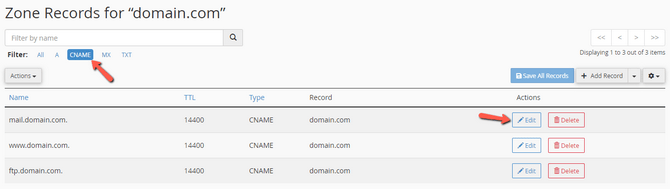
How to View DNS Records by Type
In the Zone Editor, you can select the exact display option for your DNS records via the Filter and search box elements. This will help you see only record types relevant to your needs and precise results by name.
How to Manage the Page Size and Navigation
Depending on your DNS configuration for specific domains, you may see a lot more records than the average user. That was the reason for cPanel to add pagination and page navigation in the Manage menu of the Zone Editor. With it, you can increase/decrease the number of DNS records shown per page as well as flip between hundreds of results with ease.
How to Add a Record
To add a new record, select the record type via the drop-down menu and input the record's canonical name, TTL, and destination.
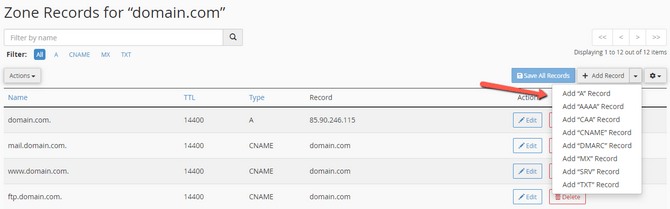
The records from which you can choose are:
- A;
- AAAA;
- CAA (Certificate Authority Authorization Record);
- CNAME (Canonical Name Record);
- DMARC (Domain-based Message Authentication, Reporting, and Conformance);
- MX (Mail Exchanger);
- SRV (Service Record);
- TXT (Text Record).
Note
SPF details are stored in the DNS Zone as TXT records as per RFC 7208.
How to Edit a Record
Record editing is very similar to creating them. When you click on the Edit button for a particular record. You can change all of its values, including the Time to Live (TTL). Furthermore, you can filter by specific record types for a more unobstructed view of the list.
Note
If you create a record via cPanel outside the Manage interface, the TTL will be set to a default of 14400 seconds or four hours.
As changes to a record apply after the TTL expires, setting it to 100 seconds when doing a change will affect the use of the new information much faster. That is especially useful when you change A records' IP addresses. Once you have seen the new settings being used, you can return the TTL to the default. Click Save Record to complete the change.
How to Delete a Record
At some point, you may need to delete obsolete DNS records to keep your website running without issues. In such cases, you need to enter the Manage interface, find the record in question, and click on the Delete button associated with it.
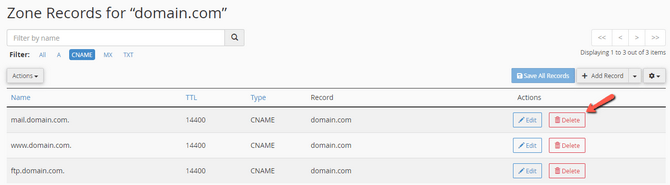
Don't worry that you can accidentally remove a record this way. You will be prompted by a confirmation window to confirm the actual deletion.
How to Reset the DNS Zone
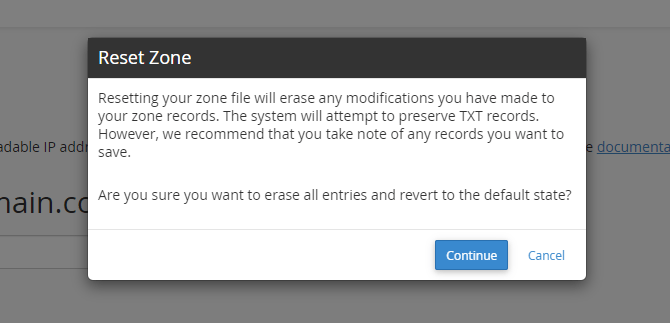
There is one more option for managing records, which is harder to find than the rest. That is the Reset Zone feature which you can use to remove all modifications to the zone made by you. That means that the DNS Zone will return to the hosting plan's default setting, which is the state right after the creation of the cPanel account.
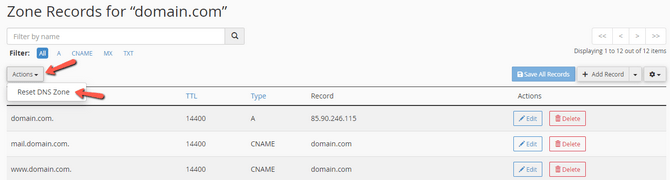
Again, you will receive a warning via a pop-up, this time, including a more detailed explanation of the action you are about to perform. If you want to proceed with the reset, confirm the action.
If for any reason you would like to restore your DNS zone from a backup, you may do so via the JetBackup Restore Manager following our tutorial.

cPanel Hosting
- Free Domain Transfer
- 24/7 Technical Support
- Fast SSD Storage
- Hack-free Protection
- Free Script Installation
- Free Website Transfer
- Free Cloudflare CDN
- Immediate Activation