PrestaShop 1.6 Manual Installation
Updated on Sep 12, 2016
PrestaShop is one of the top 5 currently used E-Commerce platforms. The application is PHP/MariaDB based and we are supporting the PrestaShop hosting on all our packages with no exceptions. In this tutorial we will provide you with detailed information on the manual installation of the platform structure in few easy to follow steps.
To install PrestaShop 1.6 manually, follow the steps below:
Prepare the Installation Files
Like every other php script you will need to upload the installation archive on your web hosting space with us. But first you will need to download the installation archive. You can do that by accessing the download page for PrestaShop at their official website.
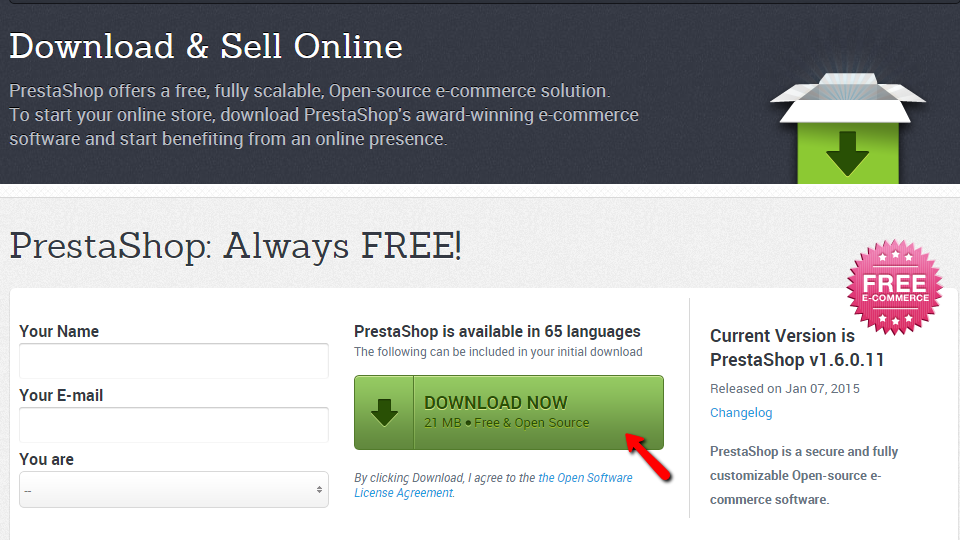
Once you hit the Download now button you will receive an archive containing the installation files of the application. Now that you have downloaded that archive you should extract it on a convenient for you location on your local computer so you can be able to see all the files in the archive.

The extracted archive will provide you with the "prestashop" folder where you will be able to find all the files and folders you will need for the installation of your Store.
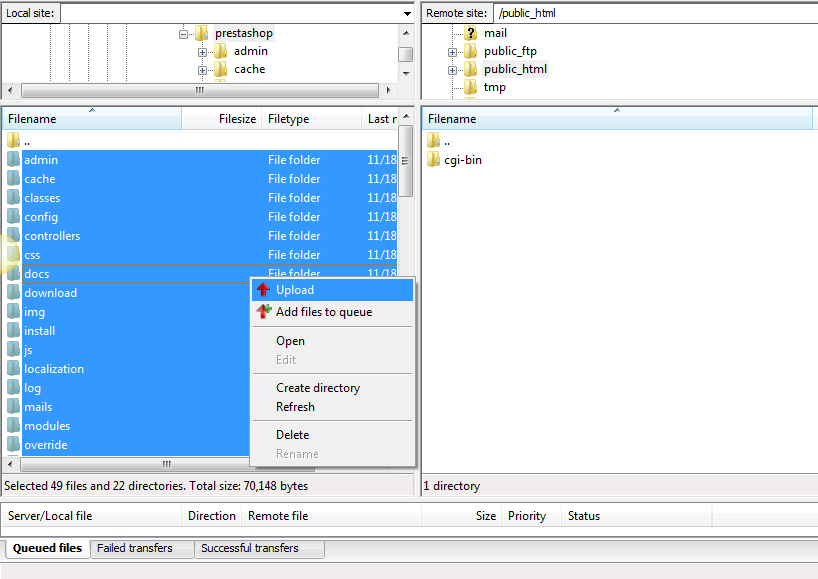
Now that you have the files for the installation it is time to upload those on your web hosting account with us. You can do this using the FTP service and following our FTP Tutorials or if you are regular Filezilla user you can check our FileZilla file upload tutorial.
In order to upload the files on your web hosting account with use you will need to connect to the FTP service for your account for which you can find the configuration information in the welcome email you have received when you have signed with us.
Once you are connected to the FTP service, you will need to browse the extracted folder previously in the left part of your FTP client and to navigate to the folder where you would like to have PrestaShop 1.6 installed (on your web hosting account with us).
The folder where you will upload those files depends entirely on how exactly you would like to access your Store.
For example
If you would like your application to be directly available via your domain name (example.com) the files should be placed inside the public_html folder . If the application should be accessed via subdomain (subdomain.example.com) or a subfolder (example.com/subfolder) then you will need to upload the files in the corresponding folder usually located inside the public_html folder of your hosting account.
Now that you have the files properly uploaded into the correct folder it is time for you to move forward with the next step of the installation.
Create a PrestaShop Database
As we have explained PrestaShop 1.6 is using MariaDB database for storing all the information for your store, products and other settings and contents. This basically mean that you will need a database and user assigned to the same in order to install the application. This can be easily achieved if you follow one of our cPanel database creation tutorials.
Once you have the database name and the database username you should proceed with the setup of the application following the next step in this tutorial.
Follow the Installation Wizard
In order to initiate the installation of the application you should access the uploaded files via your favorite web browser and then you will be redirected to the home page of the installation process.
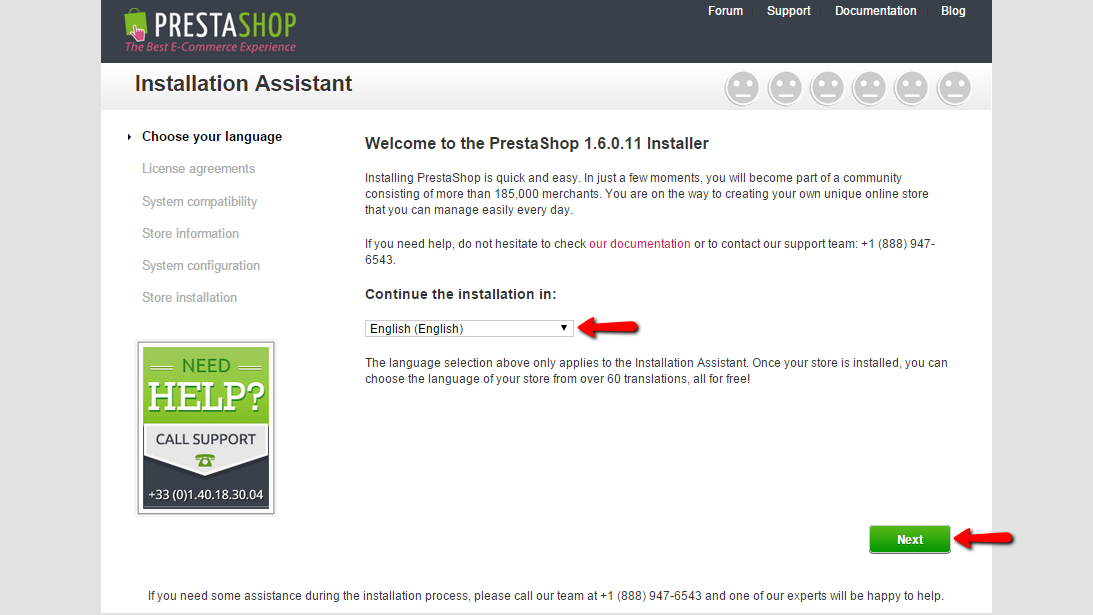
The home page welcomes you and suggest the available options for the support you can receive from PrestaShop. Here you should select the language you would like to have the application installed in and click the Next button so you can move forward with the installation.
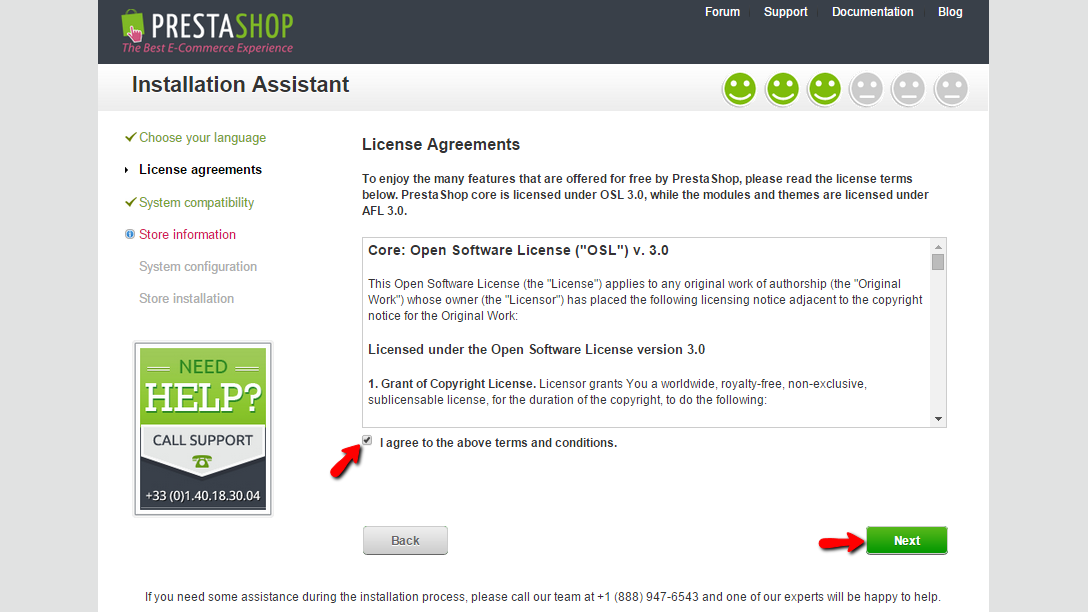
On the next page you will find the License Agreement which you should read carefully and if you are agree with it you should tick the "I agree to the above terms and conditions" and then the Next button so you can proceed further with the setup.
The next step will be skipped automatically and you will be landed on the Information about your Store page. The skipped page is the Compatibility check page where the PrestaShop 1.6 installer checks the system if the application is compatible with it. Since PrestaShop 1.6 is fully supported by all our packages the compatibility check passes successful and then you are landed on the next configuration page.
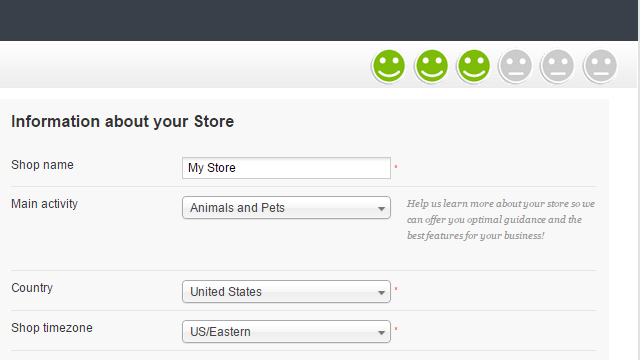
Here you should begin filling the Information about your Store section where you will need to enter information in the following fields:
- Shop name - The actual name of your shop
- Main Activity - The main activity your shop will be related to
- Country - The default country your shop should be based at
- Shop Timezone - The timezon of your shop
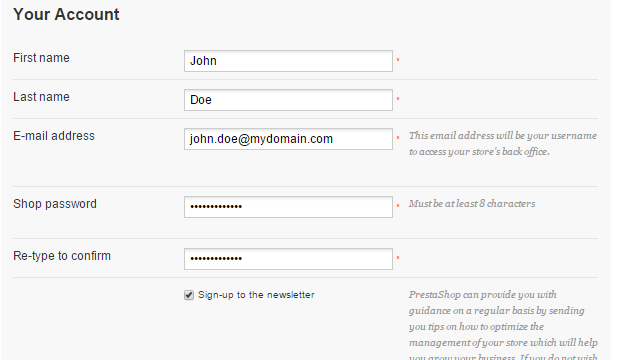
The next section of settings is called "Your Account" and there you should enter the information relevant to the admin account of your website. The fields here are:
- First Name - your first name
- Last Name - your last name
- E-mail address - the admin email address you will be using when logging into your website
- Shop Password - the password you will be using for logging into the admin area of your store with the admin user
- Re-type to confirm - simply ensures that the entered password is the one you would like to use.
Once you are done with all those settings click on the Next button so you can proceed with the setup.
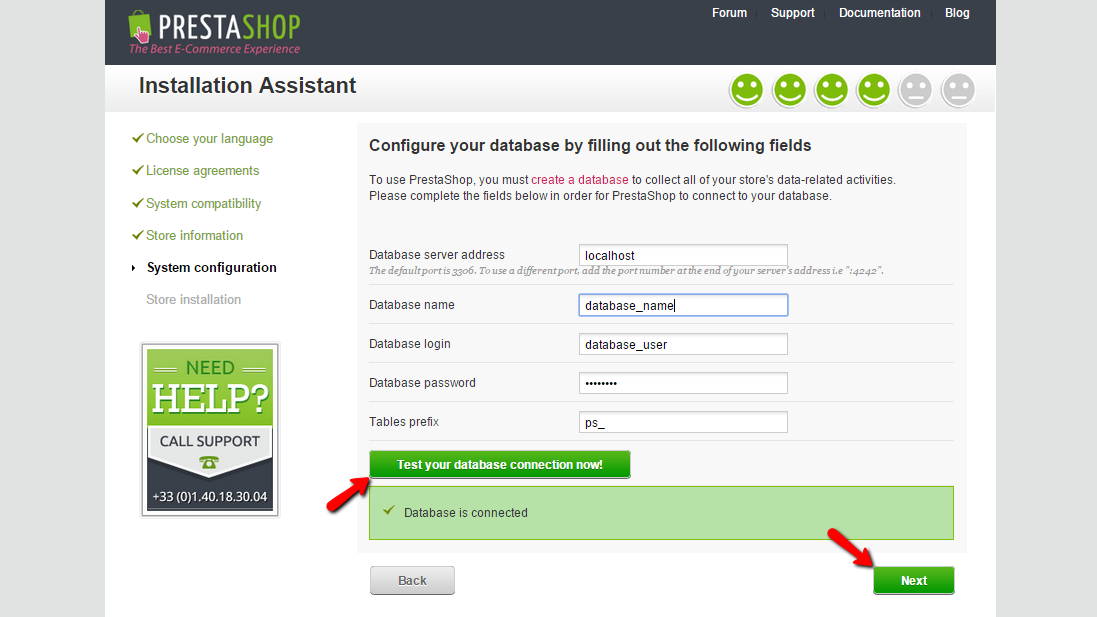
The next page is the one you will need to configure with your database settings. You can do that with the database you have created in Step 2 of this tutorial. Once you have filled the database name, login and password you should then test the connection using the "Test your database connection now!" button. The installation assistant will then prompt a message that the connection was successful and then you can proceed by clicking the Next button.
Then the installation assistant will initiate the installation process and you will be informed about the installation progress.
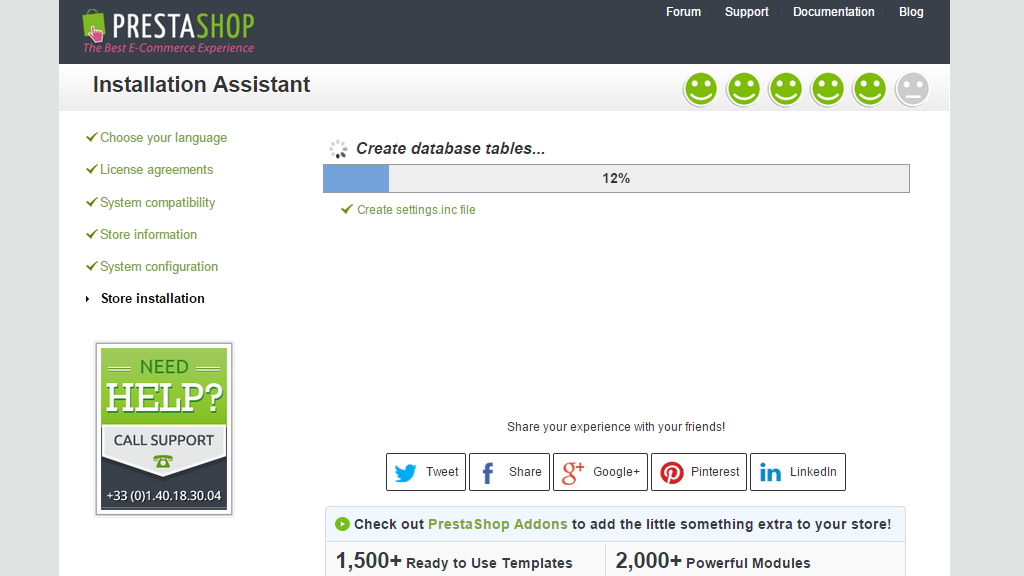
Once the installer finishes the process you will be prompted with message indicating that and also the email and password you will need to use in order to access the admin area of the application.
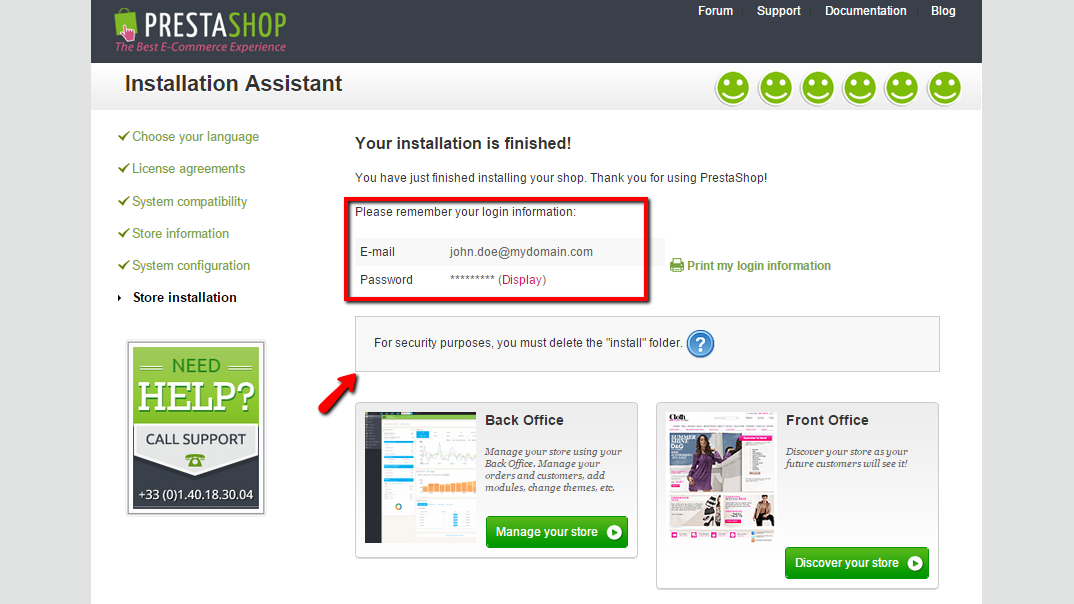
At the end you will need to simply delete the install folder from your web hosting account in order to finalize the installation procedure. This can be easily achieved via your cPanel → File Manager. Then you can use the Manage your store button in order to access the Back Office of your Store or the Discover your store button in order to access the Front Office of your Store.

Congratulations! You can now install PrestaShop 1.6 on your web hosting package with us!

PrestaShop 1.6 Hosting
- Free Installation
- 24/7 Tech Support
- Free Domain Transfer
- Hack-free Protection
- Fast SSD Storage
- Free Cloudflare CDN
- Free Website Transfer
- Immediate Activation