Configuring the Shipping methods
Updated on Sep 12, 2016
When selling products Online one of the most important aspects for your customers is the shipping method that will be used for the purchased product to be shipped to them. PrestaShop 1.6 provides you with an easy way to add carriers which are automatically shown as shipping methods for your products and in the next few lines of this tutorial we will show you how to add and configure shipping methods.
To configure the Shipping methods for your Store, you will need to:
Add a Custom Shipping Method
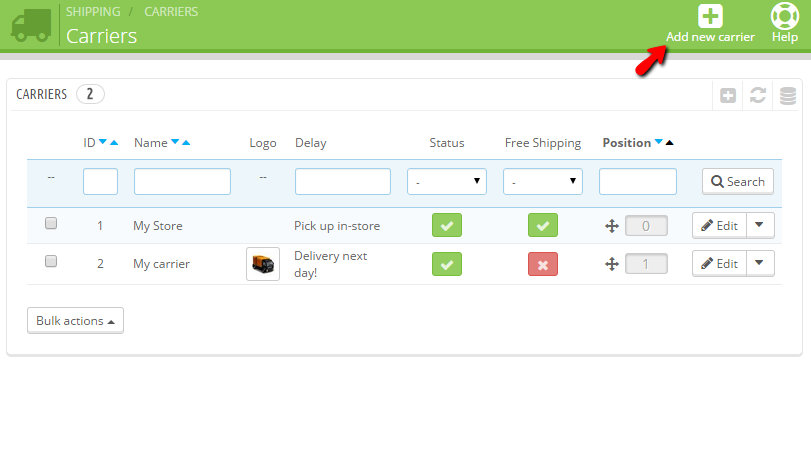
As we have mentioned the payment methods are nothing more than configuring the correct carrier. In order for this to happen you will need to first access the Carriers page which you can find the Back office of your Store and then by navigating to Shipping → Carriers.

Next you will be redirected to a page where you will be able to see a list of the already configured carriers.
Add a New Carrier
With the default setup of the PrestaShop 1.6 platform you will get a total of two predefined carriers. These are only for sample purpose and you can remove them if you are not going to need them.
Now let's add a new carrier. In order to do so you will need to click on the Add New Carrier button located at the top action bar of the page.
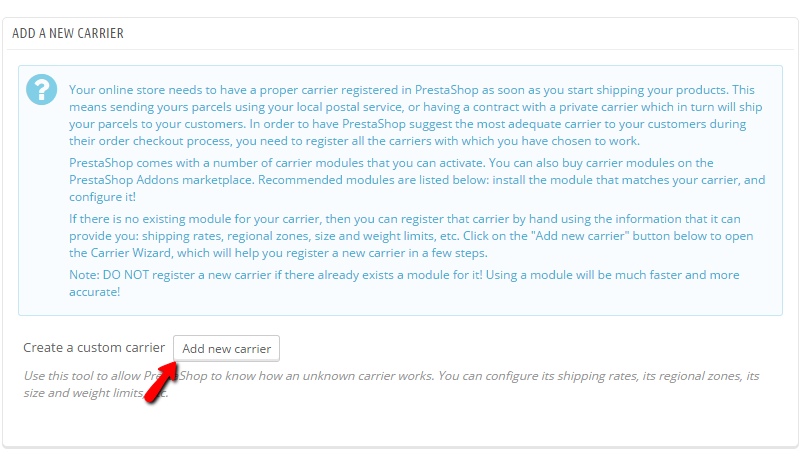
On the next page you will be presented with a detailed description of the carriers and the availability of large variety of such modules in the official PrestaShop 1.6 modules marketplace. Bellow the large description box you will find the Add new carrier button which you should use in order to start the process of adding a new carrier.
The process itself consist of 4 steps representing different options you are enabled to configure for the new carrier you are adding. Let's begin with the first step called General Settings. Here you will be able to find the following configuration options:
- Carrier name - The actual name of the new carrier you are adding
- Transit name - The transit time is the actual estimated delivery time which will be displayed upon checkout for this carrier in particular
- Speed grade - This is a scale from 0 to 9 which represents the actual time required by the carrier to ship the product
- Logo - The actual logo for this carrier
- Tracking URL - If the carrier provides a tracking URL you should specify it here so the client can track the delivery of the product
Once you are done with the configuration for this first step please click on the second step so you can proceed with the configuration.

The next step called "Shipping locations and costs" will provide you with configuration options for the respectful locations and additional costs for this shipping method. The configuration options available here are:
- Add Handling Cost - if the handling cost for this carrier should be included
- Free Shipping - If the shipping via this carrier should be free
- Billing - The billing for this carrier based on total price or total weight of the package
- Tax - The tax rate that should be applied to this carrier
- Out of range behavior - Behavior for this carrier when for example the weight of the package exceeds the limitation of the carrier
- Ranges - The range this carrier will be shipping to

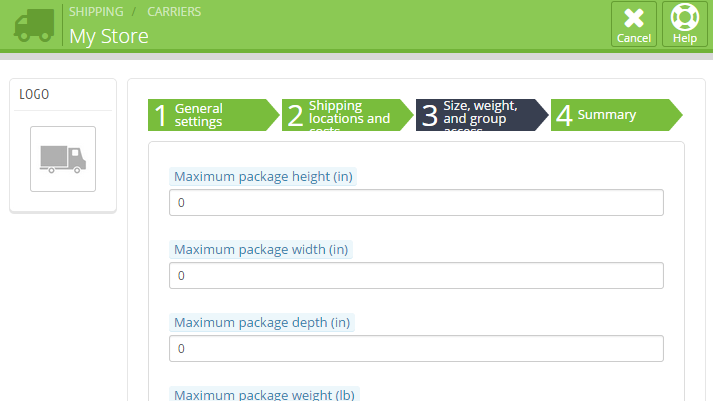
The third step of the configuration for this carrier is the "Size, weight and group access" step. Here you will find configuration options related to the limitations for the packages this carrier will be shipping from your store to your clients. The configuration options are quite self-explanatory and you will be able to adapt to those quite easily.
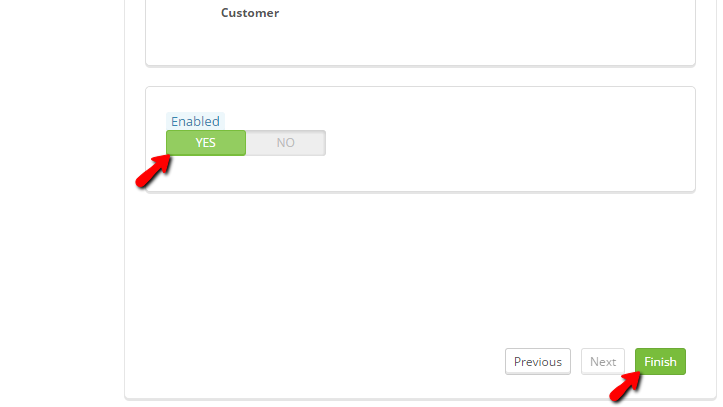
The final step with configuration options is called Summary and there you will be able to see a brief summary of the configuration you have just performed. At the end of the form you will see the Enabled option which will actually provide you with the option to directly enable or disable this carrier.
Now that you are done with these options it is time to save the new carrier and to use it for the shipping of your products. In order to save all those options for the new carrier simply click on the Finish button and the carrier will be saved successfully.
Congratulations! You can now configure as much as carriers you would like to for your products!

PrestaShop 1.6 Hosting
- Free Installation
- 24/7 Tech Support
- Free Domain Transfer
- Hack-free Protection
- Fast SSD Storage
- Free Cloudflare CDN
- Free Website Transfer
- Immediate Activation