How to use the CMS of your Store
Updated on Sep 12, 2016
CMS stands for Content Management System and as the name suggest this feature of PrestaShop 1.6 will grant you with the full privileges to manage the content of your website like pages, static blocks and many more. In the next few lines of this tutorial we will show you how to use this feature.
To use the CMS of your Store, you need to learn to:
Access the CMS Settings
Since you will be performing administration activities on your website you will need to login into the admin dashboard and then in order to access the dedicated page with settings related to the CMS of your Store you will need to navigate to Preferences → CMS.
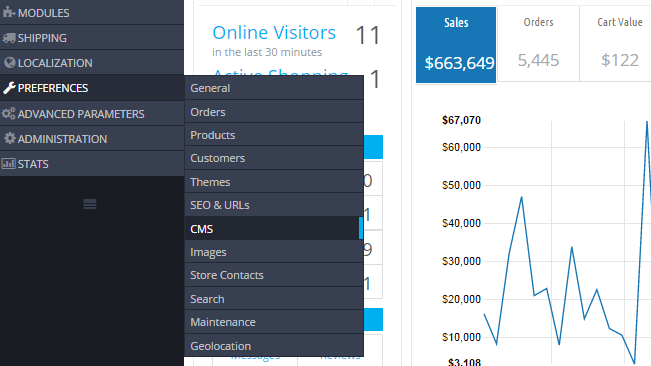
Once there you will notice two sections of settings. The first one is called Categories and the second one is labeled Pages in category Home.
Add a New CMS Category
The categories of the CMS features are a grouping structures where you can add as many as custom pages you would like to. In order to add a new category of pages you will need to simply click on the Add new CMS Category button from the top action bar.
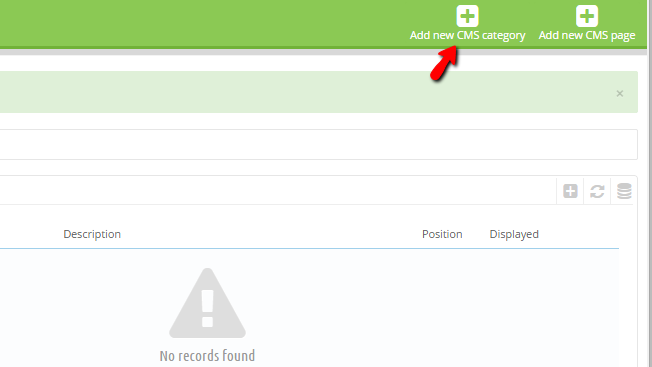
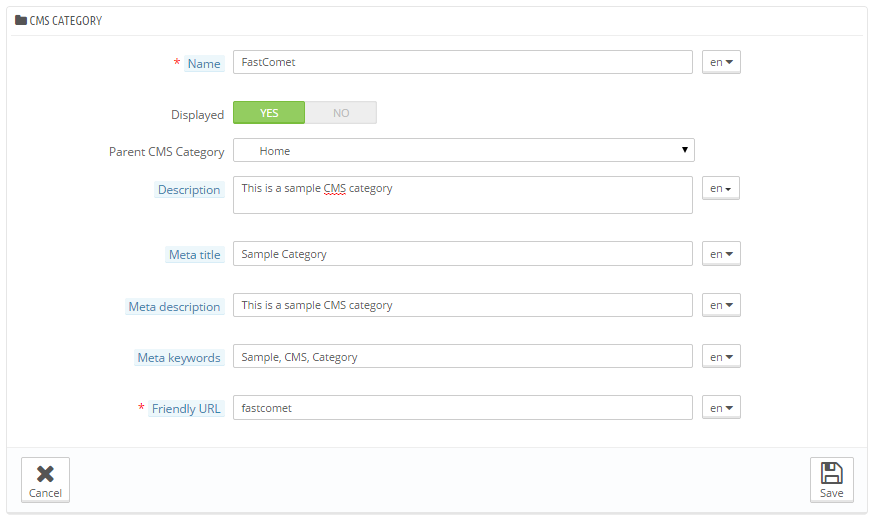
Once you do that you will be redirected to a separate page where you will need to configure the settings for the category you are adding:
- Name - The name of the category
- Display - If the category should be displayed
- Parent CMS Category - Here you should select the parent category if for example you are creating a sub-category to one already existing
- Description - Few words describing the category
- Meta Title - The title of the category which will be displayed in the Search Engines
- Meta Description - The description of the category which will be displayed in the Search Engines
- Meta Keywords - The keywords which will be used as search terms for this categories in the Search Engines
- Friendly URL - The friendly URL for this category
Once you are done with all these settings please click on the Save button so the category can be saved and created.
Once the category is created it will be listed under the Categories section.
Add a New CMS Page
Once you have created the category of CMS contents you mist probably would like to add pages to those. Adding a page is quite easy and the only thing you should do is to click on the Add new CMS page button located in the top action bar.
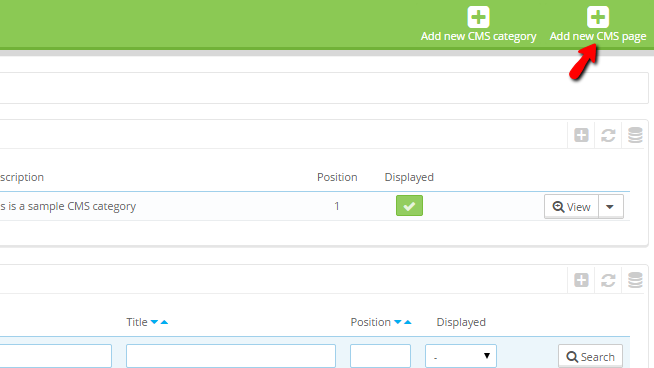
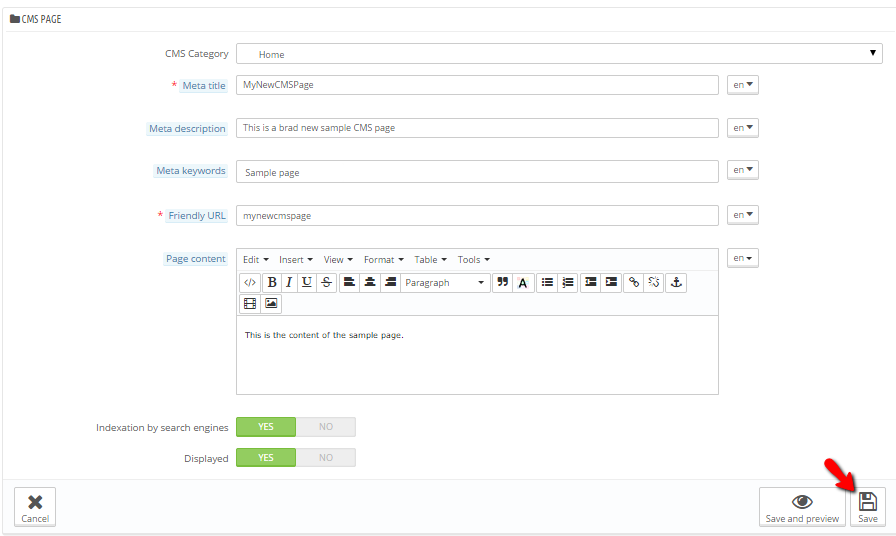
Once this is done you will be presented with the settings you need to configured in order for the new page to be created. The settings are:
- CMS Category - The category this page should be added to
- Meta Title - The title of the page you are adding displayed in the Search Engines
- Meta Description - The description of the page which will be displayed in the Search Engines
- Meta Keywords - The keywords which will be used as search term for this page
- Friendly URL - The SEO friendly URL of this page
- Page Content - The actual content of the page you are creating. The content of the page can be only static
- Indexation by search engines - If the page should be indexed at all
- Displayed - If the page should be displayed once created
As soon as you are ready with the configuration of these settings please click on the Save button so the page can be created and once this has been done you will be able to use it.
The created pacges can be assigned for example to menus in your footer via the CMS block module of the PrestaShop 1.6 platform.
Edit and Modify Default CMS Pages
Most probably you have noticed that there are few already created pages when you have accessed the CMS administration page for your first time. Those are the default static pages of PrestaShop 1.6 and most probably you might want to edit them at some point.
In order to edit these you will need to go back to the Home category of CMS contents where you will be able to find the pages in question.
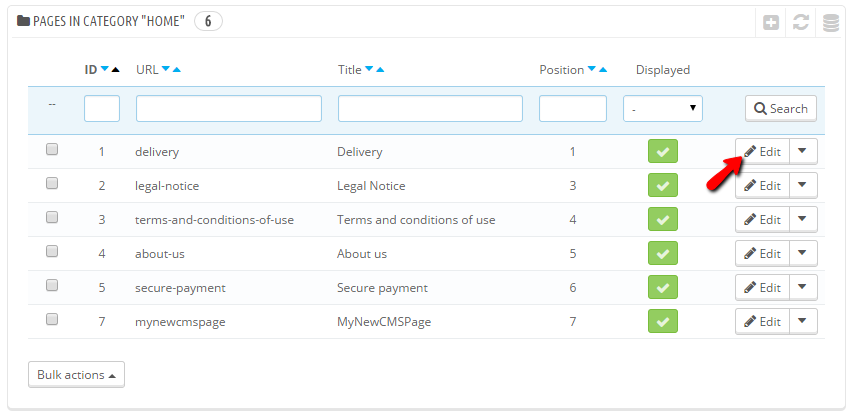
Now that you see the pages in the category you can click on the Edit button for each page individually so you can edit its contents and configuration.
Congratulations! You can now fully manage the CSM contents of your PrestaShop 1.6 based online store!

PrestaShop 1.6 Hosting
- Free Installation
- 24/7 Tech Support
- Free Domain Transfer
- Hack-free Protection
- Fast SSD Storage
- Free Cloudflare CDN
- Free Website Transfer
- Immediate Activation