OpenCart 2 Softaculous Installation
Updated on Sep 8, 2016
In this tutorial we will show you how to install OpenCart 2 in just a 3 easy steps via the Softaculous auto-installer. Softaculous is an application installer available in the cPanel control panel on all OpenCart 2 Hosting plans.
To install OpenCart 2 via Softaculous, you will need to:
Locate Softaculous in cPanel
To access the Softaculous auto-installer, please login into your hosting account cPanel and navigate to the Software and Services section.
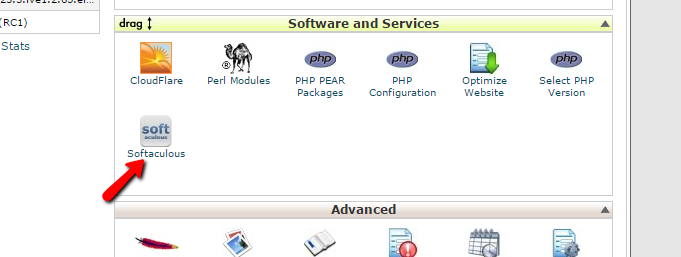
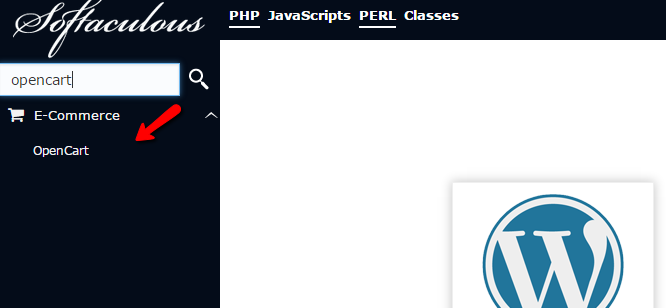
Click on the Softaculous icon to proceed to the Softaculous dashboard. On the Softaculous home page locate the search bar and type OpenCart to locate the OpenCart installation link.
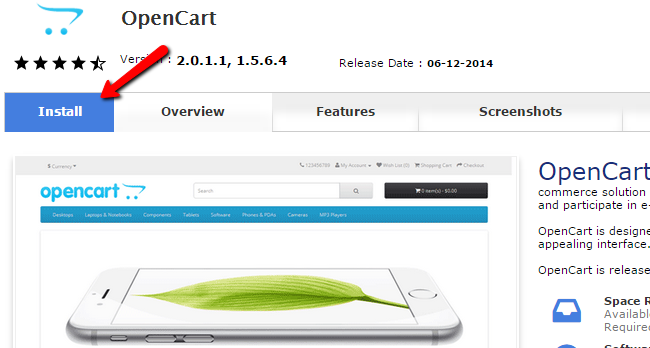
This will redirect you to the OpenCart installation page. Here you can review screenshots, ratings and user redviews as well as check the Softaculous OpenCart 2 demo. Click on the Install tab link from the top navigation menu to proceed with the installation process.
Confgure the Installation Settings
Before you initiate the installation process, please take a moment to review the OpenCart installation settings. First, you will need to select the desired OpenCart version. Currently Softaculous support both OpenCart 1.5 and OpenCart 2. Our OpenCart Hosting plans are fully compatible and optimized for both versions.
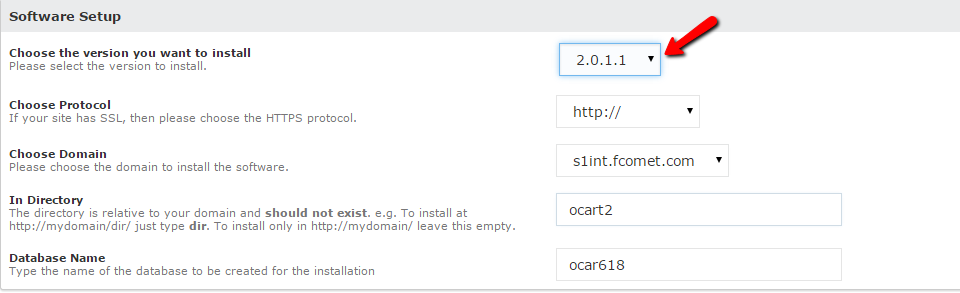
You should make sure that the following options are properly configured:
Choose the version you want to install - Select the desired OpenCart version to be installed
Choose Protocol - If you have an SSL certificate installed on your account and you would like to have your OpenCart store accessible via HTTPS, please select the https:// protocol. Otherwise, please leave this option to http://.
HTTP vs HTTPS
Installing your OpenCart 2 application for the https:// protocol, without having a valid SSL certificate, might affect your website accessibility or result in security warnings. If you need a hosting solution with SSL certificate to secure your store, you may review our OpenCart 2 Hosting plans.
Choose Domain - If you have more than one domain configured on your hosting account or you would like to have OpenCart 2 installed on a subdomain, please select the desired address via the drop down menu.
In Directory - If you would like to have OpenCart 2 installed under a subdirectory of your account, please input the subdirectory name. Be advise that this directory must not exist prior the installation. If you would like to have your OpenCart 2 accessible directly via your domain name, leave this field empty.
Database Name - You do not need to edit this option. Softaculous auto-installer will automatically create and configure your OpenCart 2 database settings.
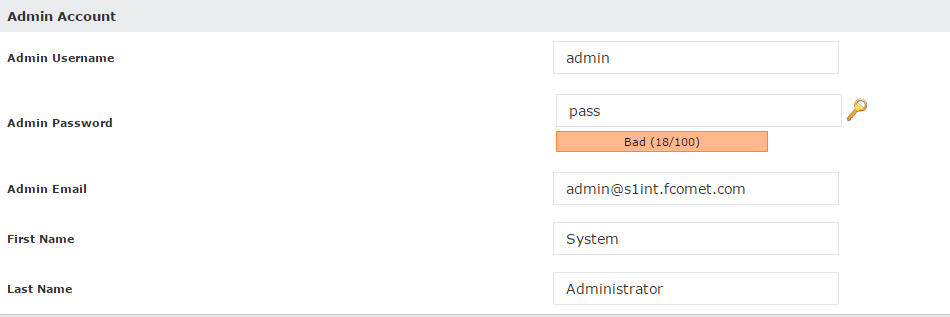
Next, you should proceed with your store settings. You can safely leave these settings unchanged as you will be able to edit them later via your OpenCart 2 Admin Dashboard. Last but not least, you should setup your administrative username, password and email address. These credentials will be used to access the OpenCart 2 admin panel.
The last optional configuration section includes Advanced Options which allows you to enable update notifications, regular backups and the OpenCart 2 Backup rotation limit.
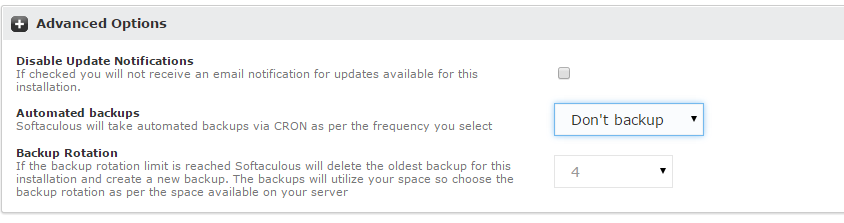
Free OpenCart 2 Backup/Restore
FastComet provides free Daily and Weekly backups on all OpenCart 2 Hosting plans which are fully accessible via our cPanel Restore Manager by all clients completely free of charge.
Complete the Installation Process
When you are ready with your configuration settings, please click on the Install button at the bottom of your page.

If you would like to have your administrative login credentials sent to your email address you can fill in the "Email installation details to:" field.
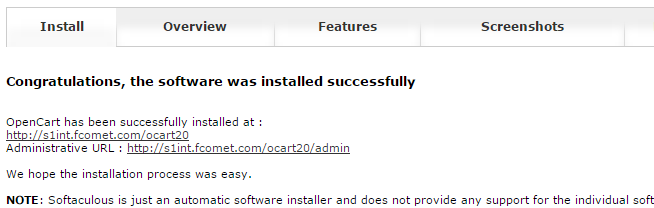
After just a few seconds your OpenCart 2 installation will be complete. You can follow the links provided by the Softaculous installer to access both your OpenCart2 frontend and the administrative dashboard.
If you receive Warning messages about errors in the files of the application immediately after the installation, go to your cPanel → Select PHP Version and enable the nd_mysql/nd_mysqli options. If you do not see those options we recommend you change the PHP version to 5.6 or higher.

OpenCart 2 Hosting
- Free Installation
- 24/7 OpenCart Support
- Free Domain Transfer
- Hack-free Protection
- Fast SSD Storage
- Free OpenCart Transfer
- Free Cloudflare CDN