How to configure LabelMaker in OpenCart 2
Updated on Sep 8, 2016
If you have first read some of our other extension tutorials you have surely noticed how some of the products used for the examples in them have a colorful label on their top left corner marked as Sale or Top Product. This is in fact another useful module from iSenseLabs that can be used to create labels on products in a matter of seconds. Enough editing and overwriting images! Create the labels that will help you sell more fast and easy.
As every extension, you will have to first add it to your OpenCart. To view more information about the Installation process, licensing and entering the edit menu, please visit our OpenCart 2 Extension Management tutorial.
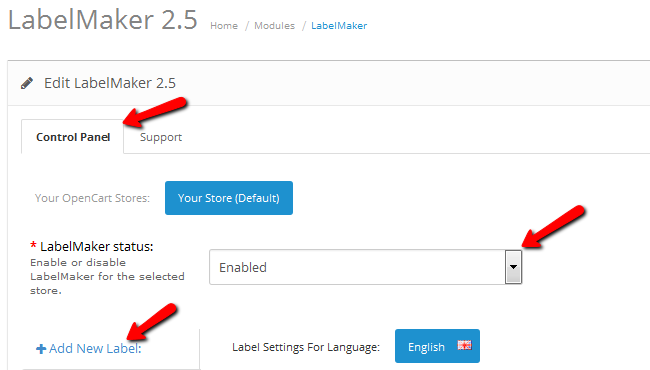
To add a new label to your products, you have to navigate to the LaberMaker Control Panel tab, Enable the status of the module and click on the Add a New Label button.
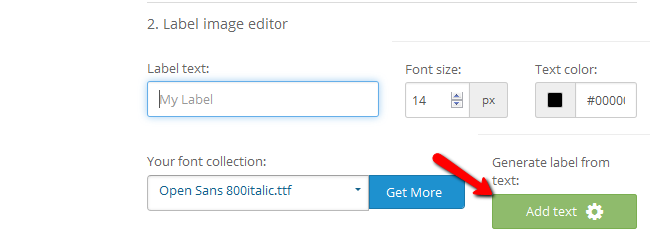
In the Label Image Editor section you can create a label with your own label, font size and text color. Click on the Add Text button to apply the text to the label you will later select.
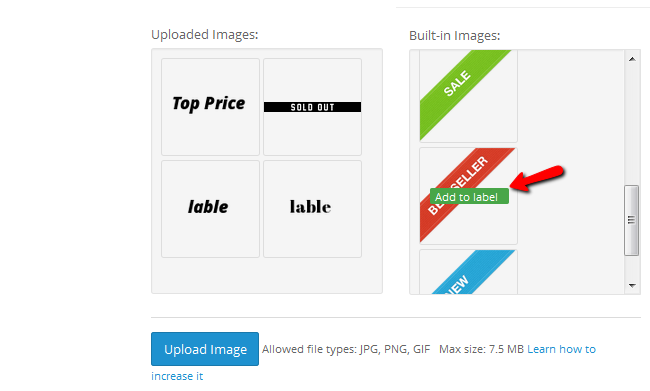
If you wish to add a standard image, there are a few default options that will suit most of your needs just fine. You can find them in the Built-in Images section and can add them by clicking add to label. You can also upload a custom JPG, PNG or GIF image.
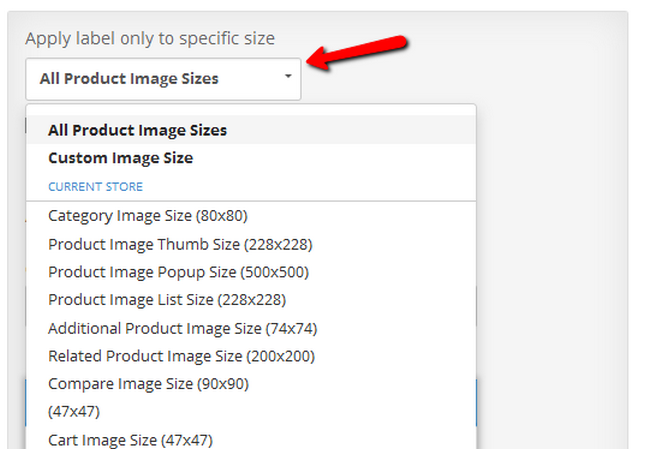
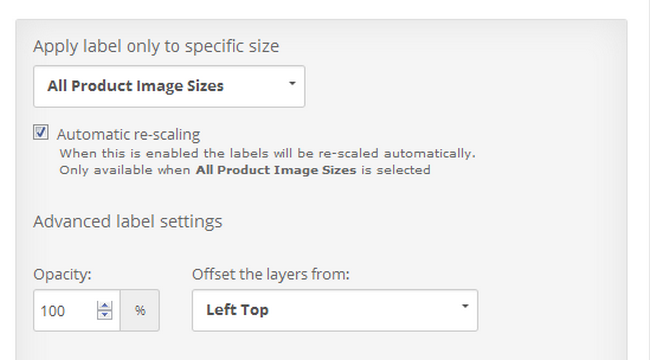
On the top right on the page you will see the options for applying a label. Here you can choose to what image size you wish the label to be applied.
You can also regulate scaling, the label Opacity and offset.
Below these options you can see how the label will look and where it will be positioned. If needed, you can make adjustments or remove the label and add a new one.

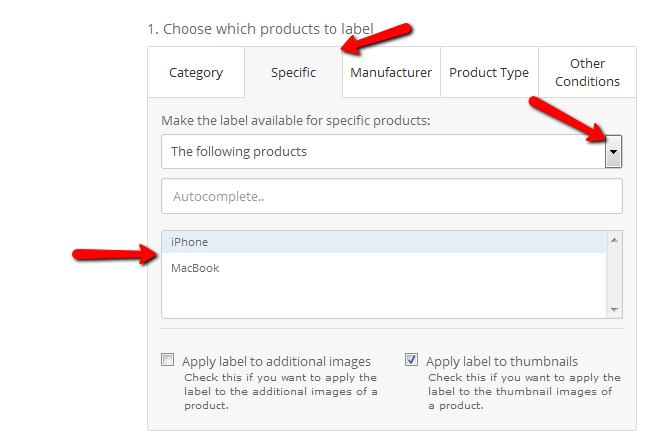
Now let us cover the options for labeling. You can use your new label on only a specific category. For example if you have an accessories category on sale you can use a Sale label only for that category. You can also cover only specific products.
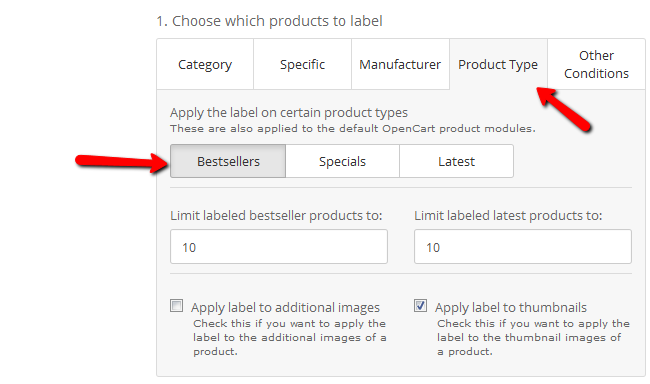
In the Product Type tab you can apply the label to a certain product types and limit the amount of products with labels if you wish to use the latest or bestseller ones.
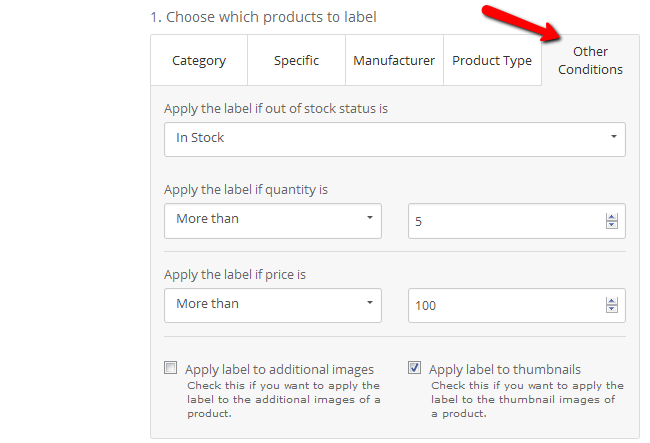
In the Other Conditions tab you can select to remove the label if the product is out of stock or if there is less than certain amount of this product. You can also choose to apply a label based on the price of the product which is handy if you wish to create labels for products in a specific price range.
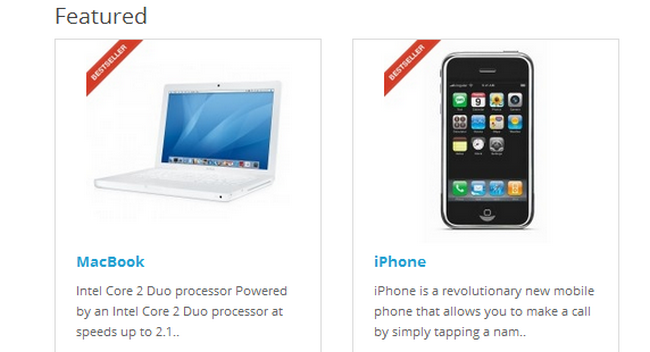
During this tutorial we have configured and added a pre-defined label called Bestseller. Here is how the viewer will see products to which the label has been applied.
Congratulations, you can now add labels to your products and create more memorable promotions or clean your outdated products which are still in-stock.

OpenCart 2 Hosting
- Free Installation
- 24/7 OpenCart Support
- Free Domain Transfer
- Hack-free Protection
- Fast SSD Storage
- Free OpenCart Transfer
- Free Cloudflare CDN