How to manage Product Catalog
Updated on Sep 8, 2016
To manage your OpenCart 2 product catalog you will need to login into your store admin dashboard and refer to the Catalog section from the main navigation menu. From the Catalog menu you should refer to the Products page.
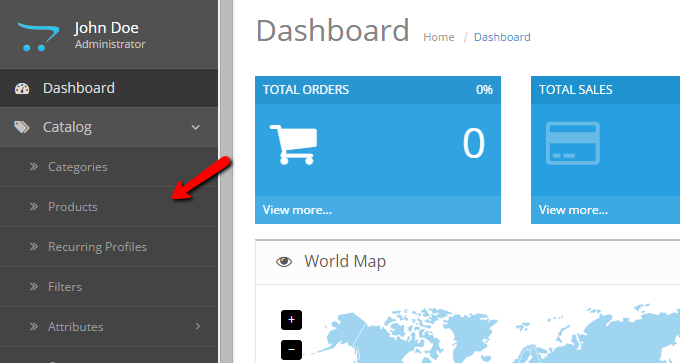
From the Product List page you can add new products and edit or remove existing products. To edit an existing product, click on the edit icon next to your product name.

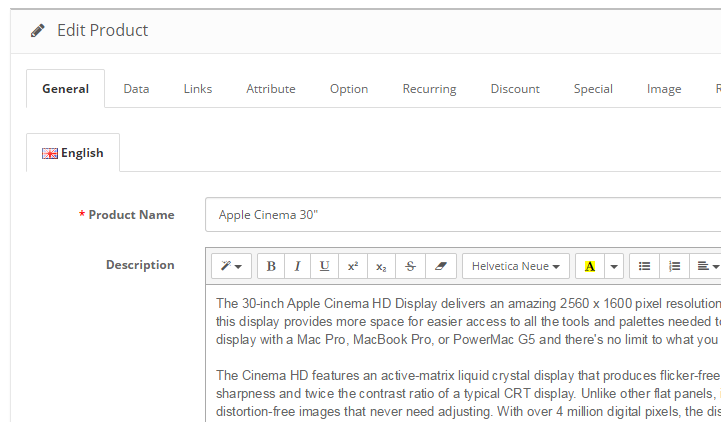
Via the Edit Product page you can edit all aspects of your product. When you are ready with your changes you can save the new product details via the Save icon at the top right corner of your screen.
To completely remove a product from your product catalog, select the product by clicking on the tick box and use the Delete icon.
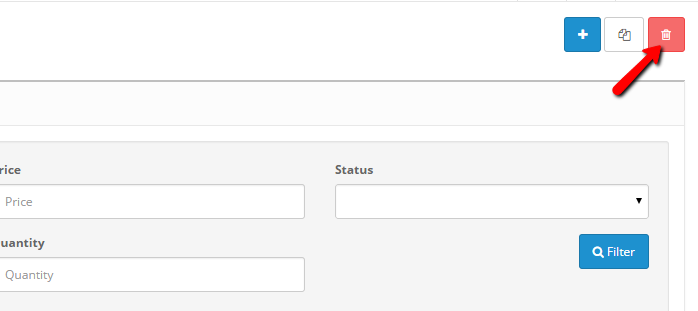
To add a new product to your catalog, click on the Add icon from the Product List page. This will direct you to the Add Product page. Via this page there are several tabs with different configuration settings for your new product. You should start with the General information tab.
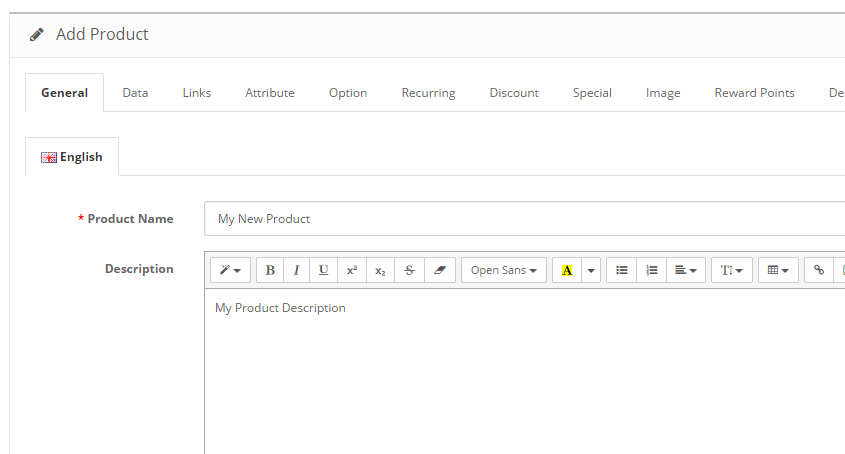
Make sure that you have set your product name and product description for your new product. This information will be visible to your visitors and it is important to present your product in the best possible way. Additionally, you should consider the Meta information and tags. This information is for the Search Engines that will associate your product with the filled information. Make sure you have a short and relevant meta description of your product so people can find your products in Google and other search engines.
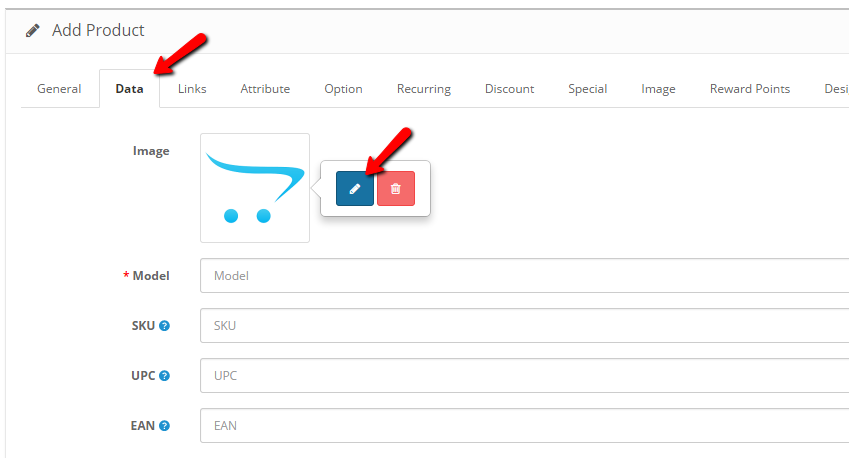
When you are ready with your product basic settings, please proceed with the Data tab. Here you can configure your product catalog and physical settings. This tab provides a large number of configuration options depending on the type of product you are about to add. For example, if you are adding books to your store, you can input the book ISBN. On the other hand, if you sell furniture or other type of product that comes in different dimensions, you can input the product dimensions and weight. Configure your settings depending of your product type and change your product image.
To configure your product Manufacturer and product category, please refer to the Links tab. Additionally, you can configure related products and your product store in case you have multiply stores on your OpenCart 2 installation.

If you have custom attributes for your product, you may apply them via the attribute tab. To learn more on how to add attributes in OpenCart 2, please read our tutorial on the subject. When all other settings for your product are set, you should upload your product images. This can be done via the Image tab.
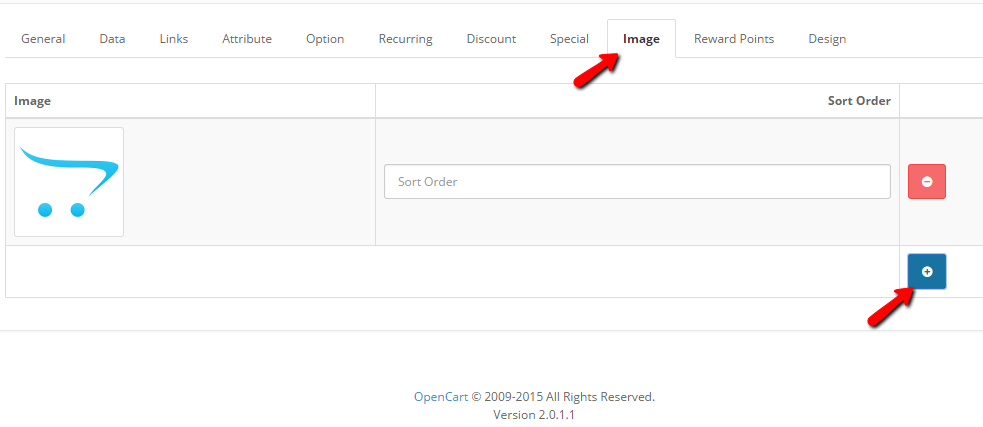
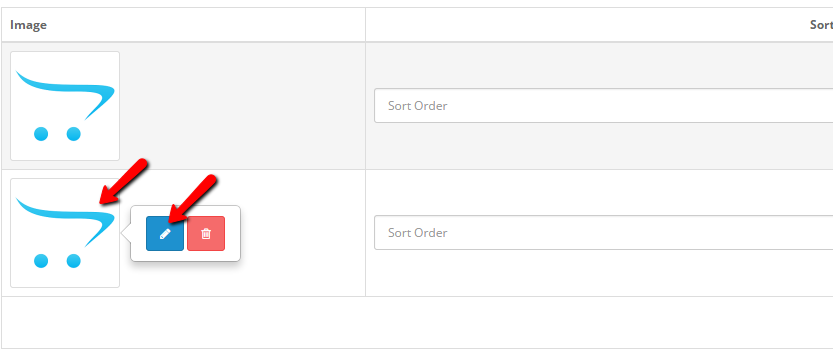
To add a new image, click on the Add icon and click on the thumbnail to change the image.
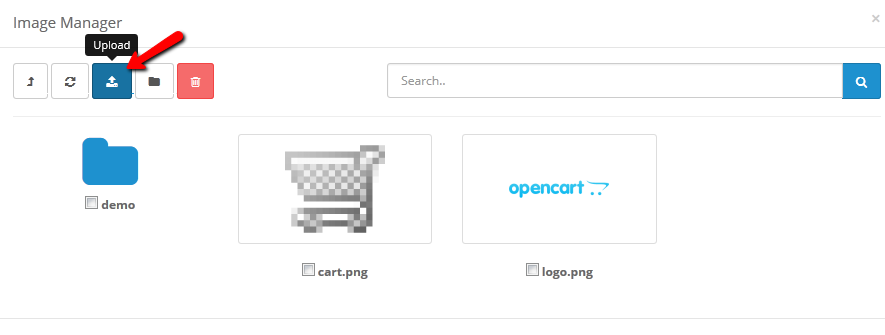
From the pop up click on the upload button to add new images from your local computer.
Repeat the steps to add all of your product images and use the Sort Order field to set the desired order of your images. Be advised that the image with the lowest number will be displayed first on your store product catalog frontend.
When you are ready with your settings, click on the Save button to add the product to your OpenCart 2 product catalog.

OpenCart 2 Hosting
- Free Installation
- 24/7 OpenCart Support
- Free Domain Transfer
- Hack-free Protection
- Fast SSD Storage
- Free OpenCart Transfer
- Free Cloudflare CDN