Add Email Account to Thunderbird With POP3
Updated on Jun 24, 2025
In this tutorial we are going to show you how to add an email account to Mozilla Thunderbird using the POP3 protocol for incoming emails. The POP3 protocol is a good choice if you want to limit the number of devices that have access to the emails. The protocol downloads all messages to the device, after which it deletes them from the mailing server. That way no other devices can see them. You can read more about POP3 here.
In this tutorial we will be using the latest version of Thunderbird, so go ahead and download it if you have not already.
To finish this tutorial, you will need to learn to:
step
Access the Mail Account Setup Feature
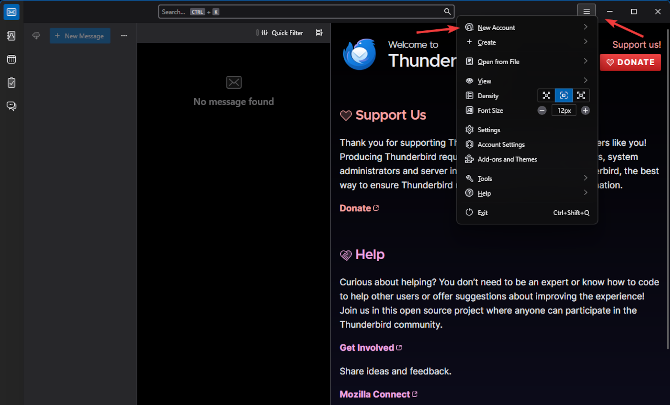
Upon opening Thunderbird for the first time you will be prompted to add an account. However, we will skip that step for just a moment and show you how to add an account from the interface itself. Click the three horizontal lines in the top-right, then select New Account > Email.
That will bring up the initial account setup screen. On it you will need to fill in three fields:
- Your full name - This field determines what recipients will see alongside your email address in the From field;
- Email address - Type in the email address you want to add to Thunderbird;
- Password - Finally, fill in the password for the email account.
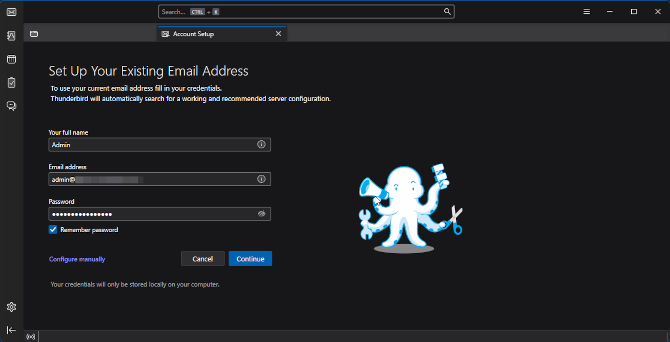
Typically, you can click Continue if you are adding an email account from a dedicated email provider (Outlook, Gmail, Yahoo, etc.). That will fetch all the incoming and outgoing mail server settings necessary for the process to complete. However, since we will be adding a custom email address ([email protected] for example) that does not use any of those providers, we have to take a slightly different route.
step
Configure the POP3 Protocol
The next step is to manually configure the incoming email server with the POP3 protocol. To do so, click Configure manually under the password field. That will expand the page with a few more fields.
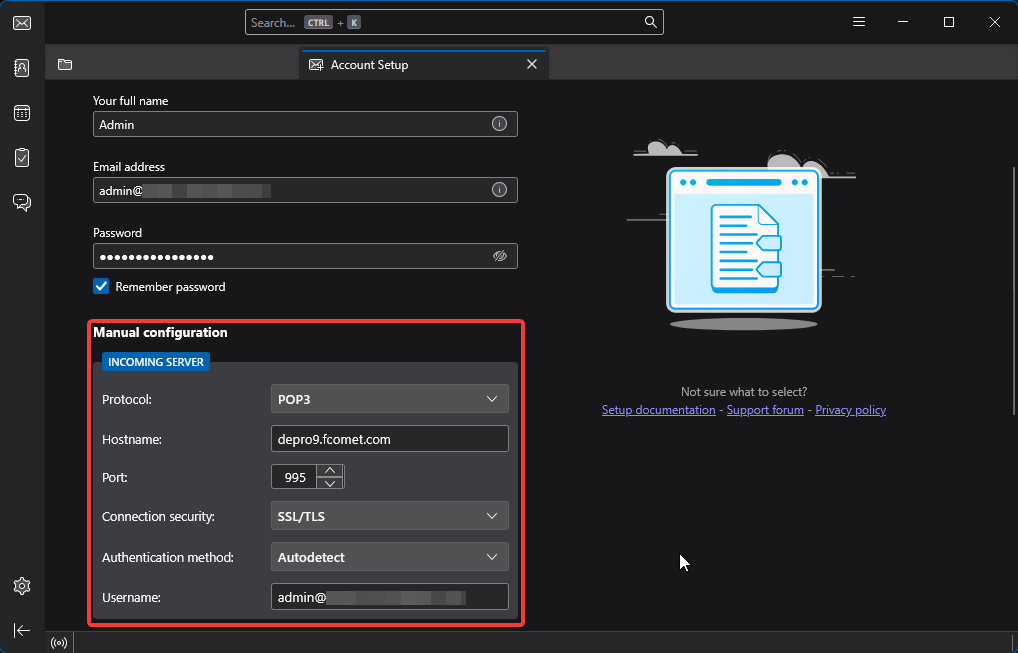
First is the Incoming Server where you will see these fields:
- Protocol - You can choose your incoming mail protocol here. Select POP3 to use it;
- Hostname - Type the hostname of the incoming POP3 server. Typically the hostname of the server can be mail.yourdomain.com. However, if you are using our email service, we recommend using the server's name directly. (e.g. de1.fcomet.com, inpro1.fcomet.com, etc.);
- Port - The ports for POP3 are 110 (unsecured) and 995 (secured). We always recommend using the secure port as that ensures the connection between your email client and the server will be encrypted. Only use 110 if 995 is not available. It is always available on our services;
- Connection Security - Select SSL/TLS if you are using port 995, or None if using port 110;
- Authentication Method - You can leave this to Autodetect. It will pick up that you are using a password and use that to authenticate your account;
- Username - Type in the email account you are adding.
Hostname
The hostname for the incoming mail server for our services can be mail.yourdomain.com (where the yourdomain.com is your actual domain name). However, we always recommend using the name of the server your account is on. You can easily find it by logging into your account on FastComet.com. From the homepage, click on View Details next to the hosting plan that has the email account. You can find the server name in the FTP Server box. You will also find this information in the welcome email you got when you purchased the hosting plan.
With this the inbound server information is done. Now all that is left is to do the same for the outbound server.
step
Configure the SMTP Settings
Further down on the same page you will find the SMTP settings. These are for the outgoing email server. You must ensure you fill in the POP3 and SMTP information correctly in order to send and receive emails without any errors. You can read more about SMTP here.

As you can see, the fields are almost identical to those of the previous section. Here is what you will need:
- Hostname - Type in the hostname of the outgoing SMTP server this account uses;
- Port - The secure ports for SMTP are 465 and 587, while the unsecured is 25. Again, we recommend using a secure port (465 specifically);
- Connection Security - Choose SSL/TLS if using a secure port, or None if using the unsecured one;
- Authentication Method - You can leave this on Autodetect as well;
- Username - Type in the email address you are adding.
Once you are done you can click on Re-test. Thunderbird will then check the settings you have provided and see if it can establish a connection to the server. If everything was filled in properly you should see a green success message. At that point, simply click Done. That will trigger a short connection process, after which you will see that your account was successfully added.
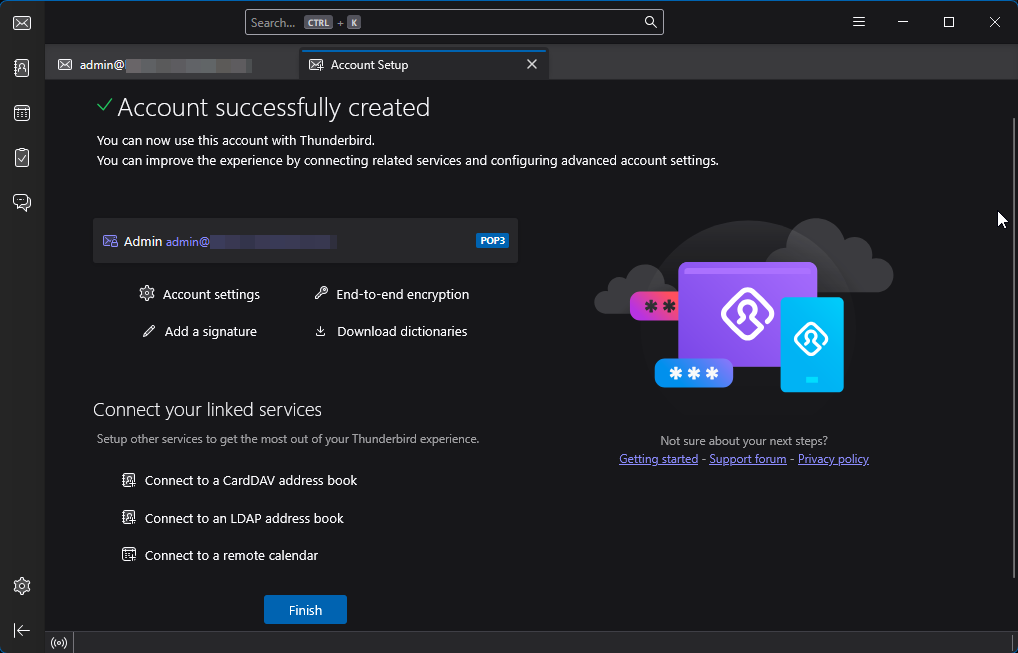
Congratulations! You have successfully added your email account via POP3 to Thunderbird.
On this page...

Mail Hosting
- Free Domain Transfer
- Unlimited Email Accounts
- 24/7 Technical Support
- Fast SSD Storage
- Hack-free Protection
- Free Cloudflare CDN
- Immediate Activation