How to Set Up an Email Signature
Updated on Jun 24, 2025
An email signature signature is predefined text that is automatically added to every email you send. In this brief tutorial we will show you how to add one to your email account in Outlook.
We are using the latest version of Outlook for this tutorial. You must first add an account to your Outlook application in order to create a signature for it. Check out our IMAP or POP3 tutorials on how to do that. These steps, however, will work with any type of account as long as it is in the Outlook application.
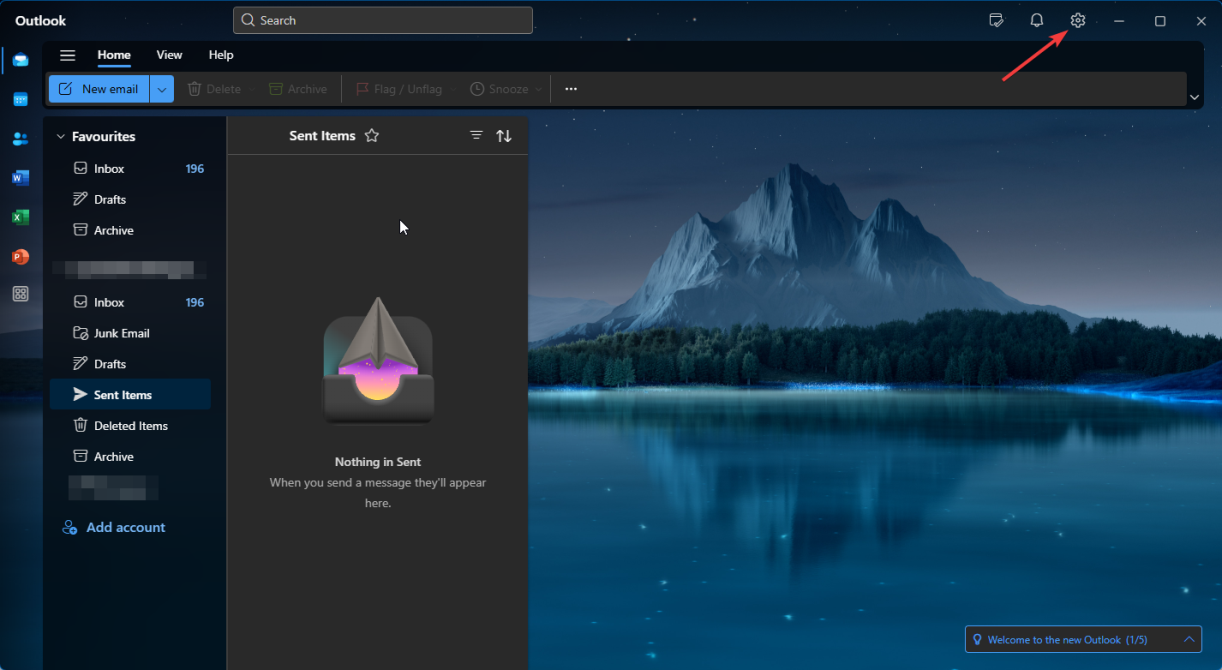
Let's begin by opening Outlook and clicking on the Settings icon in the top right (the gear).
That will open a pop-up that will show you all the settings you can configure for your Outlook client. The first one should be Accounts. It has two subsections: Your accounts and Signatures. Click on the latter.
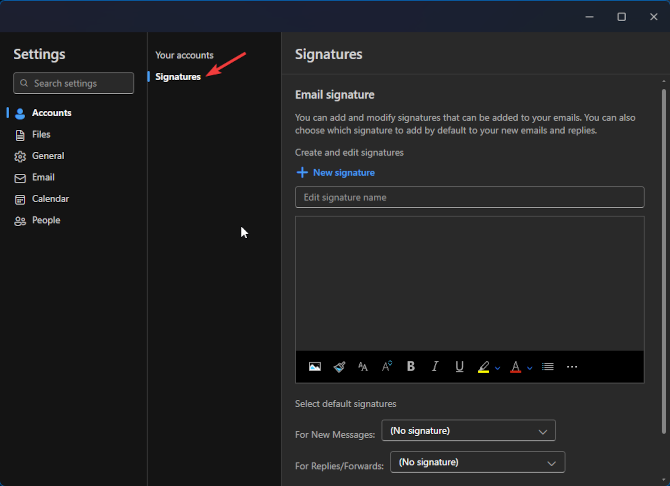
That will open the Signatures menu where you can create a new one for your account, or edit an already existing one. Since there are no signatures currently present, let's create one! All we have to do is enter a name and a body, then click Save at the bottom. Feel free to style the signature with the tools provided in the editor.
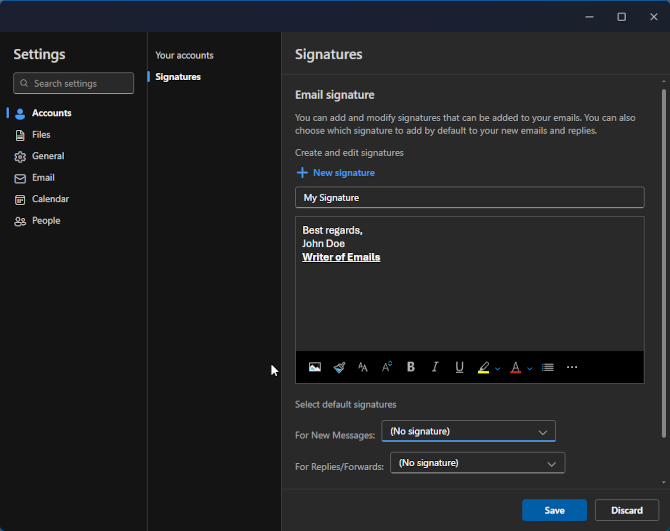
After clicking Save, there is one final step to do. In the previous screenshot you see the two drop-down menus on the bottom of it. Those allow you to select which signature is used for which type of message: new or replies/forwards. Since we created the first signature on this account, Outlook automatically assigned it to both message types for us. If it didn't for you, simply select your new signature in each drop-down and click Save once more.
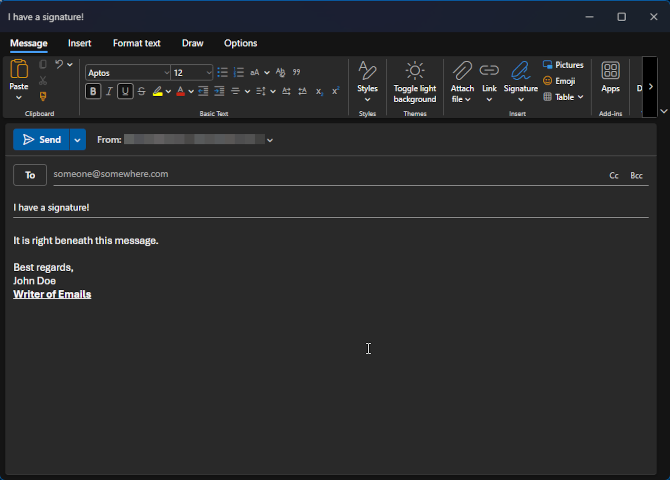
Once you have configured, assigned, and saved your signature, it will begin appearing at the bottom of any new emails you write.
That is it. It is that easy to add a signature to any email account in the Outlook application. If you want to have more than one signature, simply click +New signature, edit, save, and assign it when done. Signatures are a great way to convey static information (such as your name, position, or any other information you deem necessary) without having to write it yourself every time.

Mail Hosting
- Free Domain Transfer
- Unlimited Email Accounts
- 24/7 Technical Support
- Fast SSD Storage
- Hack-free Protection
- Free Cloudflare CDN
- Immediate Activation