Add Email Account to Outlook With POP3
Updated on Jun 23, 2025
In this tutorial we are going to show you how to configure your Outlook email client with your existing email account using the POP3 incoming mail protocol. POP3 downloads your emails from a mail server to your device, then typically deletes them from the server. It’s ideal for users who access email from a single device and want offline storage. Check out our article about the protocol to learn more.
While you can add accounts from dedicated email providers (Gmail, Yahoo, etc.), for the purposes of this tutorial we will assume you want to add the custom email address you can create with our email service. We will also be using the latest version of the Outlook client.
This post includes:
Adding Your Account to Outlook
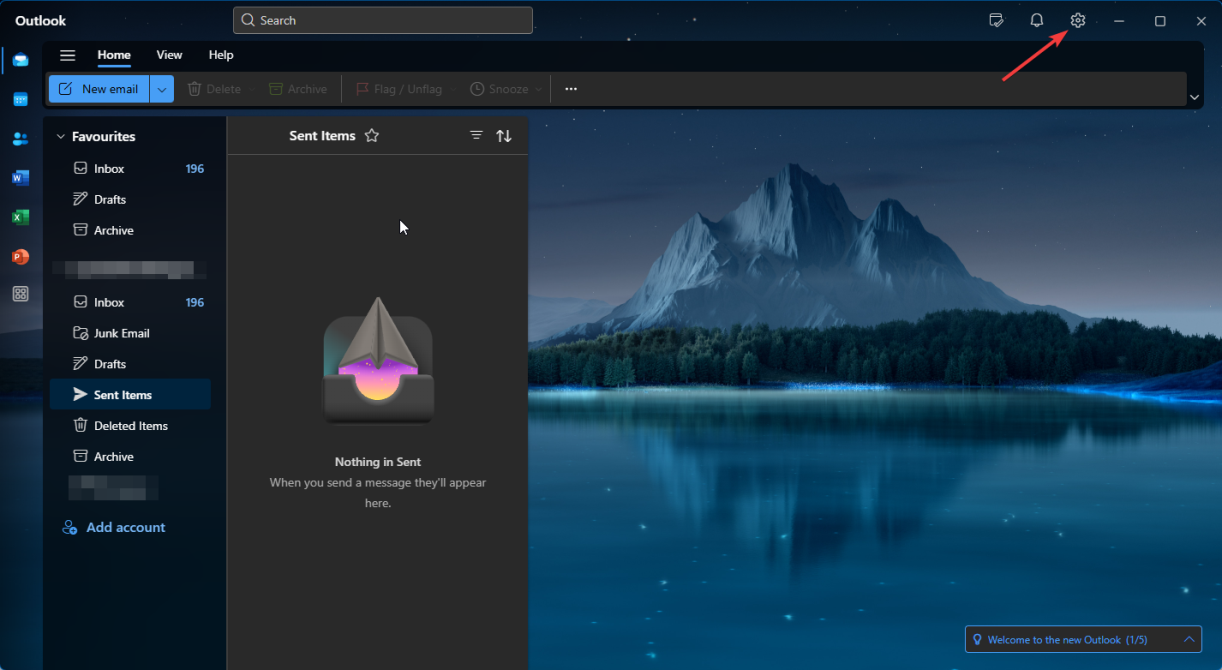
Let's begin by adding a new email account to your Outlook client. Launch it and then look in the top-right corner of the application for the gear icon. You will find the app's settings there.
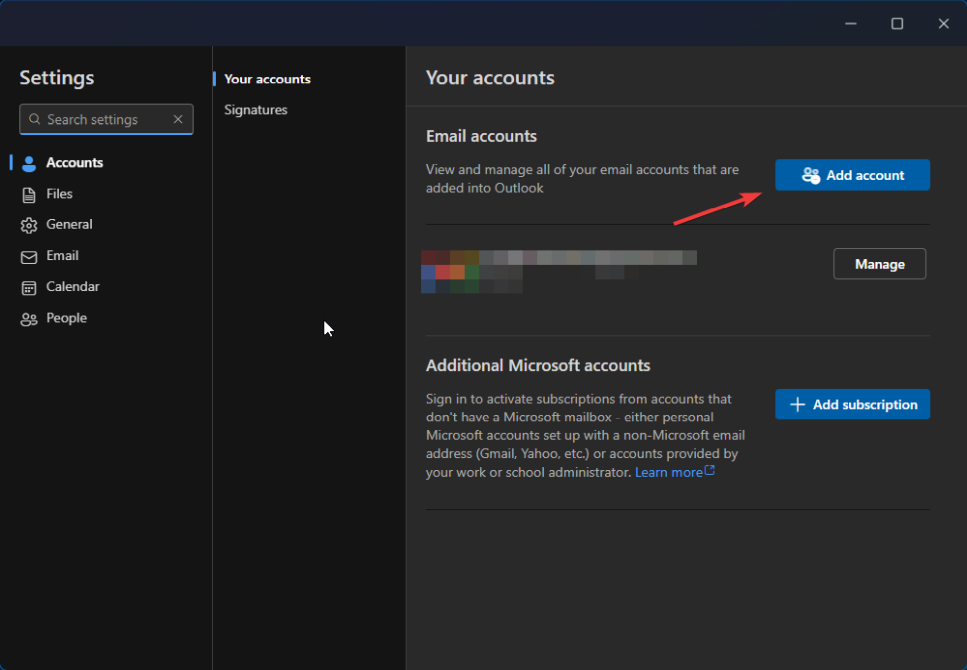
The first one you see should be Accounts. Click the Add Accounts button. That will take you to the account setup window, where you can begin the process.
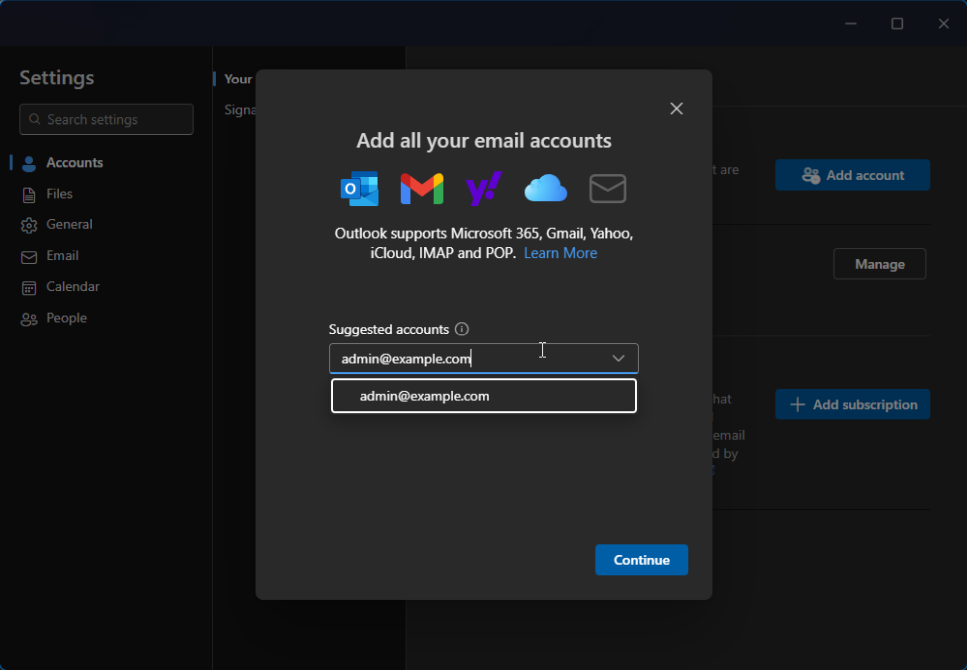
Type in the email address you would like to add to Outlook and then click Continue. That will take you to the next step, where you can select the protocol you wish to use, as well as configure all the necessary settings.
Configuring the POP3 Protocol
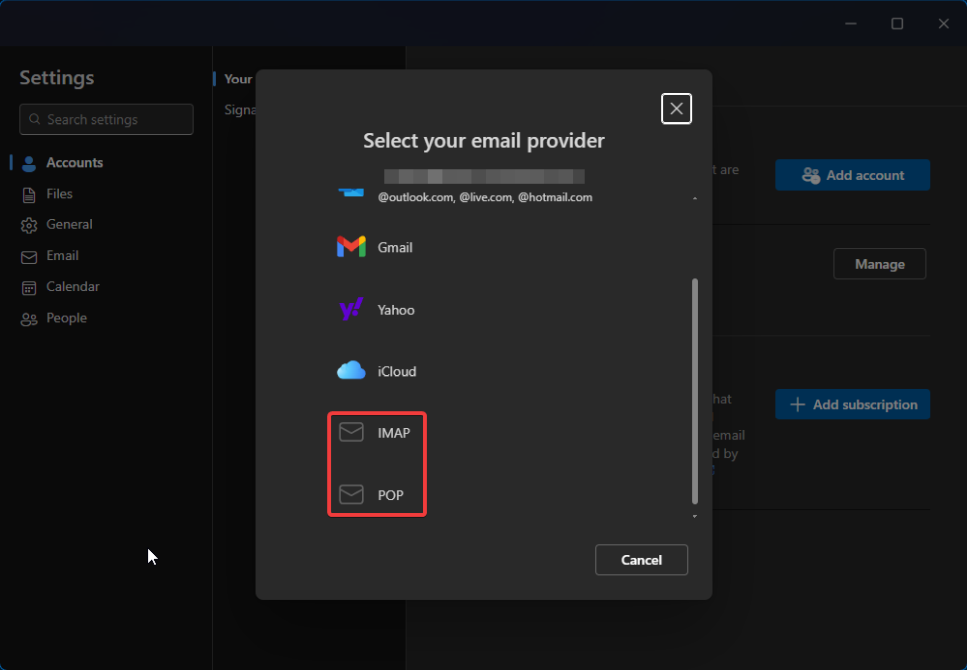
After clicking Continue look at the bottom of the window prompting you to type in your password. Click on Select Provider.
That will take you to a list of providers. You can add a Microsoft, Gmail, Yahoo, iCloud or custom email account. However, we want to manually set up an account that uses the POP3 protocol. So, select POP.
Now that you have selected POP3, you can type in the email account's password. Then, click on Show more. Here is where you get to fill in the mail server settings that will allow Outlook to connect to your email provider, so it can fetch your messages.
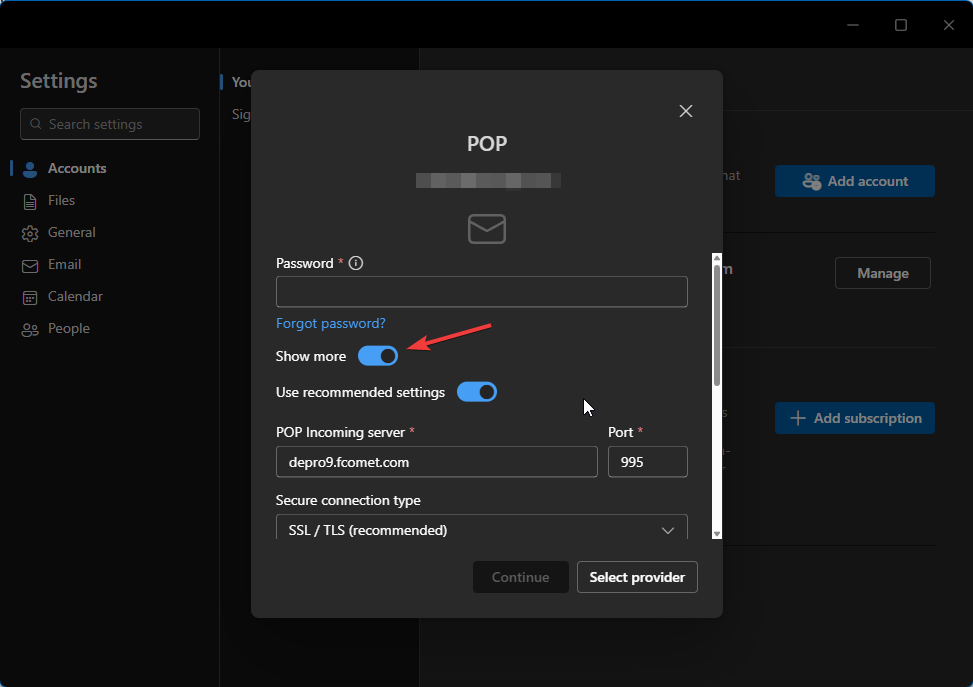
Scrolling down you will see fields to fill in your POP3 server info. Here is what you will need:
- Password - Type in the password for the email account;
- POP Incoming Server - The incoming server is where emails sent to your account will arrive. Typically the hostname of the server can be mail.yourdomain.com. However, if you are using our email service, we recommend using the server's name directly. (e.g. de1.fcomet.com, inpro1.fcomet.com, etc.);
- Port - For POP3, you can use either 110, which is the default one, or 995. The latter utilizes an encrypted connection over SSL. We strongly recommend using the secured 995 port, and only use 110 if 995 is otherwise unavailable. It is always available on our services;
- Secure Connection Type - Depending on the port you chose, you have to select the respective secure connection type. For port 995 select SSL/TLS, and None for port 110.
Hostname
The hostname for the incoming mail server for our services can be mail.yourdomain.com (where the yourdomain.com is your actual domain name). However, we always recommend using the name of the server your account is on. You can easily find it by logging into your account on FastComet.com. From the homepage, click on View Details next to the hosting plan that has the email account. You can find the server name in the FTP Server box. You will also find this information in the welcome email you got when you purchased the hosting plan.
After you have filled in the POP section, you have to do the same for SMTP. While POP3 is the incoming mail protocol, SMTP is the outgoing one. You will need both in order to properly receive and send emails. The configuration follows the same principles, and the only thing different is the protocol. Here is what you will need.
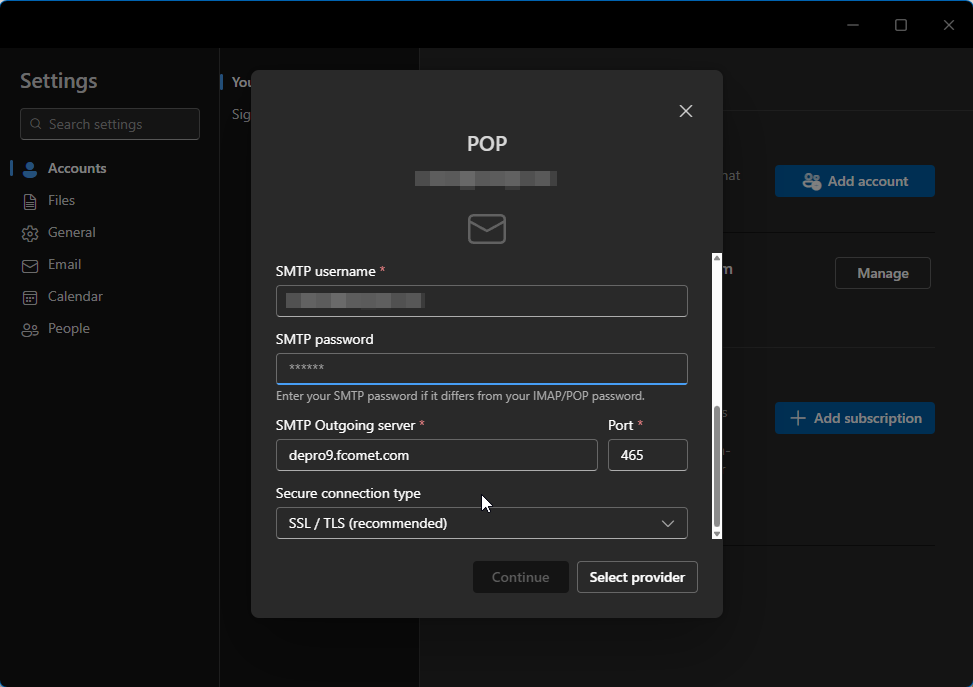
- SMTP Username - Type in the same email address you did earlier. The one you want to add to Outlook;
- SMTP Password - The email account's password;
- SMTP Outgoing Server - This is typically the same server as the POP3 one. That is the case for our services, but that may differ depending on the email provider you use;
- Port - When it comes to SMTP the secure ports are 465 and 587 (we recommend 465). The unsecured port is 25. Again, you should be using the secure ports;
- Secure Connection Type - Depending on the port you chose select SSL/TLS (secure), or None (unsecured).
After you have filled in all the fields the Continue button will become available. Click it and you should shortly see a message informing you the account has been successfully added.
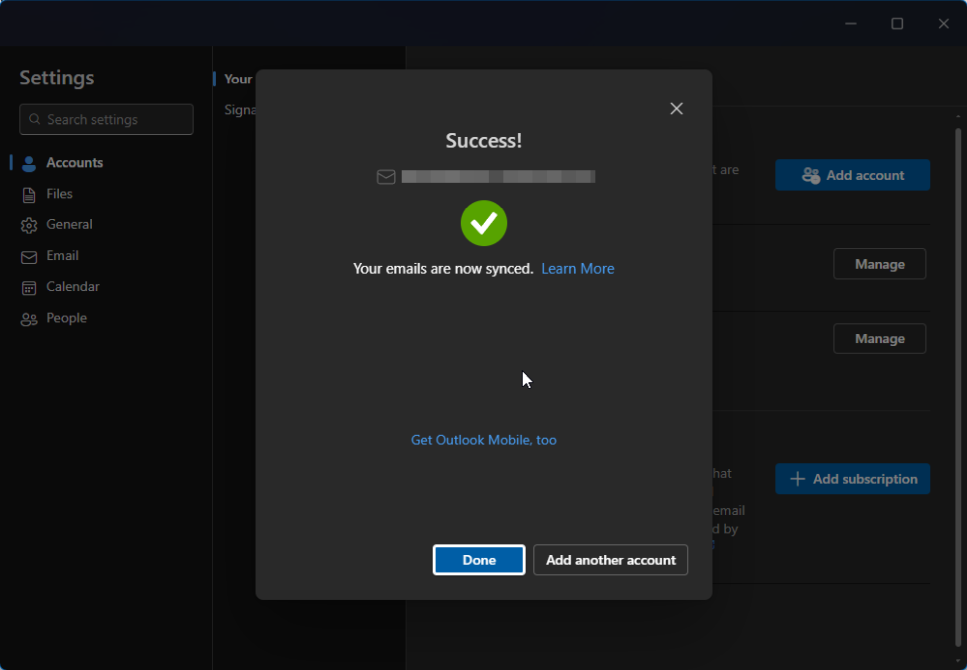
There you have it! You have successfully added an email account to your Outlook application via the POP3 protocol. From now on, all emails received by this address will be downloaded to the device the application is on. Afterwards those emails will be removed from the mail server. That is particularly useful if you want to keep access to your email messages limited to a single device.

Mail Hosting
- Free Domain Transfer
- Unlimited Email Accounts
- 24/7 Technical Support
- Fast SSD Storage
- Hack-free Protection
- Free Cloudflare CDN
- Immediate Activation