Add Email Account to Outlook With IMAP
Updated on Jun 23, 2025
In this tutorial we are going to show you how to configure your Outlook email client with an existing mail account using the IMAP incoming mail protocol. IMAP keeps your emails stored on the server and syncs messages across multiple devices. It’s perfect for users who need access to their mailbox from various locations or devices. To learn more about the protocol, head to this article where we discuss it in detail.
You can add accounts from many dedicated email providers (Gmail, Yahoo, etc.) to an Outlook application. For the purposes of this tutorial, however, we will assume you are adding the custom email address you can create with our email service. We will also be using the latest version of the Outlook client.
This post includes:
Adding Your Account to Outlook
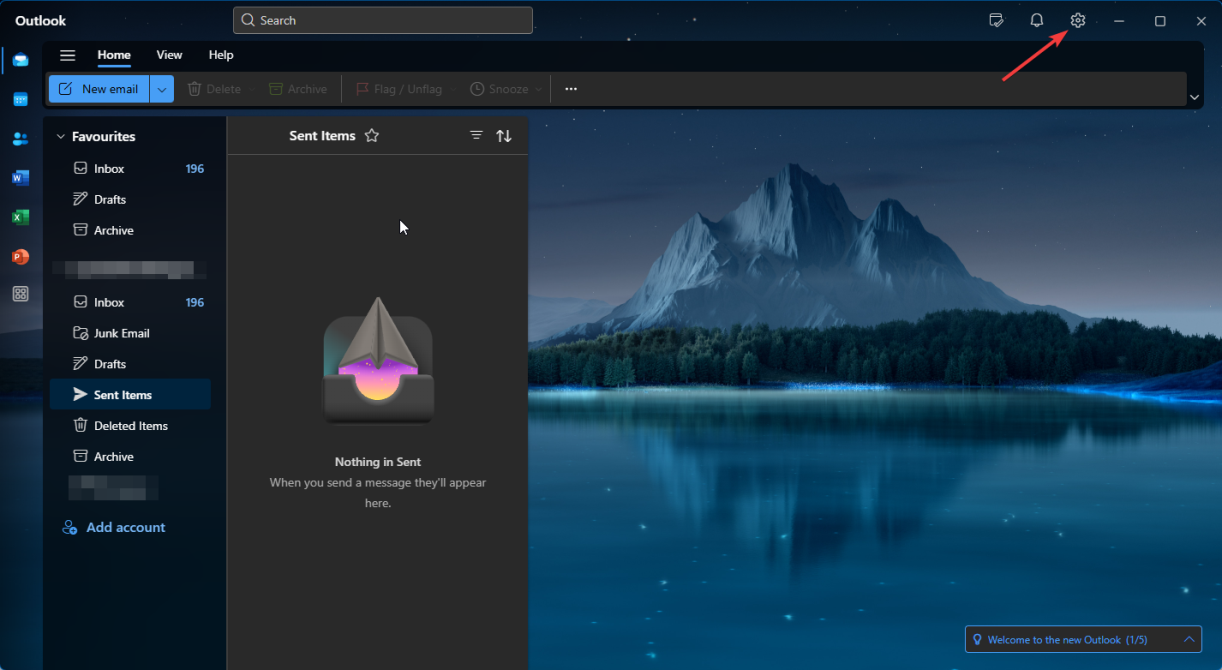
Let's begin by adding a new email account in Outlook client. The first step is to open the application and look in the top-right corner. Click on the gear icon to open the settings.
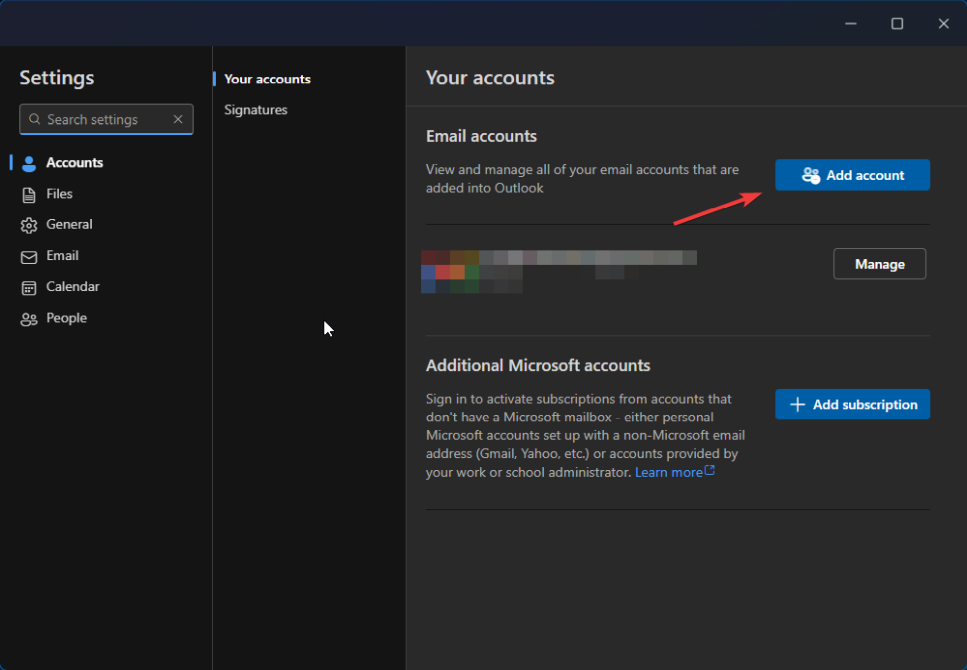
The only thing we are interested here, for this tutorial, is the Accounts section. Click Add account. That will open a new pop-up where you can begin the process.
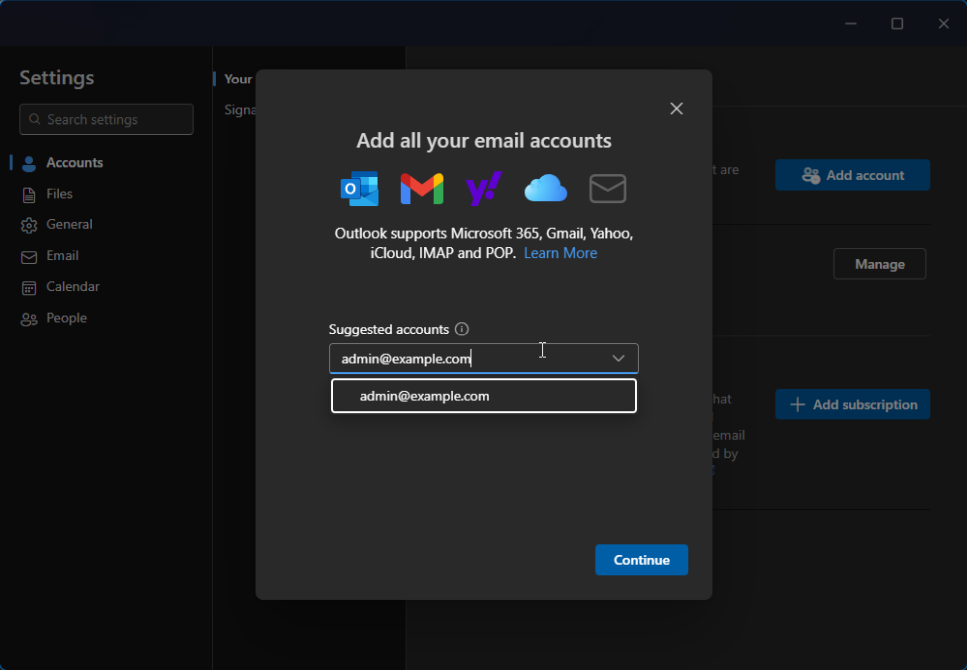
Type in the email address you want to add to the Outlook appliaction and then click Continue. That will take you to the configuration window where you can choose your protocol and then enter all the necessary details.
Configuring the IMAP Protocol
After you clicked Continue you will be prompted to enter your password. However, skip that step for now and instead click on Select Provider. That will show you a list of available providers (Microsoft, Gmail, Yahoo, and iCloud). However, we are only interested in the IMAP option for this tutorial. That way you can add your custom email address.
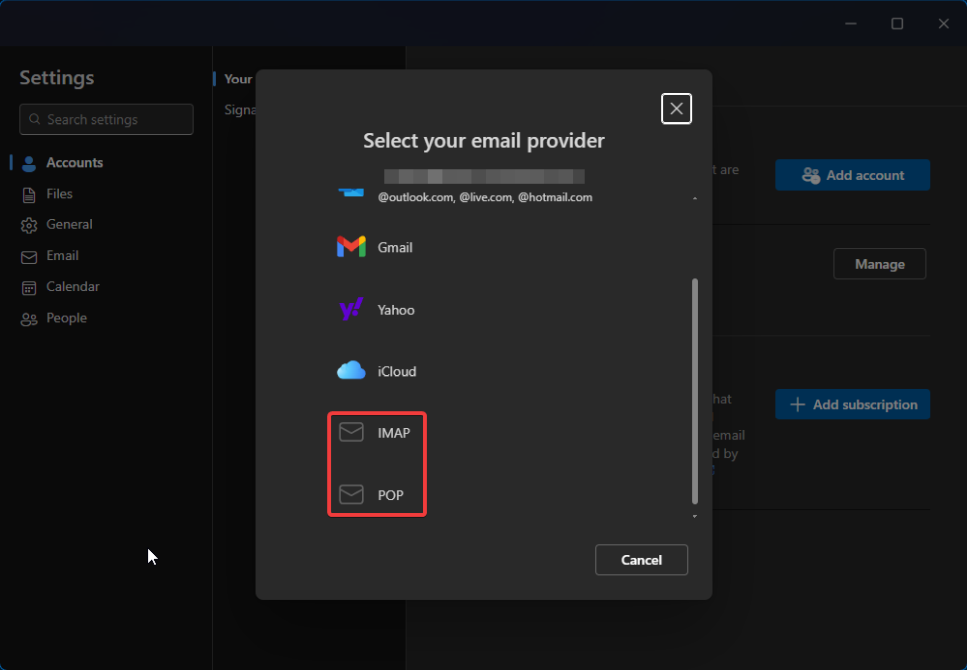
Select IMAP and now you can enter the password for your email account. Ensure it is the correct one otherwise you will not be able to add it to the application. Afterwards click on Show More which will expand the full configuration options.
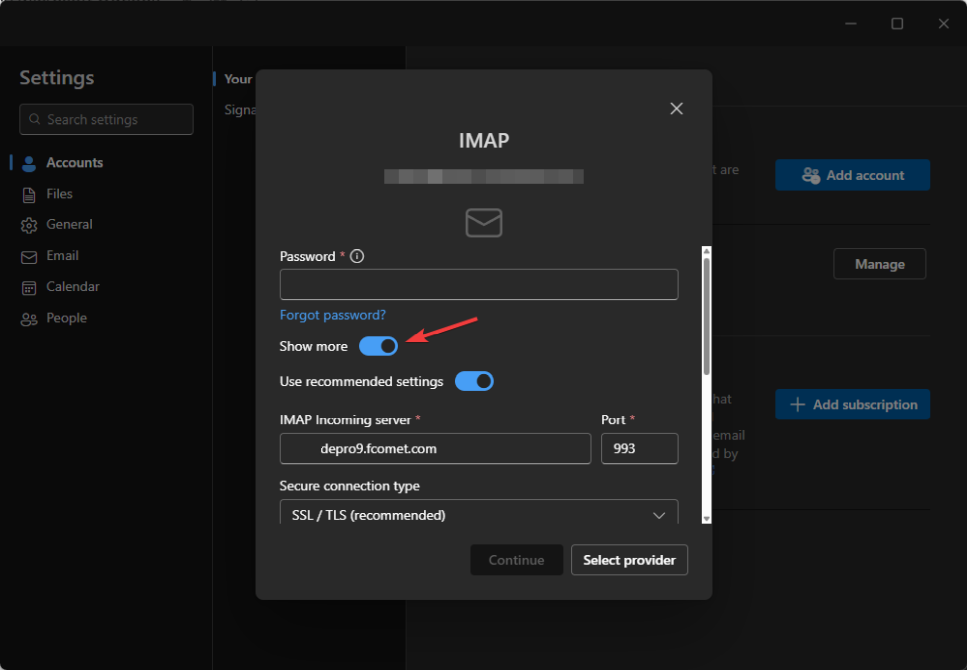
Time to fill in the server details! This is what you will need:
- Password - Type in the password for the email account;
- IMAP Incoming Server - This field is for the incoming email server, so incoming messages know where to go;
- Port - For IMAP, you can use either 143, which is the unsecured port, or 993. The latter encrypts the connection over SSL. We highly recommend using the secured 993 port. Only use 143 if 993 is unavailable. It is always available on our services;
- Secure Connection Type - Depending on the port you chose, you have to select the respective secure connection type. For port 993 select SSL/TLS, and None for port 143.
Hostname
The hostname for the incoming mail server for our services can be mail.yourdomain.com (where the yourdomain.com is your actual domain name). However, we always recommend using the name of the server your account is on. You can easily find it by logging into your account on FastComet.com. From the homepage, click on View Details next to the hosting plan that has the email account. You can find the server name in the FTP Server box. You will also find this information in the welcome email you got when you purchased the hosting plan.
Those were the settings for incoming mail. All that is left is to repeat the process for outgoing mails. That is what the SMTP section is for. SMTP itself is an outbound email protocol, and you can read more about it here.
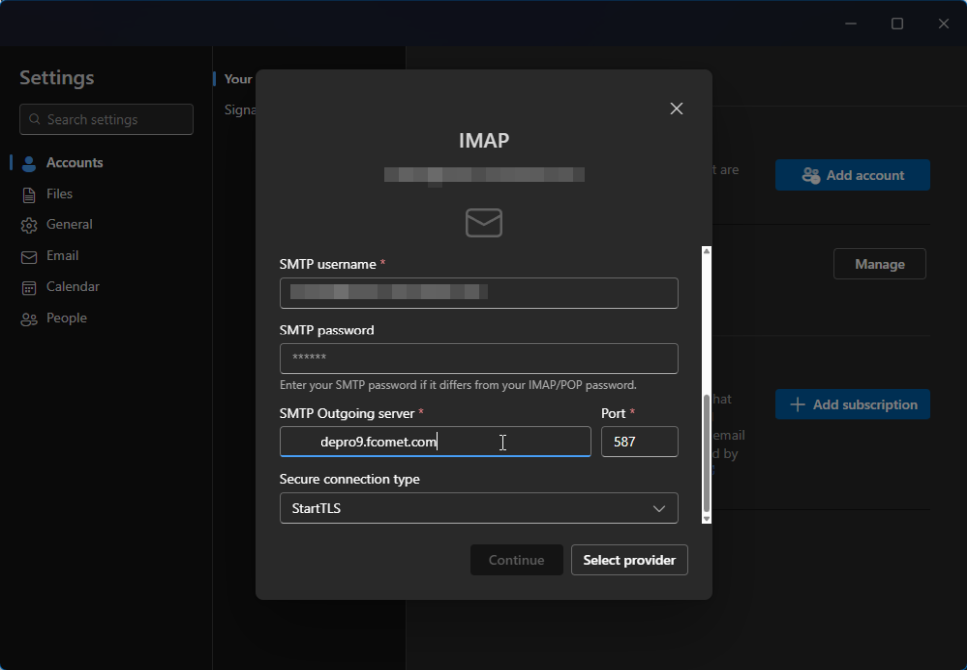
The best part is that the settings for SMTP will be the same as for IMAP. The only difference is the port. Here is what each field is for:
- SMTP Username - This is the same email address like earlier. The one you want to add to Outlook;
- SMTP Password - The email account's password;
- SMTP Outgoing Server - This is usually the same server as the POP3 one. That is the case for our services, but it may differ depending on the email provider you use;
- Port - SMTP has two secure ports: 465 and 587 (we recommend 465). The unsecured port is 25. Our recommendation once more is to always use the secure ports when possible;
- Secure Connection Type - Depending on the port you chose select SSL/TLS (secure), or None (unsecured).
Once you all the fields are filled, you can click Continue. After a short processing period you should see a message informing you the account was successfully added to Outlook.
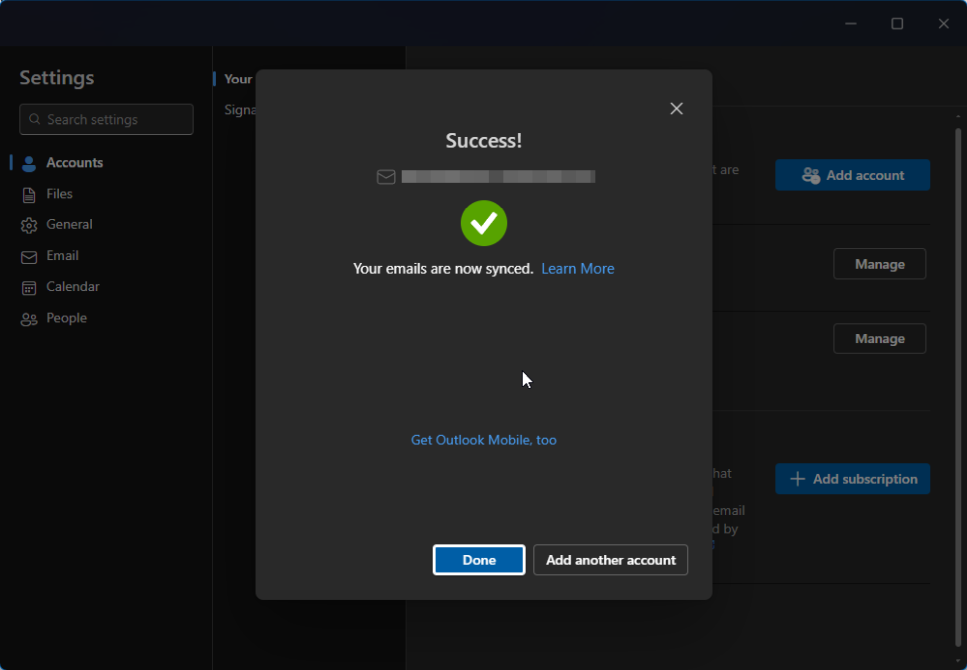
That is all it takes to connect an email account to an Outlook application. When you click Done you will be taken back to your inbox where you will be able to see all your messages populating. Sometimes it takes a few moments, depending on how many emails Outlook needs to add. You can view these emails from any device that has access to the account. Remember to log out of any device you do not want to have access to this email account.

Mail Hosting
- Free Domain Transfer
- Unlimited Email Accounts
- 24/7 Technical Support
- Fast SSD Storage
- Hack-free Protection
- Free Cloudflare CDN
- Immediate Activation