Set up a POP email account on your iPhone
Updated on Mar 13, 2019
POP3 is an incoming mail protocol which automatically downloads incoming emails from your mail account to the device you have added that email account to. It is particularly useful if you would like to have all your emails downloaded on your device and then deleted from the server.
In this tutorial we are going to show you how to configure your iPhone in order to achieve POP3 connection to your mail account with us.
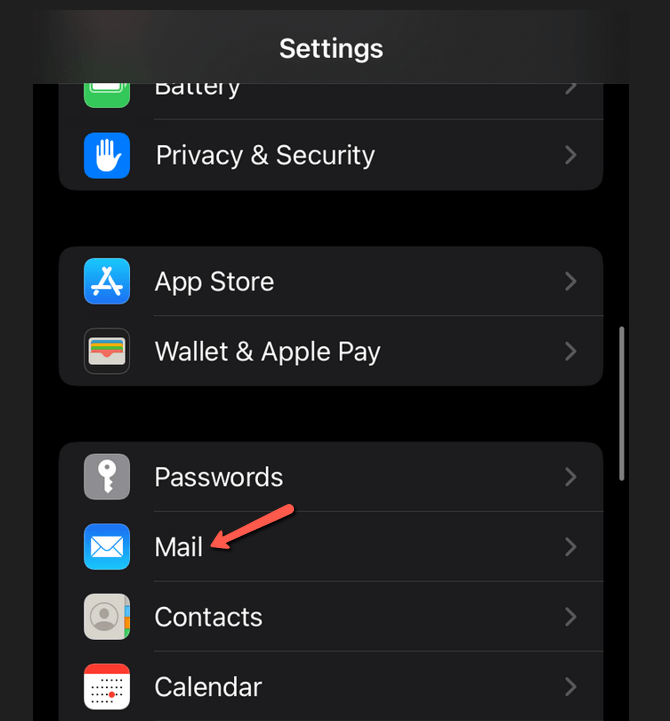
To begin the configuration of a new email account, access the Settings feature of your iPhone. Then you will need to select the Mail option.
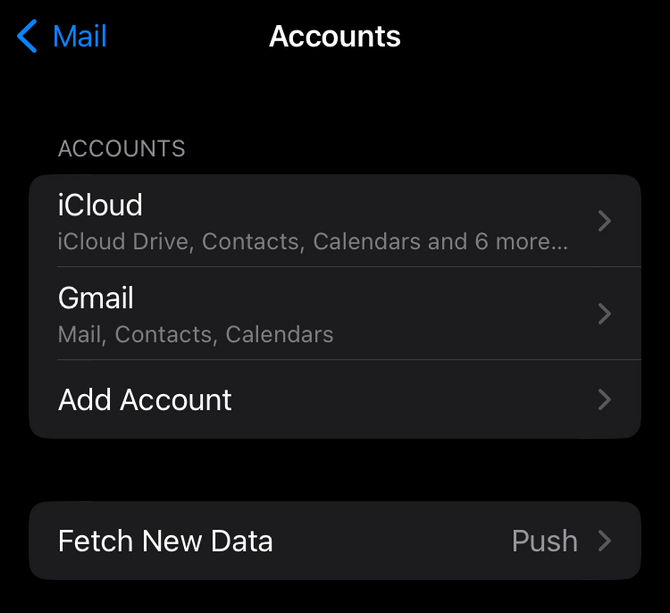
This will open a new screen where you will need to select Add Account in order to begin the configuration of your email account.
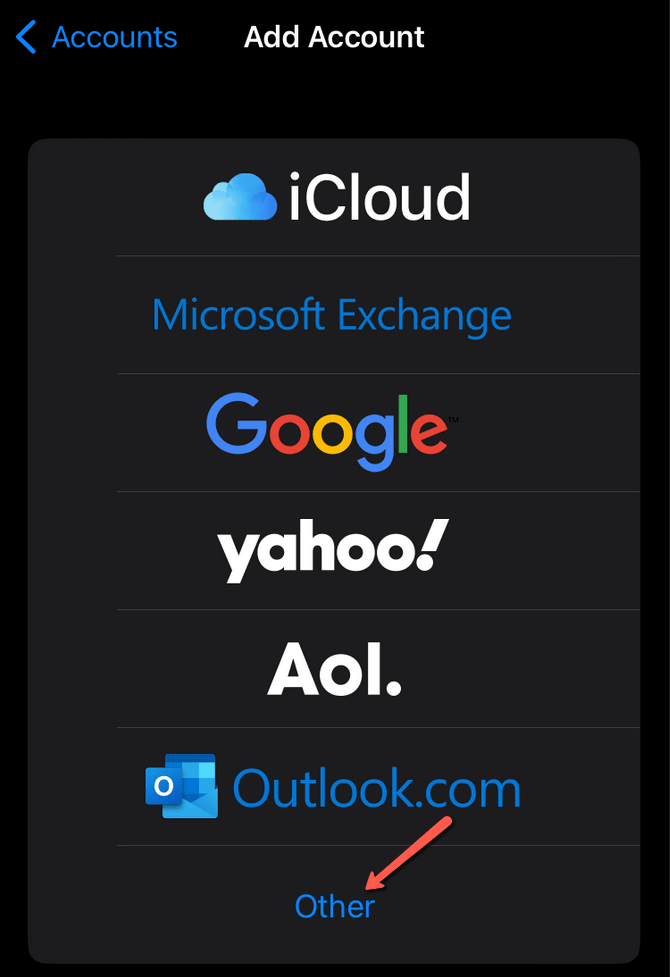
On the next screen you will see the most commonly used email providers that your iPhone can automatically set up for you. Since the email service we provide is not related with these you will need to select the last option from that list - Other.
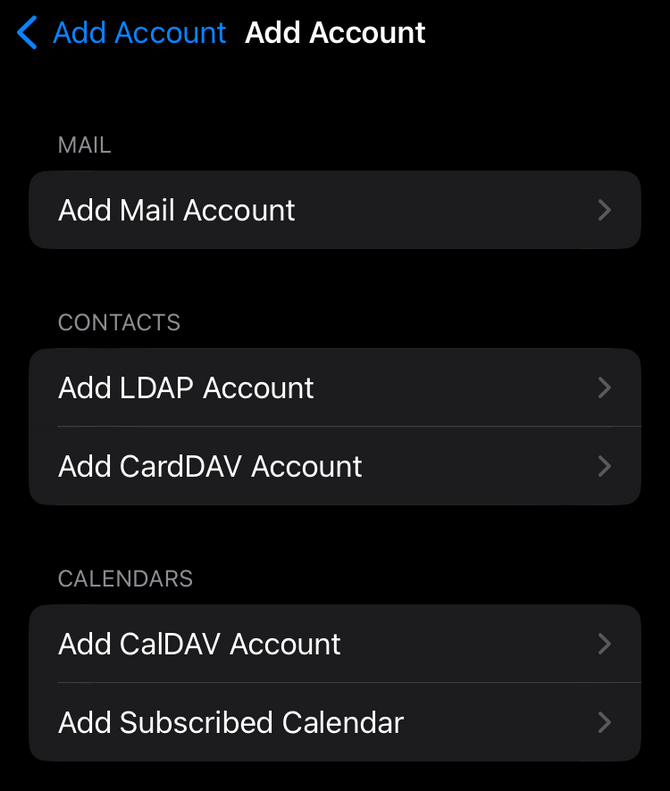
To begin adding a new account you need to tap on Add Mail Account.
Then, fill out your Name, Email Address, the Password for that address and finally a Description.
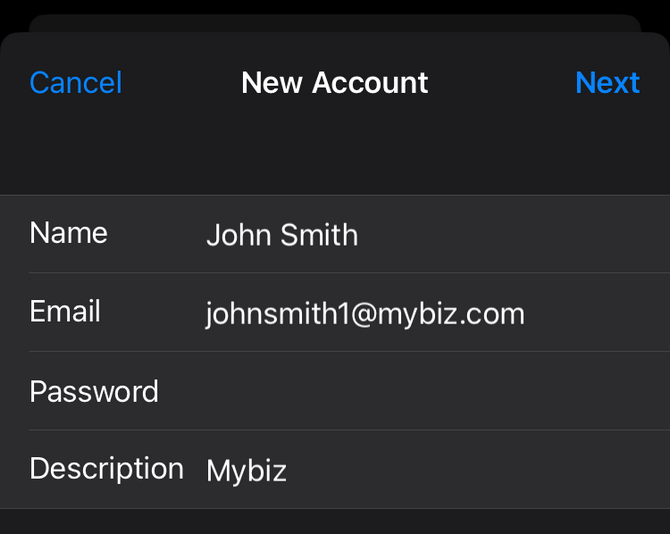
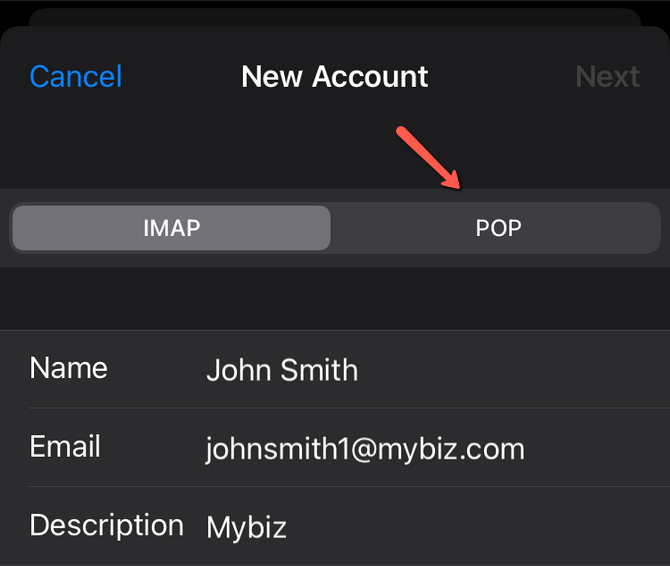
When you are done with these settings, press the Next button so you can proceed. You will need to choose the incoming mail protocol. Since this tutorial covers the POP3 protocol, tap the POP button at the top of the screen.
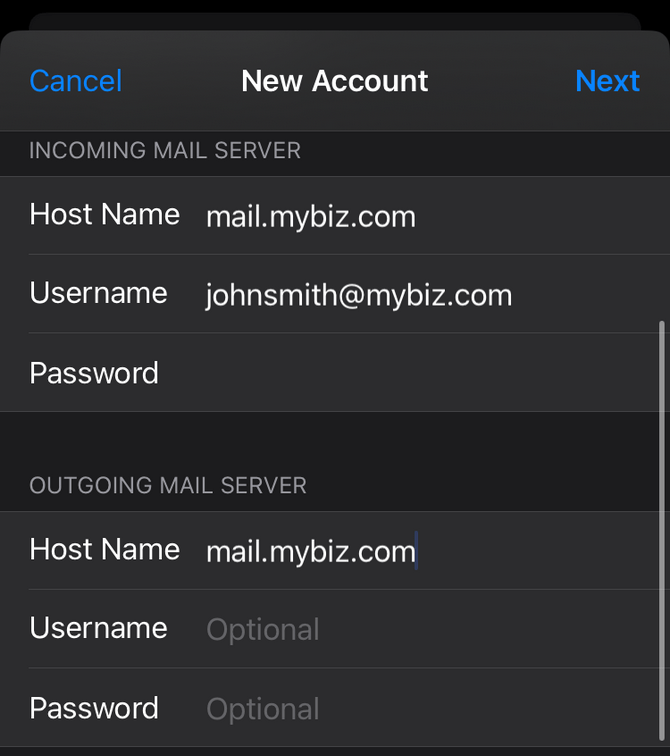
Input the settings of the Incoming Mail Server on the same screen. The settings for the Incoming Mail Server include the Hostname of the mail sever (usually it is mail.yourdomain.com), the Username (usually fully qualified email address e.g. [email protected]) and finally the password for your email address. Then you need to configure the Outgoing mail server. The values of the Host Name, User Name and Password fields are exactly the same as the ones used for the Incoming Mail Server setup above.
Finally, press Next at the top of the screen to save these changes. The newly configured email account will appear in the Accounts section. That is all you need to do to configure a POP email account on your iPhone!
In order to access the email account, go back to the Mail app of your iPhone. Next you will see a list of your Accounts where the newly configured email account will be. Tap it and access the emails for that email account. The emails will be displayed on a separate page in a convenient structure.
Congratulations! You now know how to configure an email account with the POP incoming mail protocol!

Mail Hosting
- Free Domain Transfer
- Unlimited Email Accounts
- 24/7 Technical Support
- Fast SSD Storage
- Hack-free Protection
- Free Cloudflare CDN
- Immediate Activation