- phpFox Tutorial
- PHPFox overview
- Install/Upgrade PHPFox
- Configuration
-
Manage PHPFox
- User Groups
- Custom User Group
- Edit Users in PHPFox
- Custom Fields in PHPFox
- Custom tab on user profiles
- Manage Cancellations
- Manage Promotions
- Manage Menus
- Manage Blocks
- Manage Pages
- Manage Currencies
- Ban Members
- Manage Subscriptions
- Manage Countries and States/Provinces
- Manage Newsletters
- Manage Advertisements
- Manage Announcements
- Clear Cache
- Extend PHPFox
- Backup and Restore
- PHPFox Hosting
How to Manage Pages in PHPFox
Updated on Dec 18, 2015
The pages feature of PHPFox is used for static information that you wish to place on your website. Such are the About Us page, the Privacy Policy, etc.
To manage the pages in PHPFox, you will need to:
Step 1 Edit Pages
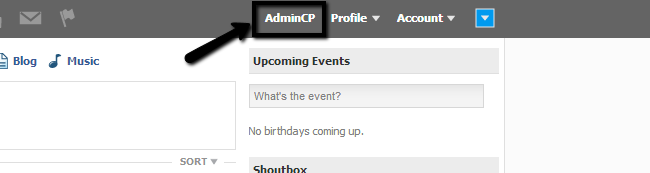
Access your website as administrator and then click on the AdminCP button at the top-right corner.
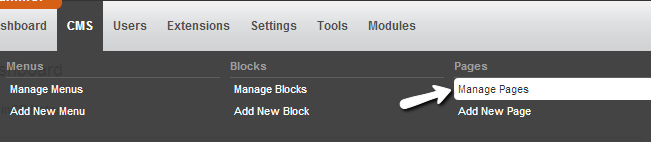
Click on the CMS tab on the main menu and then Pages > Manage Pages.
Choose the Edit action from the drop-down box next to the page that you wish to edit.
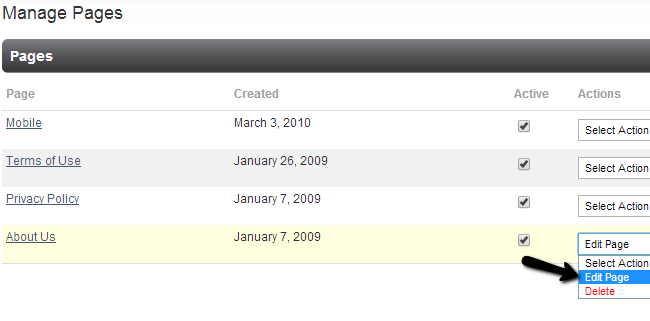
Edit the actual data that you wish to modify and then click on the Submit button to keep the changes.
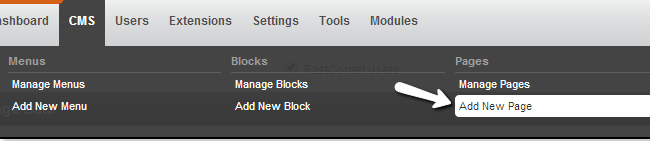
Step 2 Add new Pages
Access your website as administrator and then click on the AdminCP button at the top-right corner. Then simply click on the CMS button and then Pages > Add New Page.
Edit the options required for the new page, such as a Name, Page Data, etc.
- Connection: Choose the footer option to place the page into the footer. Alternatively, you can place the new page wherever you wish.
- Title: Choose a title for your new page.
- Page Data: Enter the actual text for the new page.
Click on the Submit button to create the actual page.
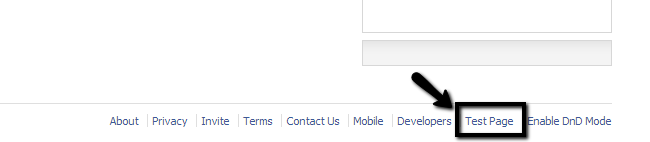
Once you save your new page, it will appear where you have set it. In our case, our Test Page is displayed in the footer.

PHPFox Hosting
- Free PHPFox Installation
- 24/7 PHPFox Support
- Free Domain Transfer
- Hack-free Protection
- Fast SSD Storage
- Free PHPFox Transfer
- Free CloudFlare CDN
- Immediate Activation