How to Create Delegates/Sub-Accounts in Client Area
Updated on Jun 3, 2022
It is a fairly common practice to assign users as sub-accounts or delegates in your Client Area. They have limited access to manage/create tickets, pay invoices, and any other owner-related actions. Here at FastComet, we do have an intuitive sub-account/delegate management system that allows you to create sub-users under your main account. They can log in and perform the actions that you, as the primary account holder, have authorized.
In this post, we'll show you how to add sub-users (also known as Delegates) to your account. This lets you grant access to your account to friends, relatives, and other server administrators.
Table of Contents:
What are Sub-accounts/Delegates?
The "master account owner" is the primary login, and any users they create under their account are referred to as "sub-accounts" or "delegates." They can be used to give third-parties (business partners, developers, associates, etc.) access to your hosting account so they can perform various operations.
How to Add a Sub-account/Delegate
To add a sub-account/delegate, you need to log into your Client Area first. Once you are logged in, click on the top-right corner button (colored circle with your initials) and then on Profile

On the next page click Delegates in the left sidebar.
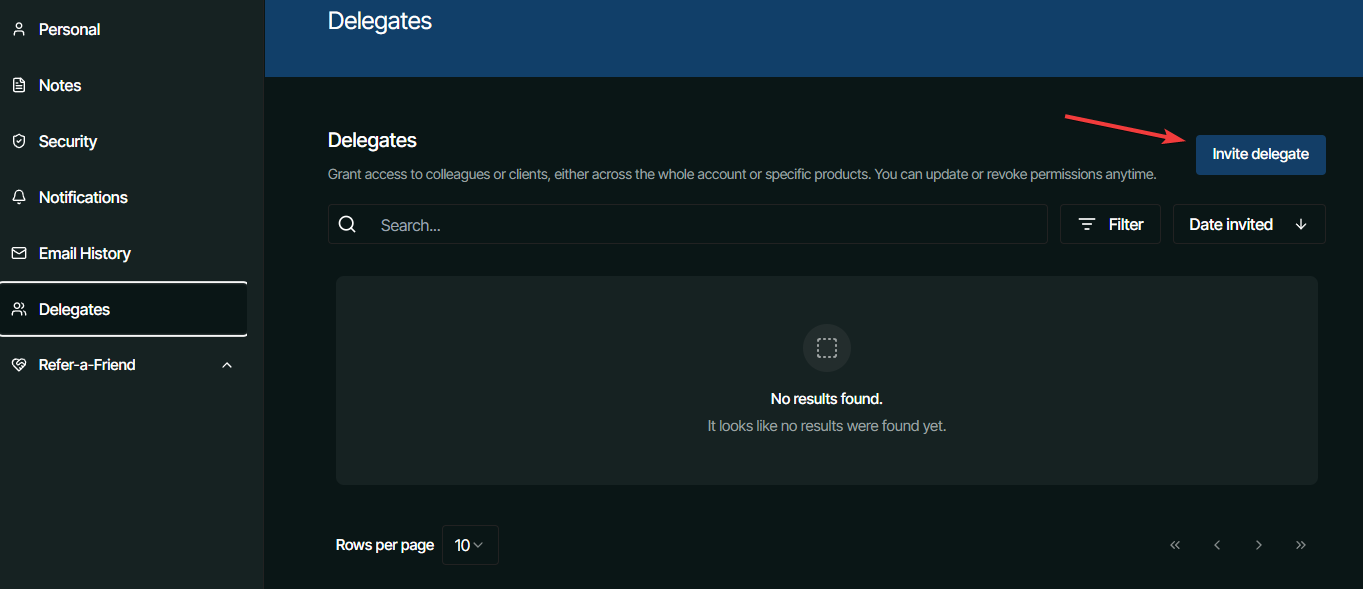
From here you can directly invite someone to be your delegate. Just ensure they have an account on our website first. Simply write their email in the window that appears, and choose what kind of access they have. If you choose to give them access to specific products, you'll see a new window pop up that lets you select which ones.
Once you are ready, click Select invitation.
From this page you can also view and manage all delegates present on your account. You can click on the arrow (>) to view that delegate in more detail, or sort and filter the list.
Please exercise extreme caution when inviting people to be your delegates. If the account is for someone you don't know or trust, be careful to give them as little access as possible.

SSD Web Hosting
- Free Domain Transfer
- 24/7 Technical Support
- Fast SSD Storage
- Hack-free Protection
- Free Script Installation
- Free Website Transfer
- Free Cloudflare CDN
- Immediate Activation