How to use the Video Manager feature of ClipBucket
Updated on Mar 13, 2019
In order to manage all of the uploaded videos on your website you are provided with separate page in the admin area of your website. In this tutorial we will provide you with more information on how to use that page.
This tutorial assumes that you have already logged into the admin area of your website.
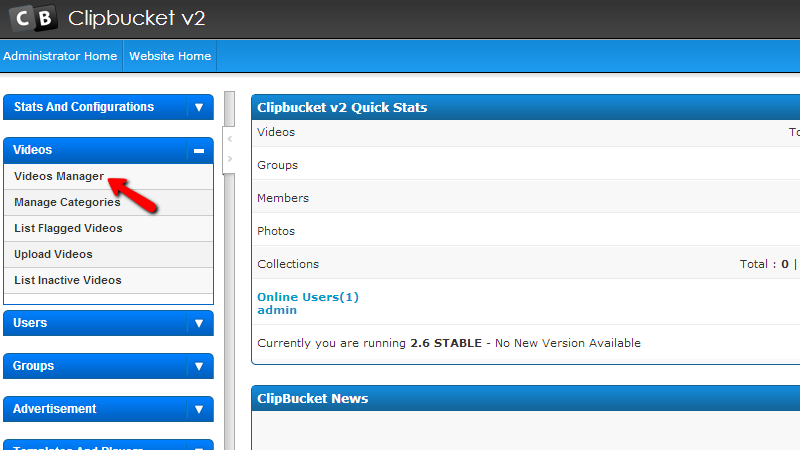
In order to access the Video management page you will need to navigate to Videos > Video Manager.
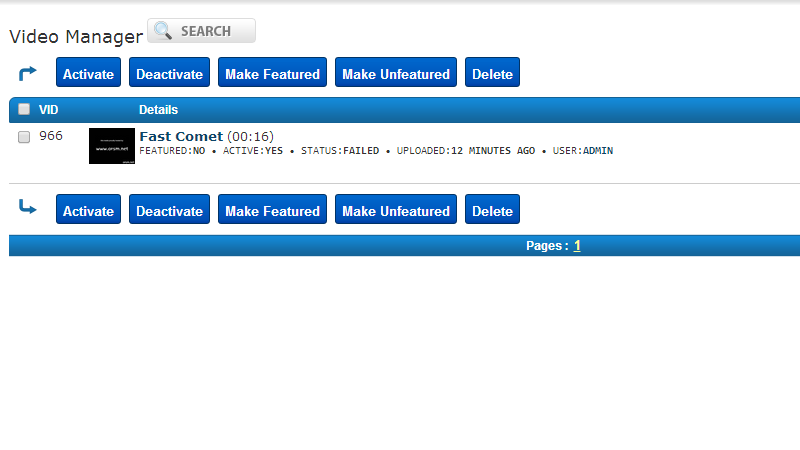
There you will be presented with a complete list for all of the uploaded videos on your website in a convenient table view.
At the top of the page you will be able to find the search feature which will allow you to search within all of the videos for contents matching the search criteria you have configured.
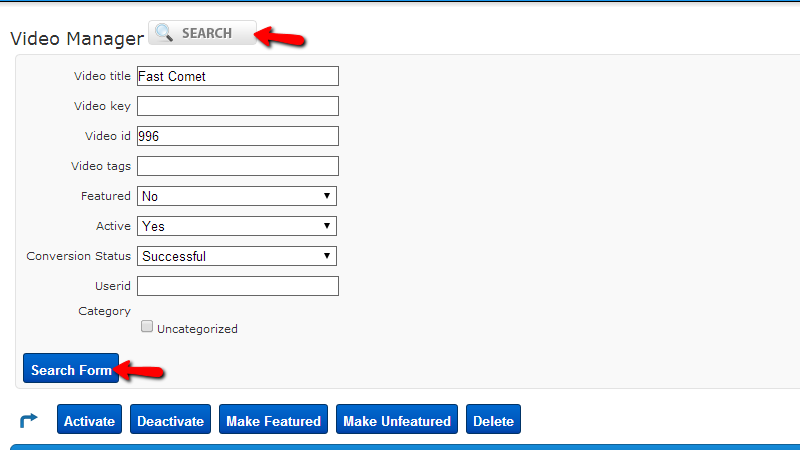
Once you configure the search criteria you will need to simply click on the Search Form button at the bottom of the newly appeared form and you will be presented with the search results.
Next on that page right before the tables view with your videos you will notice five functional buttons which will allow you to take different type of action against all of the selected videos.
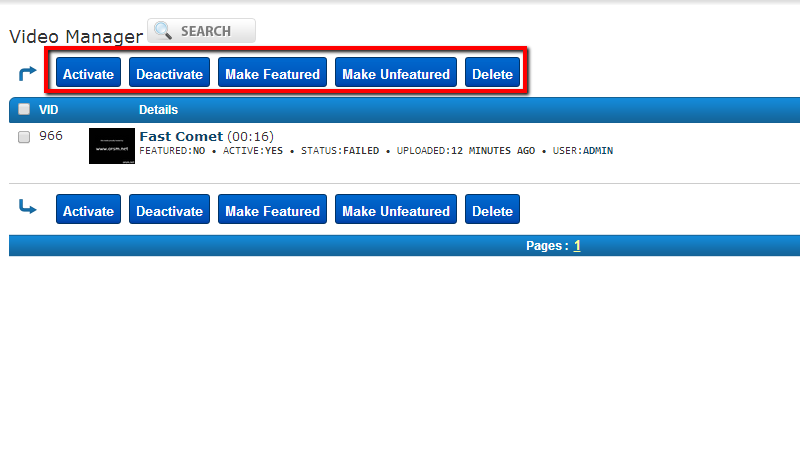
- Activate – For activating any inactive videos
- Deactivate – For deactivating any active videos
- Make Featured – For making a video featured(displayed in the featured videos section)
- Make Unfeatured – To remove a video from the featured section
- Delete – To delete a video
In order to apply any of these functions on a video you will need to ensure that the video will be selected properly. In order for a video to be selected you will need to simply tick the checkbox before the video in the beginning of every row from the videos table view.
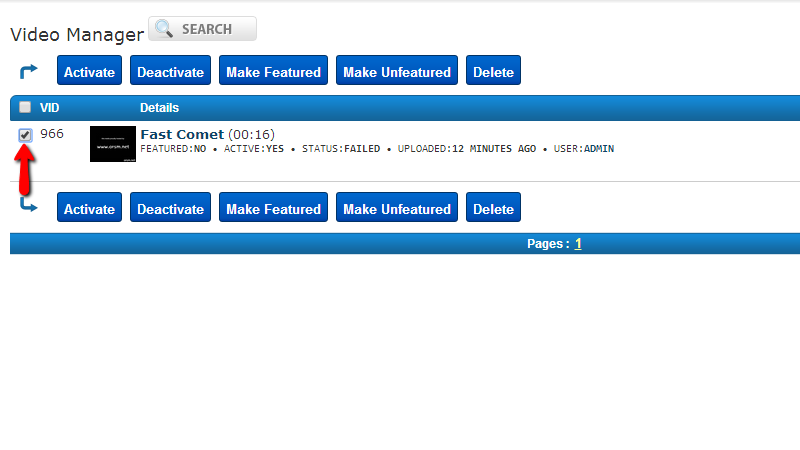
Right below the functional buttons we have described you will be able to find a table view for all of the videos on your website. Each video is displayed in a single row in that table view.
Now if you hover over a video you will be provided with 6 additional options you can choose from.
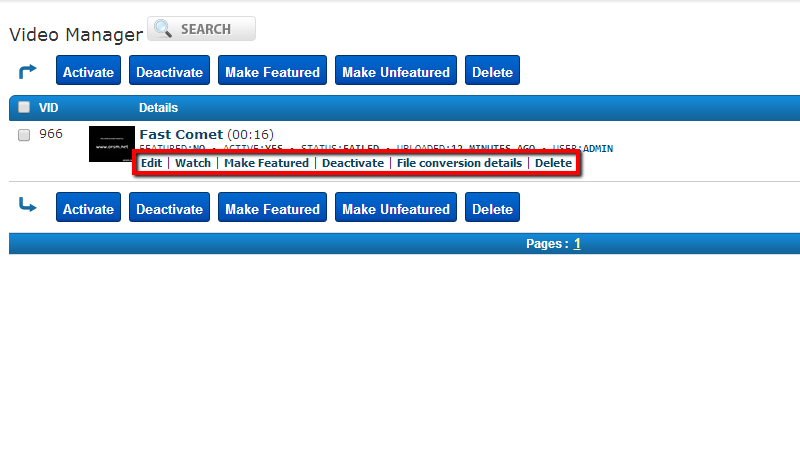
- Edit – For editing the information about the video. This option will bring a new screen with all of the information you can edit for the video you have chosen that option.
- Watch – This option will redirect you to a separate page where the video can be watched.
- Make featured – If you would like to make the video featured.
- Deactivate – If you would like to deactivate the video.
- File Conversion details – Brings a new page where you will be presented with detailed information about the conversion of the video along with any error logs from the conversion procedure.
- Delete – If you would like to delete the video.
All of the videos will be structured on pages so you can be able to navigate between all of them and the paging will be displayed at the bottom of the page.
Congratulations! You now know how to fully manage the videos on your website!

ClipBucket Hosting
- Free Installation
- 24/7 ClipBucket Support
- Free Domain Transfer
- Hack-free Protection
- Fast SSD Storage
- Free ClipBucket Transfer
- Free Cloudflare CDN
- FFmpeg Support