How to manage Groups in ClipBucket
Updated on Mar 13, 2019
Like the groups feature provided in Facebook you are also able to fully manage groups on your Clip Bucket website. The groups are used for creating a web space for certain amount of users where you have the options to discuss different topics, to post group videos available for all of the users and many other useful features. In this tutorial we are going to show you how to manage the groups of your website.
To manage your ClipBucket Groups, you need to follow these steps:
Step 1 Add a new Group
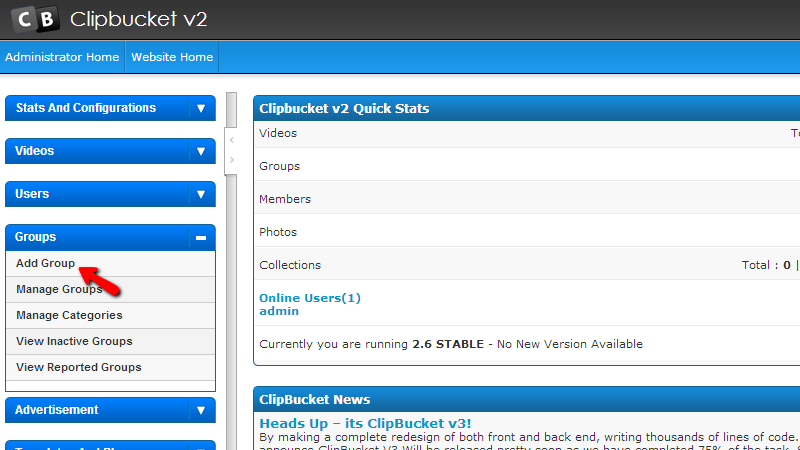
In order to create a new group to your website you should access Groups>Add Group menu in the admin area of your website.
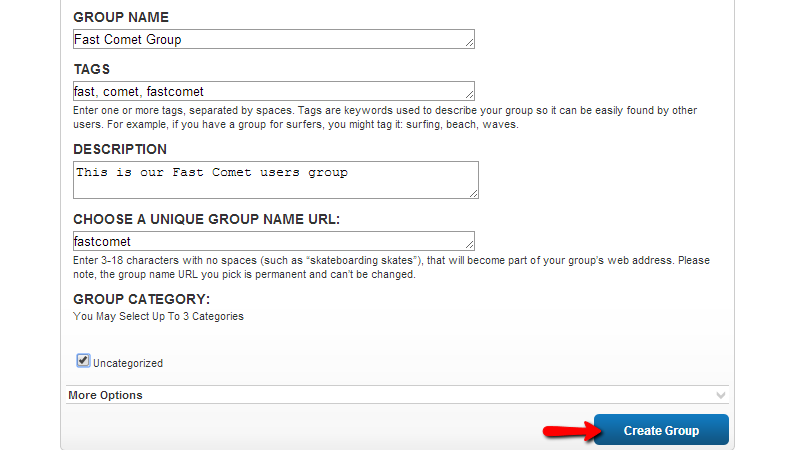
Then you will be redirected to the frontend of your website and more precisely to the Create Group page where you will need to configure few fields in order for the new group to be created.
- Group Name – The name of the new group.
- Tags – Any tags your group should be associated with.
- Description – Few words about the group you are creating.
- Choose a unique group name URL – The URL your group will be accessed with.
- Group Category – Here you can choose any of your existing categories your new group can be related to.
Once you are ready with all of these options please use the Create Group button at the bottom of the page.
Once the group is created you will be redirected to the home page of the newly created group where you can take full advantage of the features offered by the groups functionality.
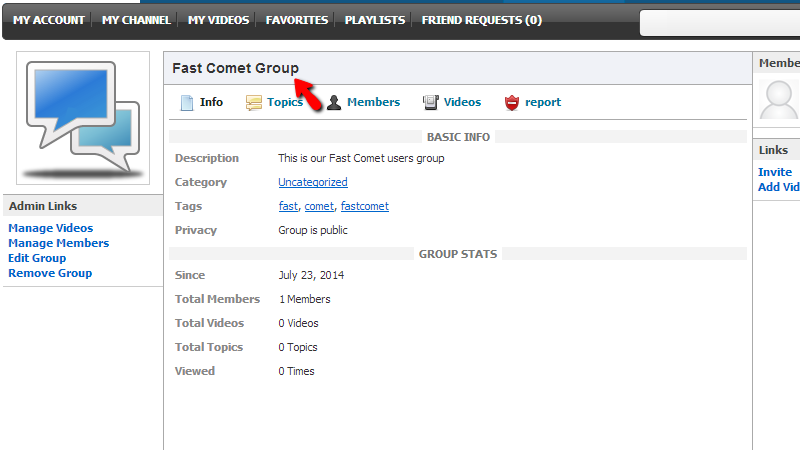
This is all you need for creating a group on your website. Note that your users will also have the option to create groups within the groups page of your website.
Step 2 Manage your Existing Groups
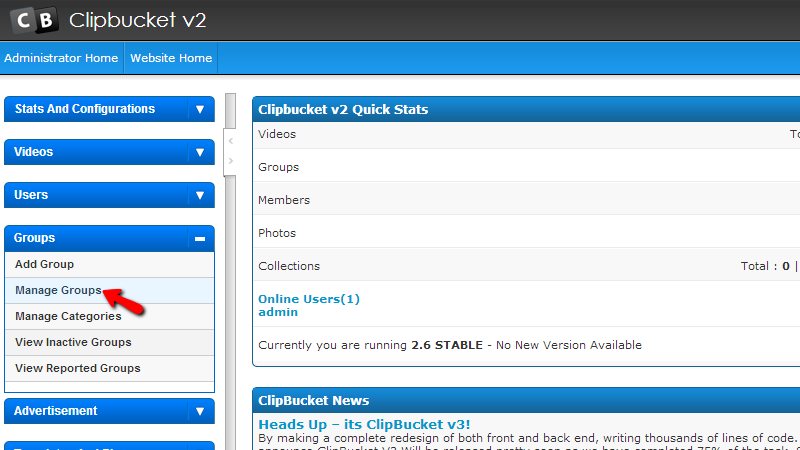
In order to manage all of the currently existing groups on your website Clip Bucket provides you with separate standalone page in the admin area of your website. In order to access that page please login into the admin area of your website and head over to Groups>Manage Groups.
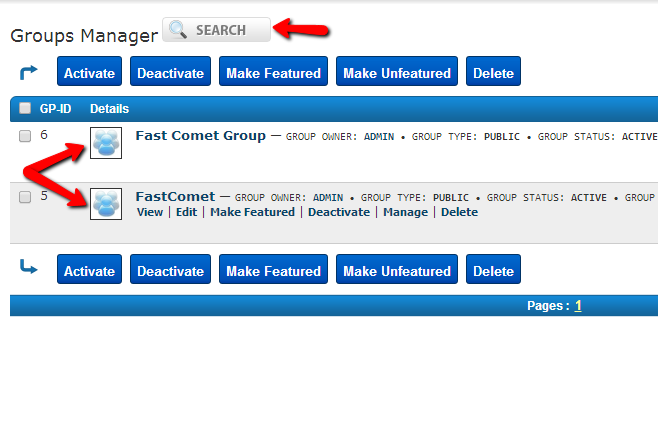
The groups management page is fairly simple as it contains a single table view with all of the currently existing groups on your website and of course a search tool at the top of the page where you will be able to configure search terms in order for you to be able to find specific groups.
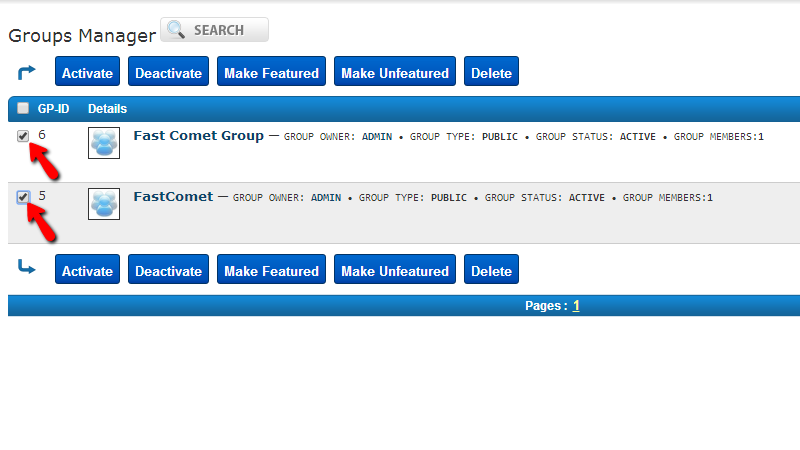
Of course for easing your access to the available actions you can take with the groups on your website you are provided with five optional buttons which you can use respectively for:
- Activate - For activating deactivated groups
- Deactivate - For deactivating active groups
- Make featured – For making a group featured
- Make unfeatured – For making a featured group unfeatured
- Delete – For deleting a group.
No matter which from these optional buttons you will be using you will need to first select a group from the groups table view. In order to do so you will need to check the checkbox before the GP-ID column for the specific group you would like to change.
And finally if you would like to change an option for any of the displayed groups on the fly you should simply hover over the group and you will be presented with six options which are similar to the optional buttons described above with only one difference – the additional Мanage button. This button will redirect you to the front end of you group where you will be able to Edit the group and perform some additional tasks.
Congratulations! You now know how to fully manage the groups of your website!

ClipBucket Hosting
- Free Installation
- 24/7 ClipBucket Support
- Free Domain Transfer
- Hack-free Protection
- Fast SSD Storage
- Free ClipBucket Transfer
- Free Cloudflare CDN
- FFmpeg Support