How to manage the Plugins in ClipBucket
Updated on Mar 13, 2019
Clip Bucket comes with large amount of plugins you can take advantage from. For this reason the authors of the script have made for you an easy to use Plugin Manager which we will review in the next few lines of this tutorial.
This tutorial assumes that you have already logged into the admin area of your website.
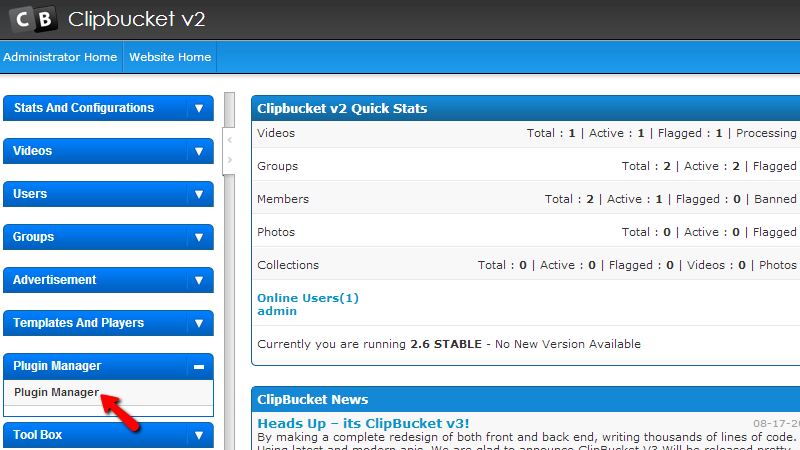
In order to access the Plugin Manager page you will need to simply navigate to Plugin Manager > Plugin Manager.
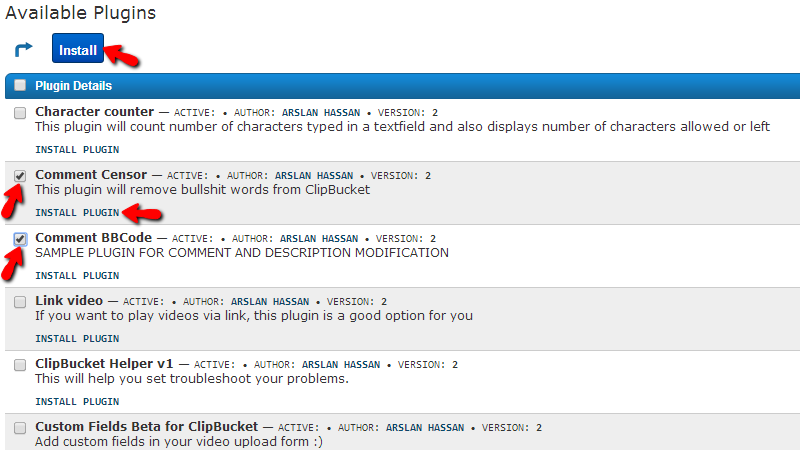
If you are accessing that page for the first time then most probably there will be no plugin sunder the first section called Installed Plugins. In order to install a plugin you will need to find the plugin into the list of Available Plugins which happens to be the second section on the same page.
In order to install any of the plugins presented in the list you will need to either directly click the INSTALL PLUGIN link bellow each plugin or select multiple plugins for installation and use the Install button at the top of the page.
The installation process itself is fully automated and you will not have to configure any of it. Once a plugin is installed it will be automatically listed in the first section of the same page – Installed Plugins.
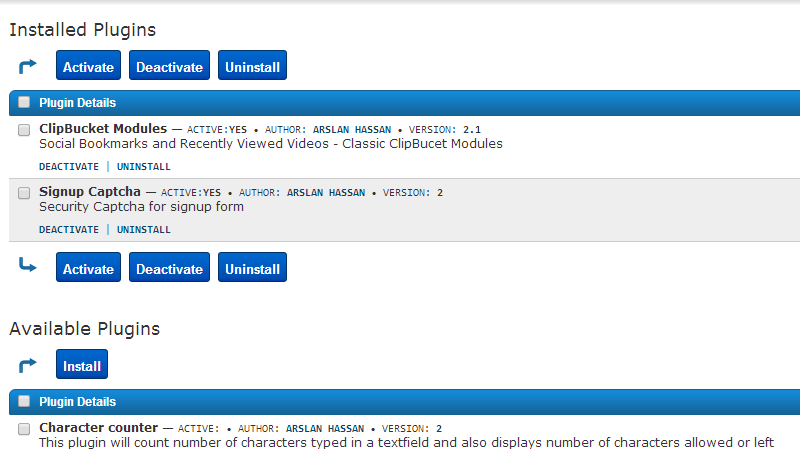
There you will be presented with the options to Activate, Deactivate or Uninstall any of the already installed plugins on your website with the action buttons displayed above and bellow the table view with installed plugins.
Congratulations! You now know how to fully manage the plugins of your website!

ClipBucket Hosting
- Free Installation
- 24/7 ClipBucket Support
- Free Domain Transfer
- Hack-free Protection
- Fast SSD Storage
- Free ClipBucket Transfer
- Free Cloudflare CDN
- FFmpeg Support