How to configure the Photo Settings in ClipBucket
Updated on Mar 13, 2019
Since the Clip Bucket application will also allow your user to upload photos you will need to learn how to configure the settings for these. In this tutorial we are going to show you how to configure the photo settings of your website.
This tutorial assumes that you have already logged into the admin area of your website!
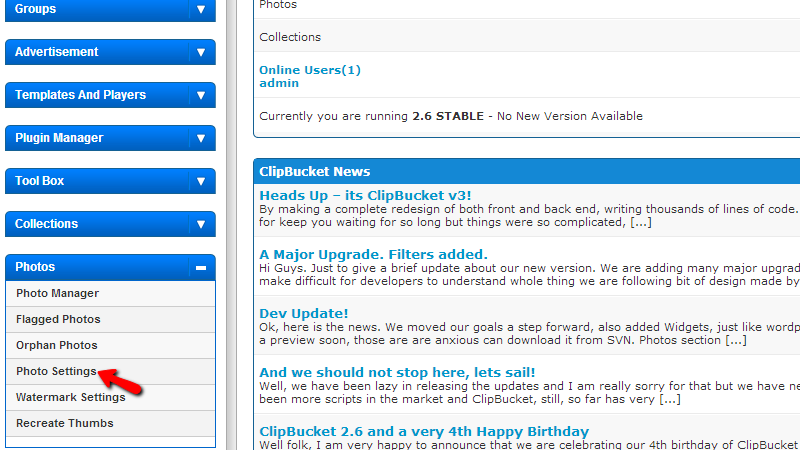
Let’s begin by accessing the Photos > Photo Settings page.
One the page where you will be redirected to you will notice that there are few settings to configure and in the next lines of this tutorial we will discuss every single one of them so you can better understand what these settings are used for.
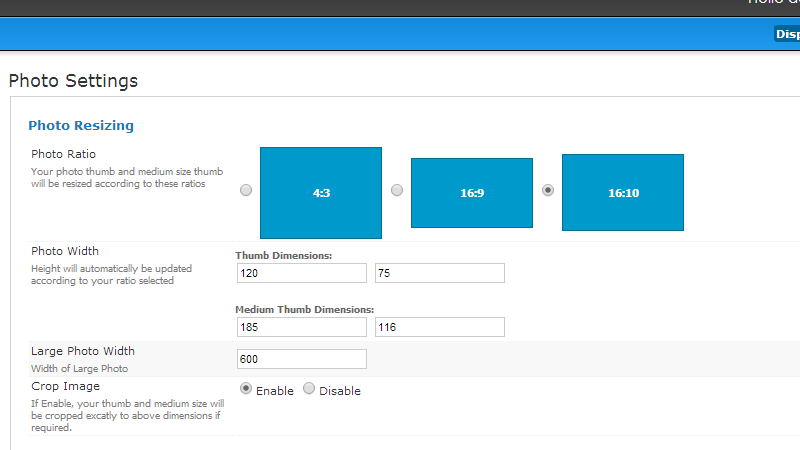
The settings are conveniently separated in two sections. The first section is called “Photo resizing” and as the name suggests there you will be able to find settings related to the resizing of photos when they are uploaded.
- Photo Ratio – The aspect ration the photo and its thumb will be resized when the photo is uploaded.
- Photo Width – The width a photo will get when it is resized. Note that the height will be automatically determinate based on this setting. Also you will be given with the option to determinate the thumb dimensions and the medium thumb dimensions.
- Large Photo Width – The width of the large photos.
- Crop Image – If the crop image functionality should be enabled.
The second section is called Photo Behavior and there you will be able to find additional settings related to the upload of images and some other options.
- Multi-upload – The amount of photos the users are allowed to upload at once.
- Max Photo Size – The maximum allowed size of a photo in MB (Megabytes).
- Enable Photo Downloading – If the downloading of photos should be allowed.
- Enable Photo Comments – If the comments for the uploaded photos should be allowed.
- Enable Photo Rating – If the rating function for photos should be allowed.

Once you are done with all of the settings on this page please click on the “Update Settings” button so you can be able to save all of the settings you have just performed.
Congratulations! You can now fully handle all of the settings for the photos uploaded on your website.

ClipBucket Hosting
- Free Installation
- 24/7 ClipBucket Support
- Free Domain Transfer
- Hack-free Protection
- Fast SSD Storage
- Free ClipBucket Transfer
- Free Cloudflare CDN
- FFmpeg Support