How to Configure the Email Settings in ClipBucket
Updated on Mar 13, 2019
The Clip Bucket application allows you to configure the settings for the mail service the application will use and also to configure the templates for the emails send from the application. In this tutorial we are going to show you how these configurations should be handled.
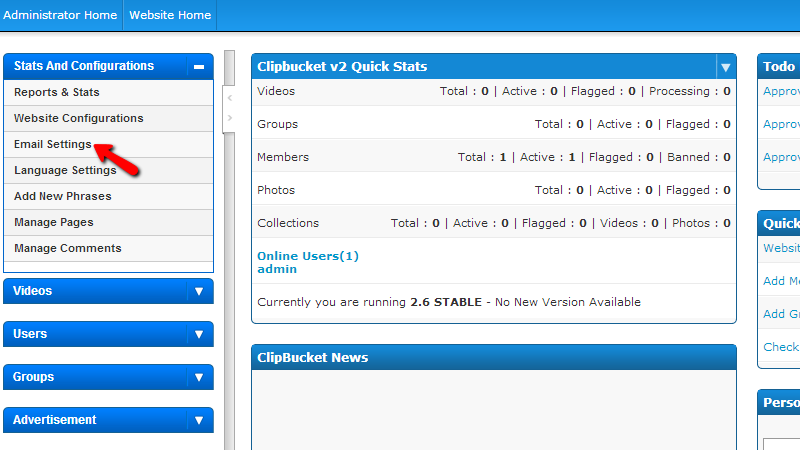
In order to access the Email Settings page you will need to navigate to Stats And Configuration > Email Settings.
One you access the page you will notice that the page is separated on two sections.
To configure the email settings in ClipBucket, you need to:
Step 1 Configure the Mail Handler Settings
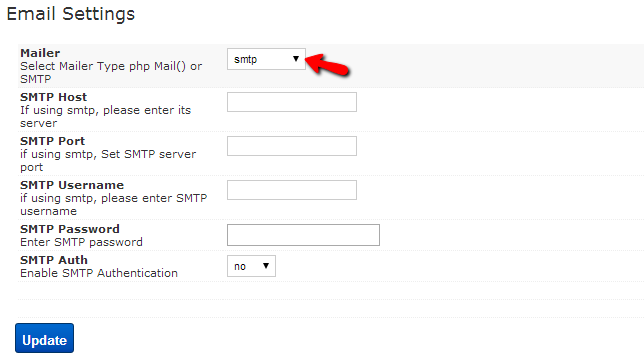
The first section of settings is for the configuration of the mailer your website will be using. By default the website is configured to use the PHP mail() method.
Now this method is indeed sufficient, however it might result in the emails of your website being delivered in the spam folders of your recipients. Thus we are recommending changing that method to SMTP as the Clip bucket application fully integrates the php SMTP class which can be used.
Once this is changed please proceed with configuring the rest of the options displayed in this section:
- SMTP Host – The hostname for the SMTP service for your account. Usually this is mail.yourdomainname.com where the substitution yourdomain.com should be replaced with your actual domain name.
- SMTP Port – The SMTP port is 25
- SMTP Username – The username of the SMTP service is an actual email account for example [email protected] where the substitution yourdomainname.com should be replaced with your actual domain name. The email account can be created via your cPanel > Email Accounts.
- SMTP Password - The password for your email account
- SMTP Auth - If the mail service require authentication. In our case it does so please set this option to “yes”.
Here is an example of how the mail configuration should look like:
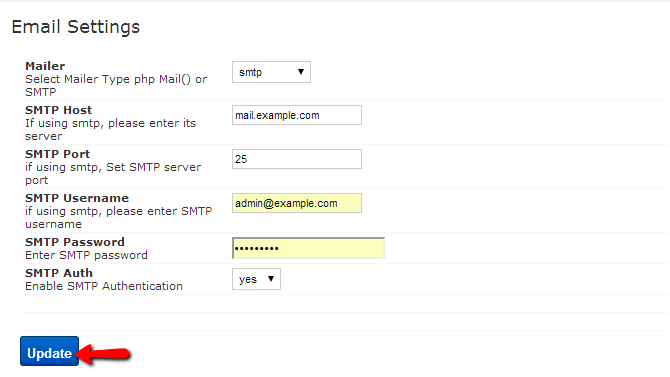
Once you are ready with the configuration please use the Update button at the bottom of the page.
Step 2 Configure the Mail Templates
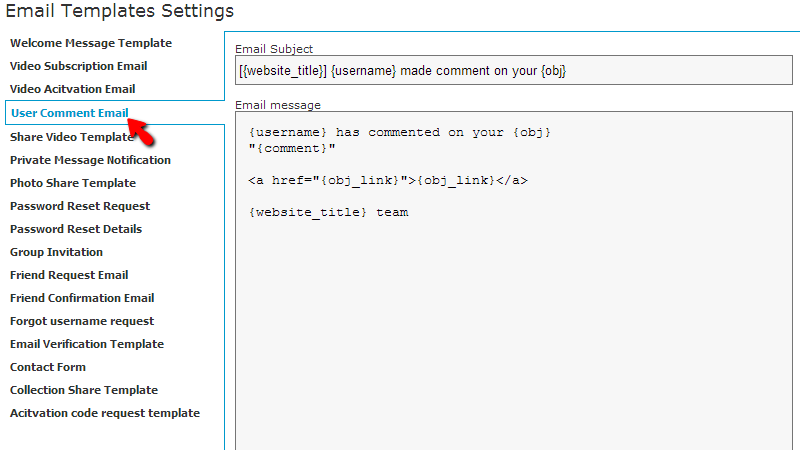
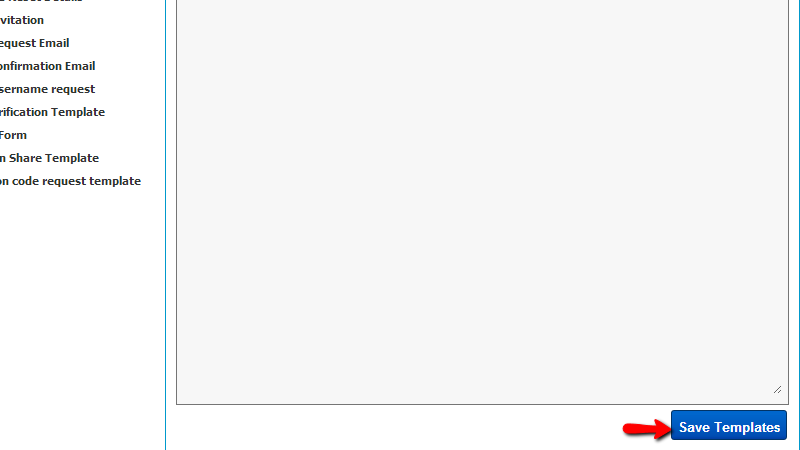
The second section of this page is called Email Templates Settings and there you will be able to find the settings for each and every email template your website is using.
In order to edit a mail template you will need to simply choose the template from the left navigation and then the content of the email will be displayed for editing.
Note that the emails are in html format and you can use all of the tags available for this language.
When you are ready editing a template please scroll down to the bottom of the page and use the Save Templates button.
Congratulations! You now know how to configure the mail service for your website and also how to edit the mail templates used by the same!

ClipBucket Hosting
- Free Installation
- 24/7 ClipBucket Support
- Free Domain Transfer
- Hack-free Protection
- Fast SSD Storage
- Free ClipBucket Transfer
- Free Cloudflare CDN
- FFmpeg Support