Installing phpBB3 Manually
Updated on Jan 6, 2016
The manual installation of the phpBB3 platform is fairly easy process which includes the download of the installation package, the creation of a database and few more steps thru the web installer provided with the platform. In this tutorial we will fully cover all of these steps and at the end of the tutorial you will receive a nice and clean installation of the platform on your website.
To manually install phpBB3, you will need to:
Step 1 Download the Installation Files
In order to download the installation package of the platform you will need to access the download page of the software at the official phpBB3 website.
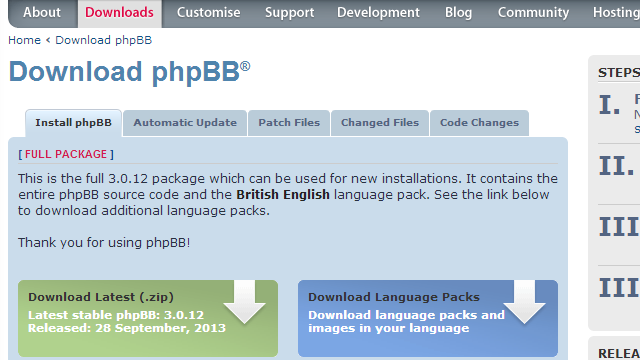
Once you have the package downloaded on your local computer you should extract the archive and prepare the files for upload on your website.
Step 2 Upload the Files to the Server
In order to upload the files on your web-hosting account with us you will need to connect to the same using the FTP service which happens to be the best way of achieving that.
If you are not quite sure how to use FTP client or how to connect to your hosting account with us you should probably check our other FTP tutorial series.
Once connected to your web-hosting account with us you will need to determinate the folder where your phpBB3 platform should be installed. This is fairly easy – if you would like the Board available under your primary domain (let’s say example.com) you should upload all of the installation files into the public_html folder of your account. However if you would like the Board available under a subdomain (subdomain.example.com) or a subfolder (example.com/subfolder) you will need to upload the files in the corresponding subfolder.
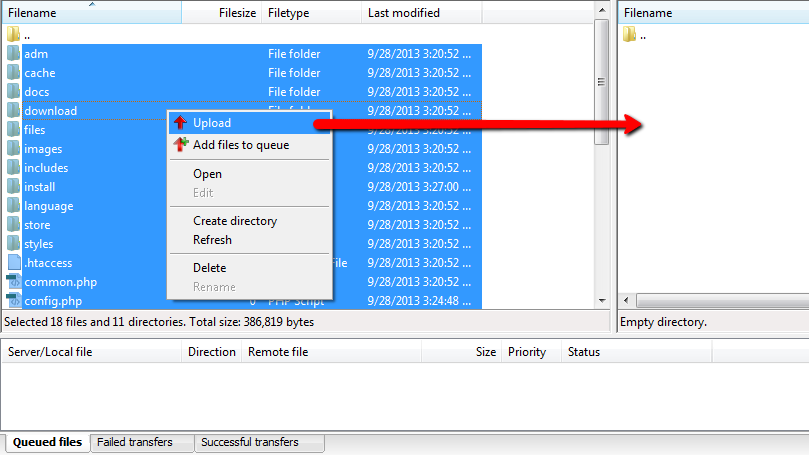
In order to upload all of the files simply select a single file and use the keyboard combination of Ctrl + A. Then you should right-click on the selected files and choose the Upload option so the upload process can begin.
Step 3 Initiate the Installation
Now that you have all of the files uploaded it is time to initial the actual installation process by accessing the URL to the location you would like the phpBB3 platform installed at.
For the purpose of this tutorial we will install the phpBB3 platform in a subfolder of our domain example.com, so the URL for the installation interface should be:
example.com/forum/install/index.php
By simply adding the install location to your URL you will be presented with the home page of the installation interface where the installation begins.
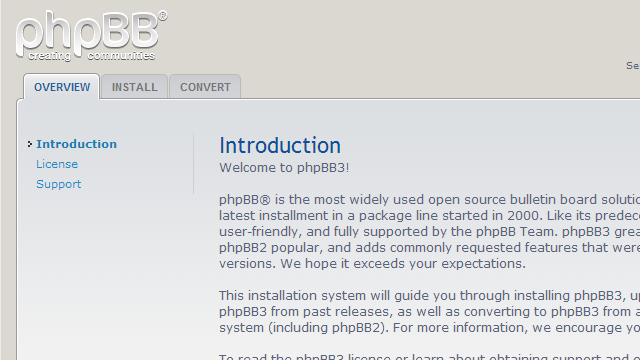
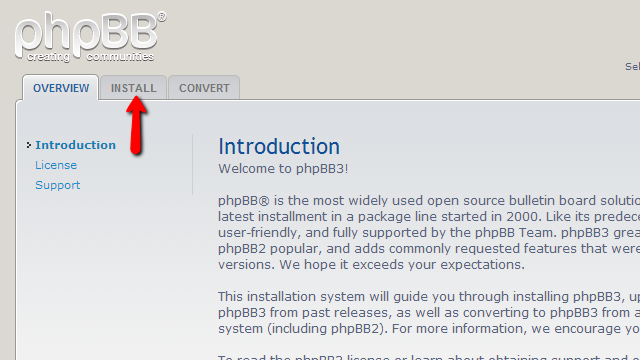
On the first page you will be able to read all of the product information like Introduction, License agreement, Support docs. In order to proceed with the installation please click on the second tab on that page labeled Install.
Step 4 Configure the Installation
The previous step will leave you at the installation page for the phpBB3 platform where all of the installation requirements and settings are listed as separate steps. On the landing page you will find detailed information on what you are going to need for the installation process to succeed and in order to proceed you should simply use the Proceed to next step button.

The next page is a simply requirements check page which will automatically test your server if is compatible with the phpBB3 requirements and will inform you about the missing components.
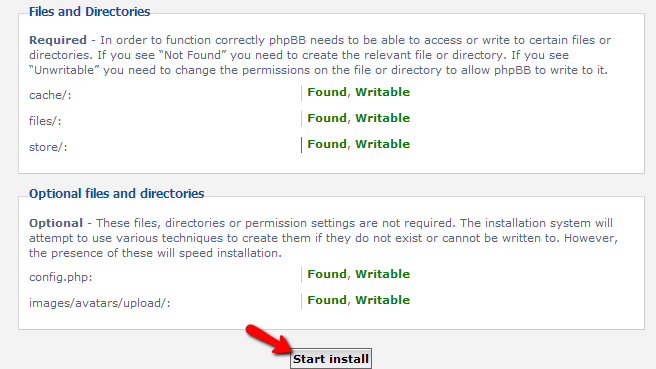
If all of the requirements are met you will be presented with the option to start the installation by simply clicking on the “Start Install” button.
The next page you will be directed to is called Database Settings and as the name suggests you will need to input the database information for your platform. In order to do that you will need to create a database and assign a user to that database via your cPanel> Database Wizard. More information on how to create a database you can find in our cPanel database tutorial series.
Once you have the database name and the username of the user having privileges to operate under that database you will need to input these details in the fields on the page you have reached.
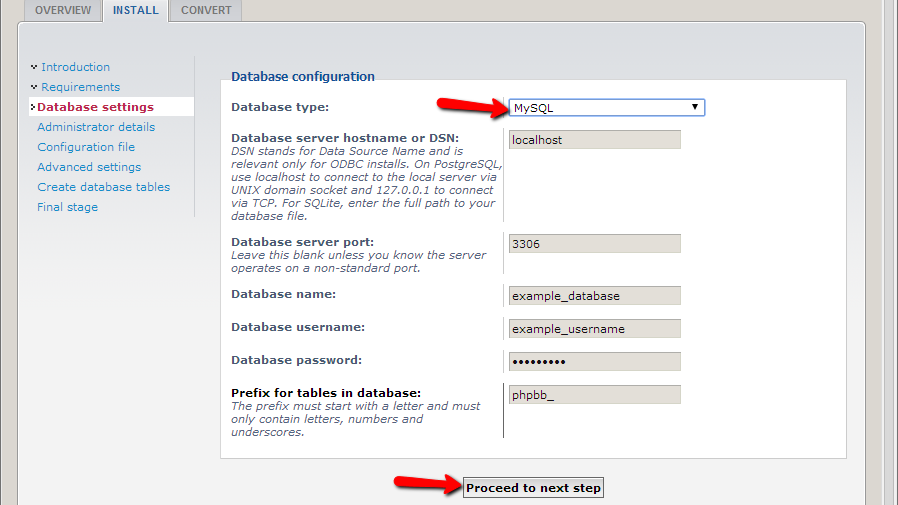
If you are wondering what the values of these fields should be please read the explanation of the fields bellow each of the fields’ names. Make sure also that the Database Server will be set to localhost and also that the Database Server Port should be 3306.
Note
Please set the database type to MariaDB as this is the supported database service we are providing our customers with.
Once you have all of the information filled you should click on the Proceed to next step button in order to move forward with the installation where the installer will confirm the database connection so the installation procedure can ensure that there will be no errors related to connectivity issues to the database server. You should simply click the Proceed to next step if no errors were reported.
The next page from the installation procedure called Administrator configuration serves for the configuration of the administrative user on your board – the so called admin.
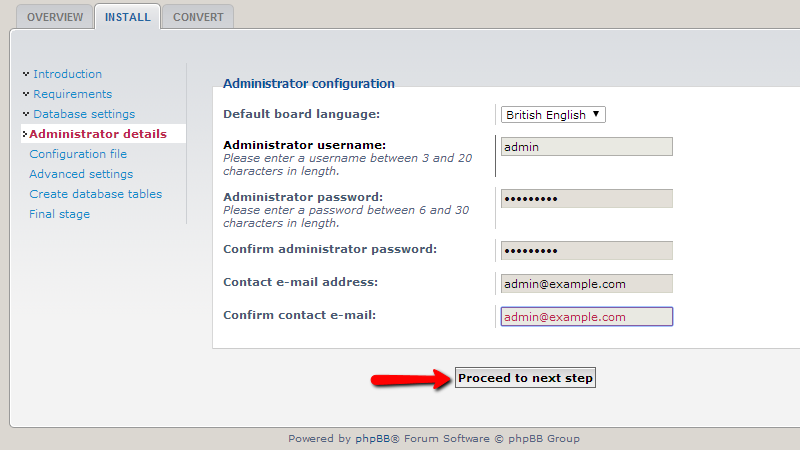
Please configure the settings based on your needs and personal likes. Once you are ready please use the Proceed to next step button so you can move forward with the installation and on the next pages you will receive a confirmation that the user has been verified and added to the platform and if you proceed to the next step you will be also informed that the configuration file has been created and written by the installation script.
The setup of the platform continues with the page Advanced Settings where you will be able to find the settings regarding the email functions of the platform and also the Server URL settings which are usually configured and you will simply need to verify. All of the options on that page are fairly intuitive and you should be able to easily configure depending on your needs. If however you would like to receive more information on certain option you can simply check its description which is right bellow the option name: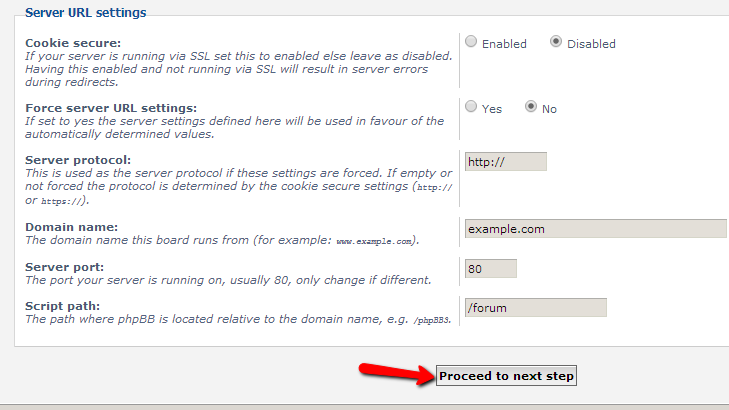
Once you are ready with the configuration please use the Proceed to next step button so you can proceed with the installation script.
Next the installation script will populate the database of the platform with the default information the platform will use and need to operate properly. Once the script finishes you will be redirected to the final page where you will receive a summary on the installation you have just performed and also the option to directly login into your Board’s frontend.
Congratulations! You have successfully installed phpBB3!

phpBB3 Hosting
- Free phpBB3 Installation
- 24/7 phpBB3 Support
- Free Domain Transfer
- Hack-free Protection
- Fast SSD Storage
- Free phpBB Transfer
- Free CloudFlare CDN
- Immediate Activation