How to Create Categories in Magento 2
Updated on Mar 13, 2019
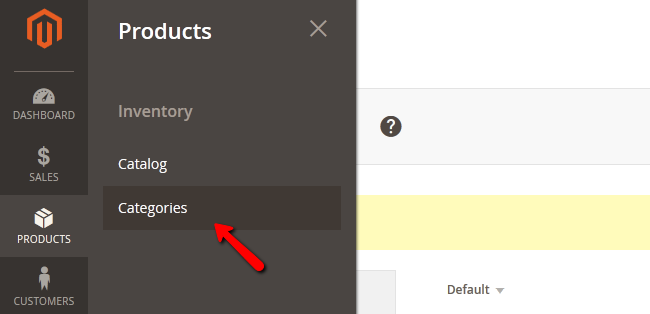
You can use product categories to better sort the content of your Store and improve the user experience, as searching for specific products by the customers will become much easier. Magento 2 comes with a default root category but you can create your own and name it as you like. To do that, you will first need to login to the admin dashboard of your Magento 2 and navigate to Products → Categories.
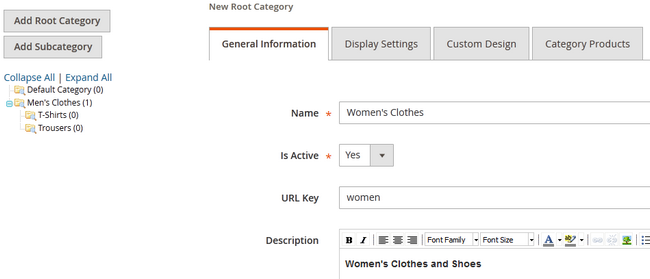
We have already created a root category for Men's Clothes so let us create one for Women as well:
- Name - The Name of the category
- Is Active - Activate/Deactivate the category
- URL Key - The URL leading to this directory
- Description - A short description of the category and what it contains
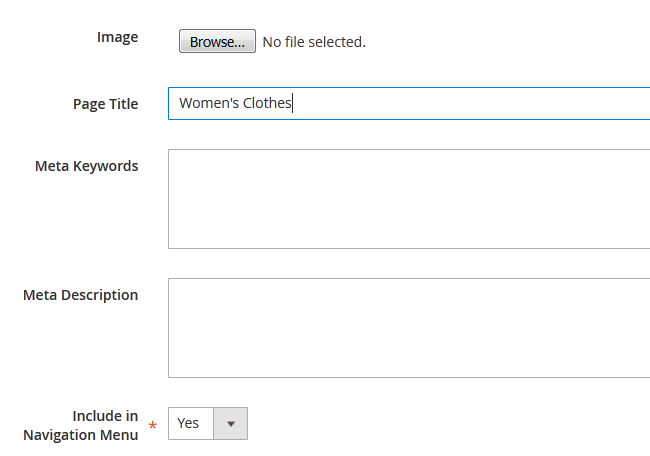
- Image - Here you can choose and image for the category
- Page Title - The title of the page that will show on your browser's tab
- Meta Keywords - Used by search engines to index the category's page
- Meta Description - This description will help search engines to better understand the content of the category
- Include in Navigation Menu - If you have more than 1 root categories you will need to set this to Yes.
When you are ready, click on the Save Category button to apply the changes and create the category. To create a subcategory for the new root category, simply select the root category and click on the Add Subcategory button. To learn how to add products to this new category, visit our How to Add a New Product tutorial.

Magento 2 Hosting
- Free Installation
- 24/7 Magento Support
- Free Domain Transfer
- Hack-free Protection
- Fast SSD Storage
- Free Cloudflare CDN
- Free Magento Transfer
- Immediate Activation