How to use the CMS of Magento 2
Updated on Mar 13, 2019
The Content Management System (CMS) of your Magento 2 Store is used for creating new pages, blocks and widgets. You can combine those 3 elements to create custom static pages that display parts of your catalog or other useful to the customer information.
To effectively use the Magento 2 CMS, you will need to:
Add a new Page
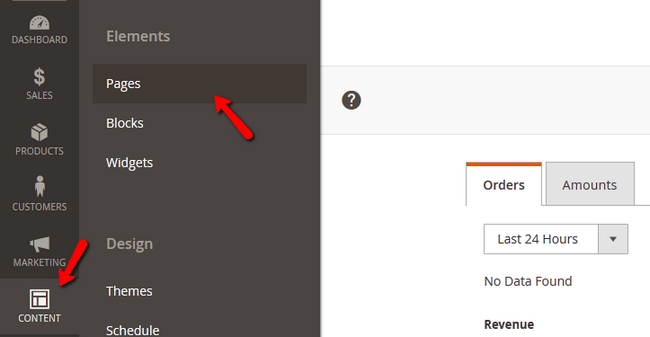
To create a new Page for your Magento 2 Store, you will need to login to your admin area and navigate to the Content>Pages section.
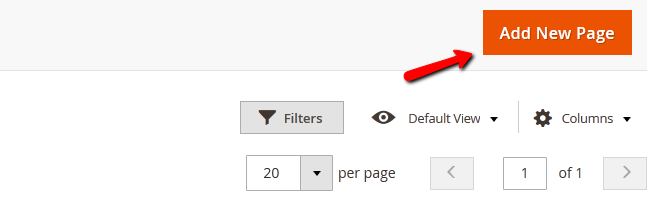
Here you will see all of your Store's pages. Click on the Add New Page button.
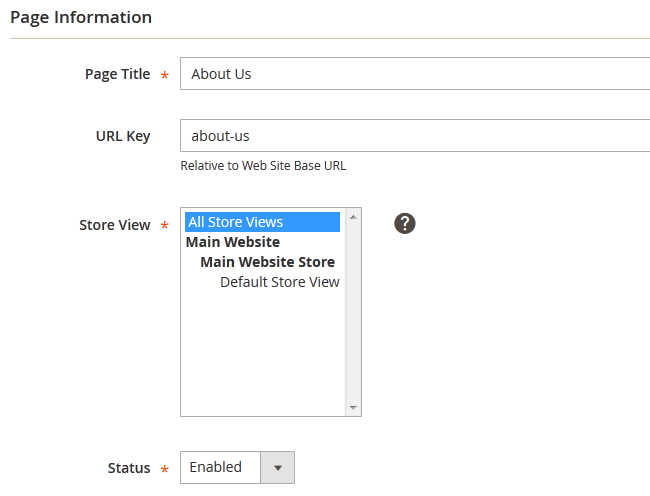
Now you can Name the page and set a custom URL for it. You can also choose on which store it can be viewed and set its status to enabled or disabled (hidden).
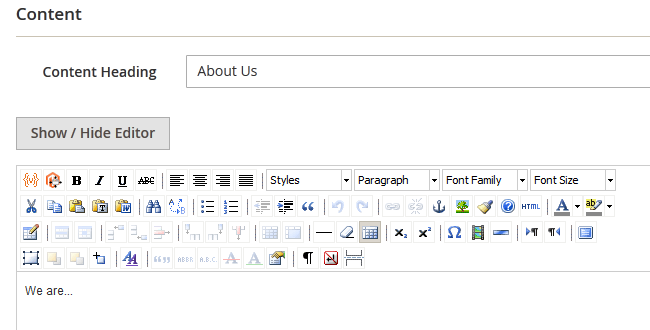
In the content tab you can add the heading for the page and the content plus any widget you wish to be displayed on this page.
When you are ready with the configuration of the page, click on the Save Page button to create it.

Now you can add this new page on any other by using a link widget. For example if you want to add this page as a link on the home page, you will need to get into your Home Page's edit menu, select the content tab and click on the insert widget button.
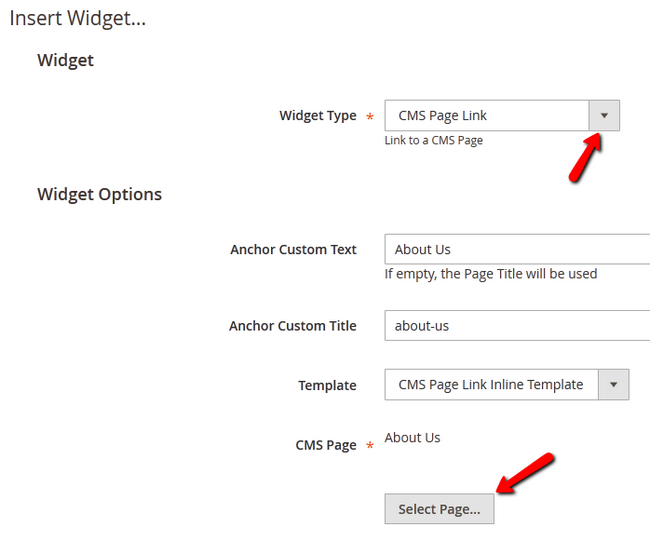
After you have configured and inserted the widget, don't forget to also save the page and refresh the page cache if necessary.
Add a new Block
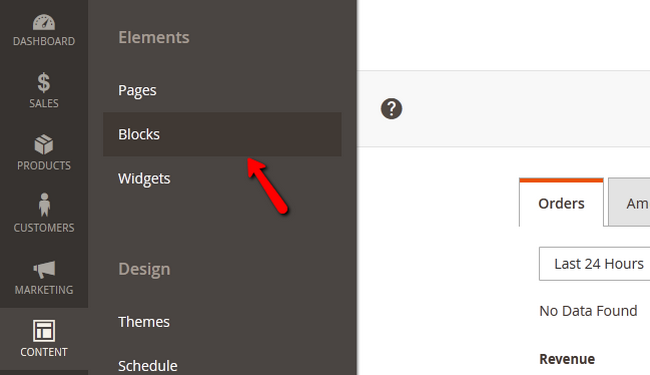
Blocs can be used to separate different categories of your products when featuring them on your home page. To create a new block you will need to navigate to Content → Blocks.
Let us add a new block by clicking on the Add New Block button and again you will have to configure the new element.
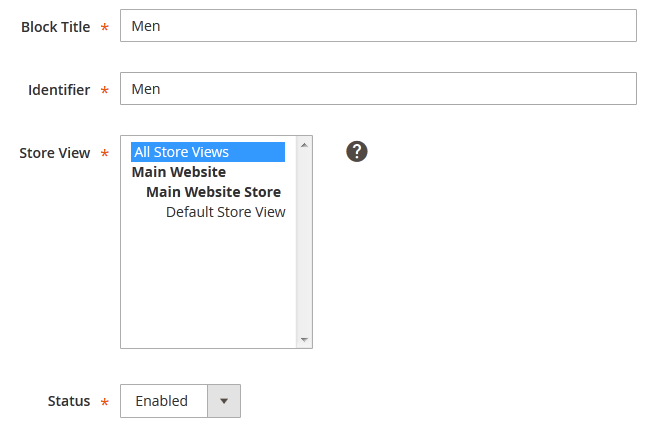
From the options you have, the most important is the identifier as it can be used later for implementing this block into a page via the code of the page. When you are done, click on the Save Block button to create the block.
Add a new Widget
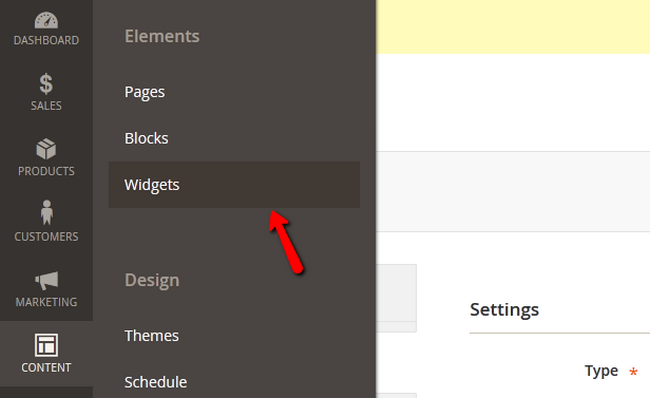
To access the widget management page you will need to navigate to Content → Widgets from your admin dashboard.
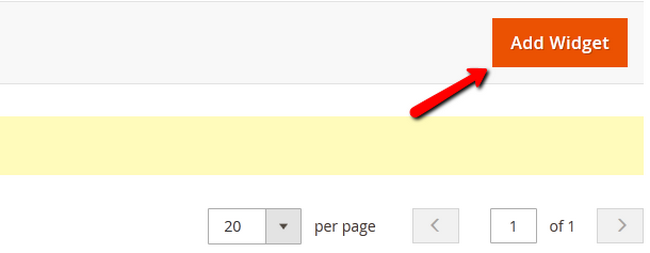
Now you will need to click on the Add Widget button.
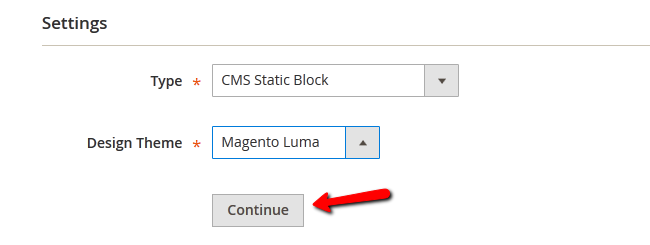
Now you will need to select the type of widget and theme for it. Click on the Continue button to proceed to the storefront settings.
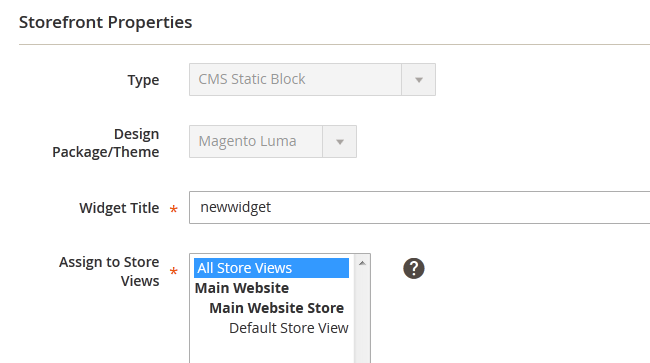
Now you can set a Title and Store View for the widget while the Type and Theme are now locked and grayed out from editing.
You can also select a layout for the widget as shown on the storefront.

Congratulations, you can now fully manage your Store's content using the Magento 2 CMS.

Magento 2 Hosting
- Free Installation
- 24/7 Magento Support
- Free Domain Transfer
- Hack-free Protection
- Fast SSD Storage
- Free Cloudflare CDN
- Free Magento Transfer
- Immediate Activation