How to Install Extensions in Magento 2
Updated on Mar 13, 2019
The modularity of Magento was always the main reason for its success. Being able to install and update extensions on the fly changing the structure of your store is also an essential part of Magento 2
Note
Before you try to install and extension, we recommend that you create a backup of your Magento 2 installation by following our How to Backup your Magento 2 tutorial.
To install a new Extension in Magento 2, you will need to:
- Step 1: Find the Extension Menu
- Step 2: Start a Readiness Check
- Step 3: Backup your Data
- Step 4: Install the Extension
Find the Extension Menu
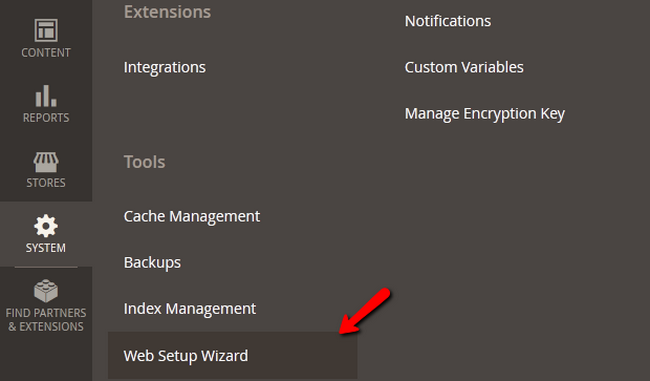
To install a new extension, you will need to access your admin dashboard and navigate to System → Web Setup Wizard.
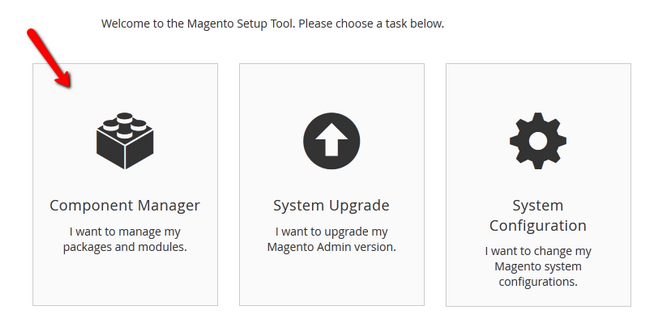
From the 3 blocks of options you have at your disposal, choose the Component Manager.
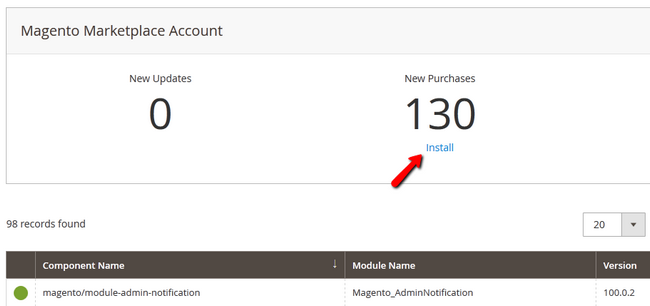
Here you will see the already installed extensions on your website, any new updates for them and new extensions which you can install. Click on the Install link below the New Purchases label.
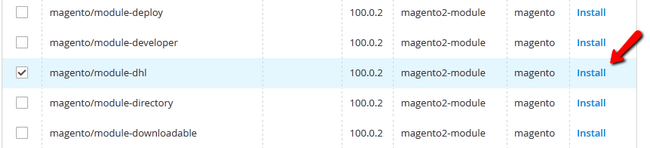
Select the extension/s you want to install and click on the Install button or mark then and select a bulk install action form the top of the page.
Start a Readiness Check
In this step you will run a Readiness Check which will check if your Magento 2 installation has all of the necessary components required for the extension installation. Click on the Start Readiness Check button.
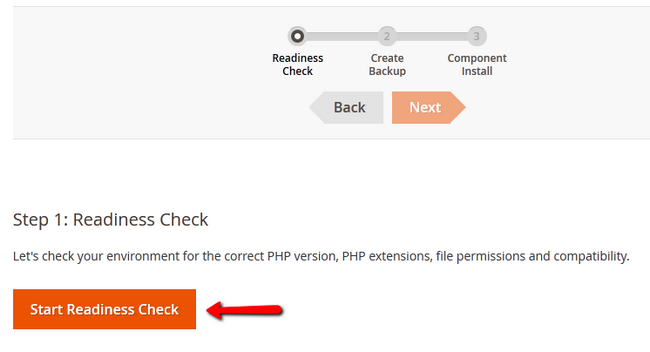
After the check has been completed and your installation covers all of the requirements, you will be able to proceed by clicking on the Next button.

If you have a component marked as red, you will be able to check how to fix the issues with it by clicking on the link below it. This will direct you to the official Magento 2 documentation section where you will find a guide on the matter.
Backup your Data
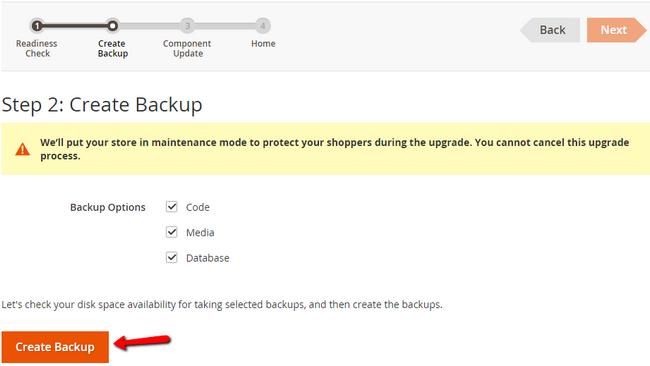
The second step involves creating a Backup on your Store. We have recommended you to do this at the start of this tutorial as sometimes the integrated Magento Backup system will not create a proper backup of your data which is something you want to avoid at all costs.
You can de-select the backup options here and click on the Next button or click on Create Backup if you have selected an option.
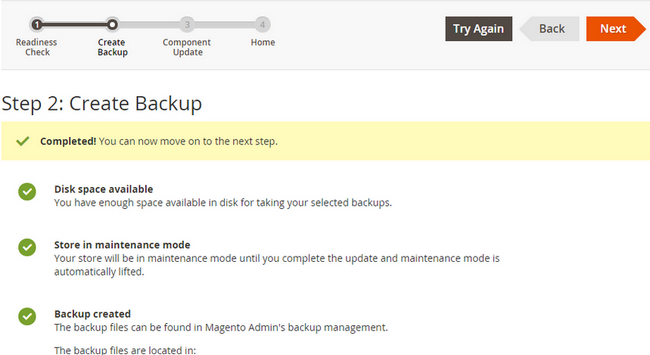
If you choose the latter, you will receive a confirmation screen that the backup has been successfully created and then you can hit the Next button to proceed.
Install the Extension
In the last step, you will see again the extension/s you wanted to install. Click on the Install button to continue.
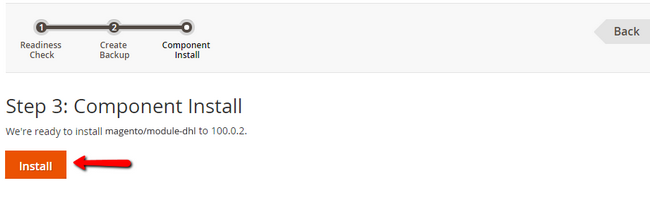
Once the installation has been completed, you will receive a confirmation and the ability to go back by clicking on the Back to Setup Tool button.
Congratulations, you now know how to install extensions in your Magento 2 website.

Magento 2 Hosting
- Free Installation
- 24/7 Magento Support
- Free Domain Transfer
- Hack-free Protection
- Fast SSD Storage
- Free Cloudflare CDN
- Free Magento Transfer
- Immediate Activation