How to Manage Newsletters in Magento 2
Updated on Mar 13, 2019
Newsletters are a great marketing tool, as they cost nothing and spread news regarding future promotions on your store, or holiday discounts that can attract more customers.
To manage the Newsletters in Magento 2, you will need to:
Configure Newsletters
Before you start sending newsletters to your customers, you might want to check the few configuration settings that come along with the mailing system. For that purpose, login to your admin area and navigate to Stores → Configuration.

Now access the Customers → Newsletters section.
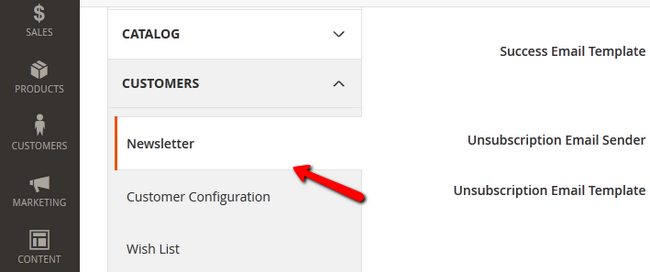
Here you will see the templates used in different situations regarding subscription and unsubscription. But the more interesting options are:
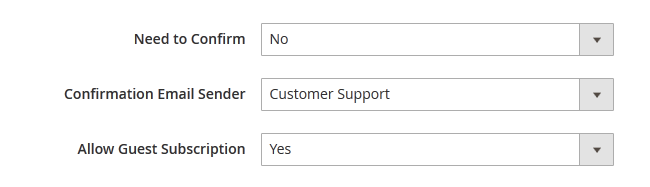
- Need to Confirm - If you wish customers to confirm before signing up for the subscription set this to Yes
- Confirmation Email Sender - The "From" in the confirmation email the customer will receive after subscribing
- Allow Guest Subscription - If you set this option to yes, Guests will be able to Subscribe to your Newsletters
Click on the Save Config and refresh the Configuration and Page Cache afterwards if needed.
Create a Newsletter Template
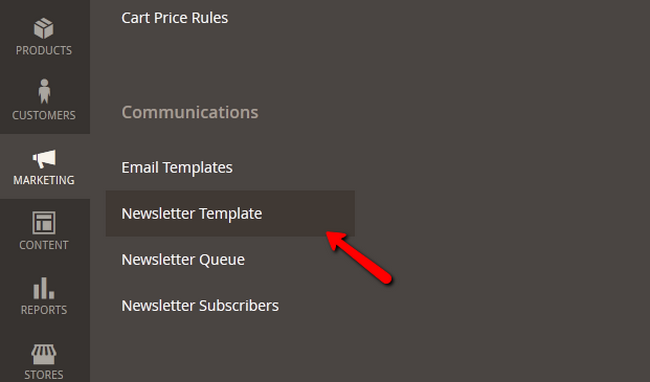
To create a new Newsletter Template you will first have to navigate to the Marketing → Newsletter Template section from your main admin dashboard.
Click on the Add New Template button to proceed with the configuration of the template.
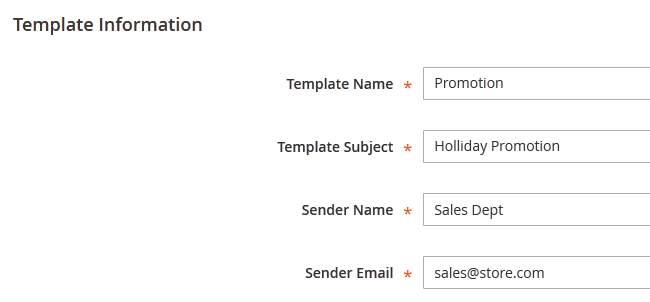
In the Template Content field, write about the promotion you want to market and then click on the Save Template button.

Send Newsletters
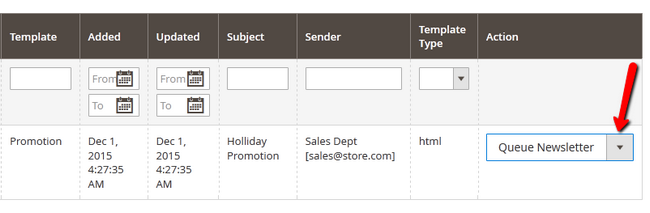
Now you can click the back button to return to the Newsletter Templates manager page. Click on the newly added template and from the drop-down menu select the Newsletter Queue option.
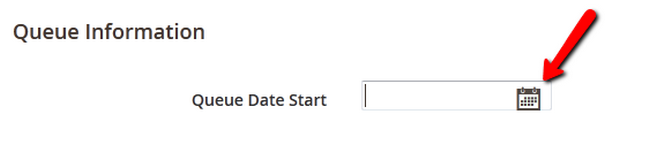
You will be directed to the queue where you can click on the calendar icon next to Queue Date Start to setup the time the newsletter will be sent.
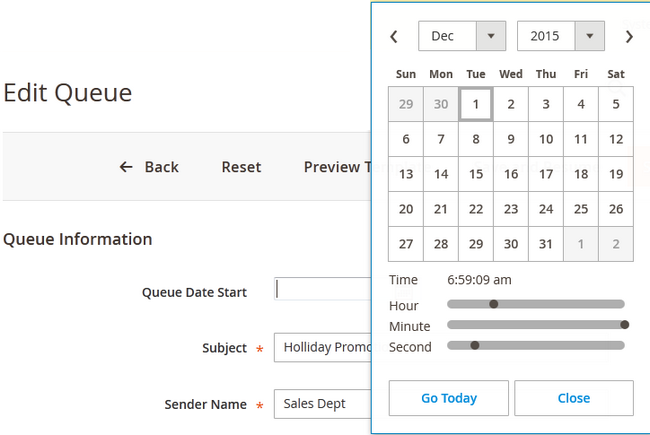
Use the sliders and calendar to precisely setup the send time and press the Save Newsletter button.
Check Newsletter Report
If you think there are issues with your Newsletters or your customers are complaining that some of them haven't received their emails, you can check for issues in the report located in Reports → Newsletter Problems Report.

Here you will be able to see a detailed report with date/time and exact error number/text for the mails that have failed to send.
Congratulations, you can now fully manage the Newsletter section of your Store and provide your customers with the latest news and promotions available.

Magento 2 Hosting
- Free Installation
- 24/7 Magento Support
- Free Domain Transfer
- Hack-free Protection
- Fast SSD Storage
- Free Cloudflare CDN
- Free Magento Transfer
- Immediate Activation