How to set up your email signature
Updated on Mar 13, 2019
Your iPhone email client allows you to setup your very own signature which will be added to every email you are sending automatically. In this tutorial we will show you how to configure this feature.
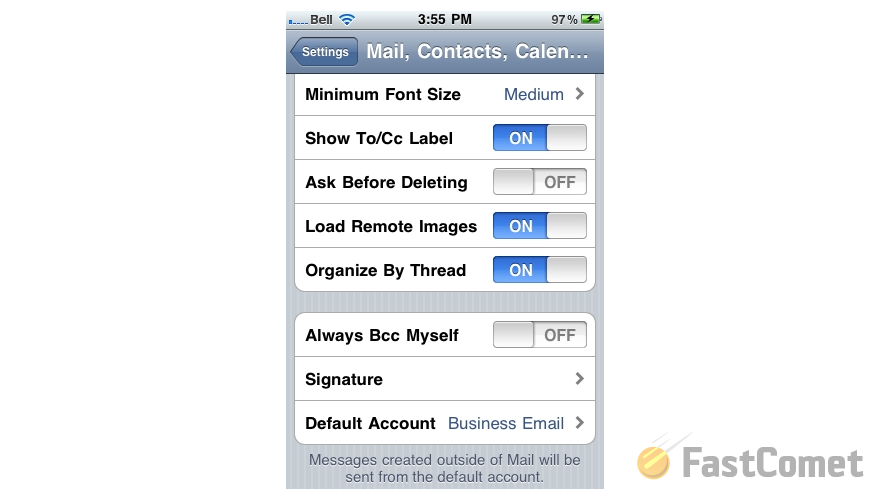
Let's begin by accessing Settings → Mail, Contacts, Calendars feature where all of the email settings are presented.

Then you will need to slide the screen down and find the Signature option.
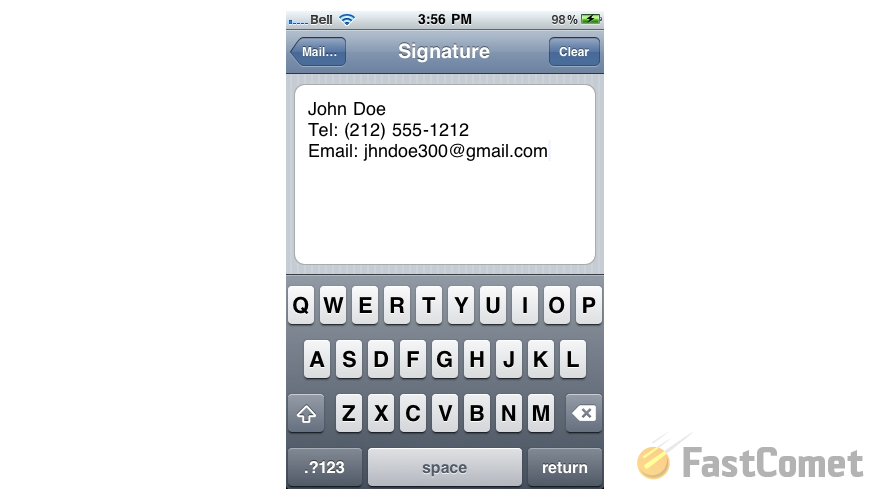
If you click on that option you will be presented with a text box where you will be able to input the content of your Signature.
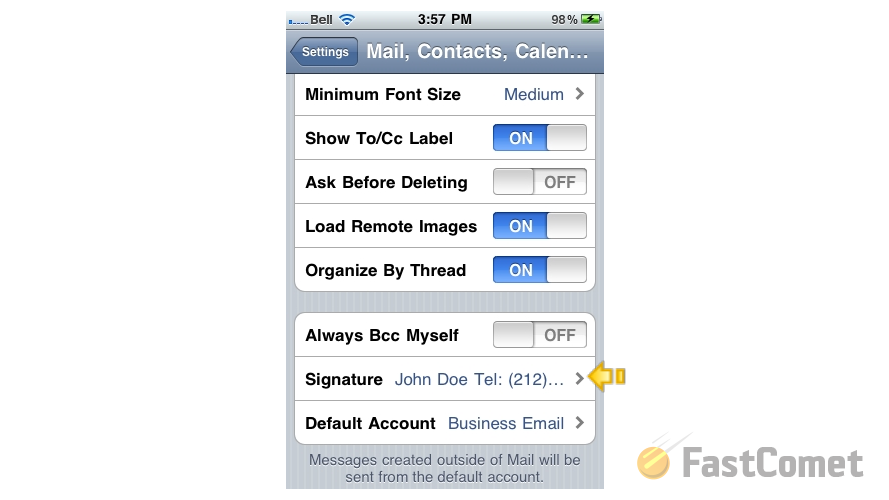
Once you are ready please click the Mail button from the top navigation pane so you can be able to go back to the previous page where you will notice that the signature has been configured.
That is all you will need in order to configure your email Signature.
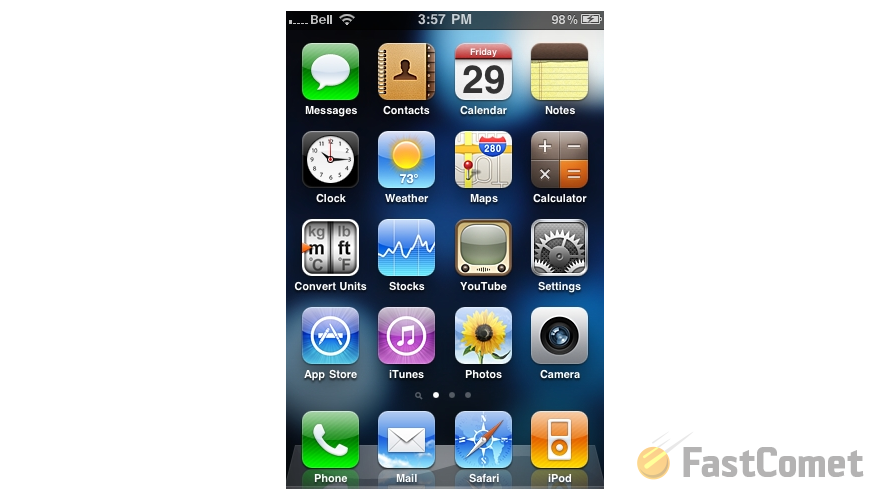
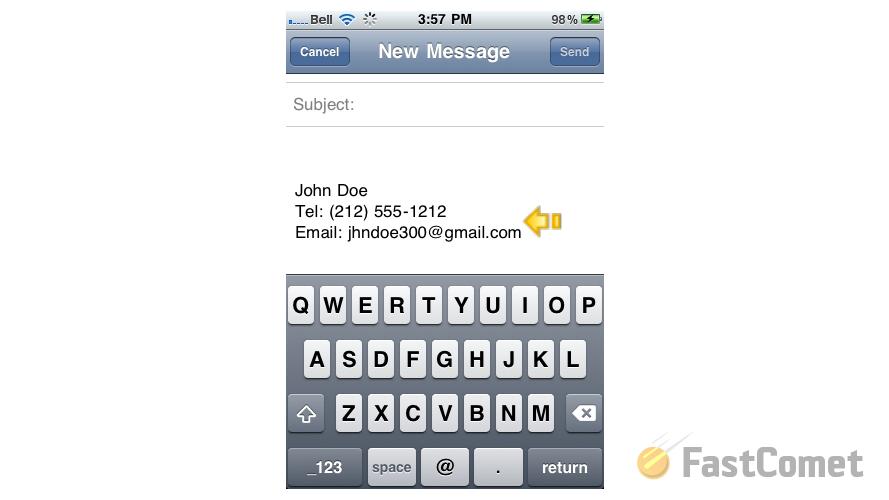
Let's verify if the signature is configured properly. This can be easily done by creating a new email via the Mail feature of your iPhone usually listed in the home page of your applications.
Next if you click the small icon for message composing at the bottom right part of the screen you will notice how the signature will be automatically added to the new email.
Congratulations! You now know how to configure and use the Signature feature of your iPhone email client!
On this page...

Mail Hosting
- Free Domain Transfer
- Unlimited Email Accounts
- 24/7 Technical Support
- Fast SSD Storage
- Hack-free Protection
- Free Cloudflare CDN
- Immediate Activation
