How to Manually Install phpMotion
Updated on Dec 10, 2015
Installing phpMotion is relatively easy procedure considering the installation interface provided by the application. In the next lines of this tutorial we are going to show you how to manually install the application using its installation interface.
To install phpMotion, you need to complete the following steps:
Step 1 Download and Prepare the Files
In order to download the phpMotion installation archive you will need to access the download page of the application at the official phpMotion website.
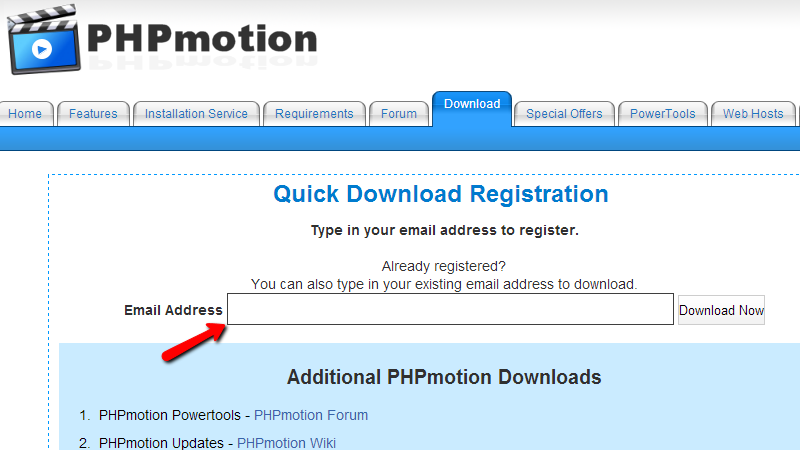
There you will need to enter your email address and to press the Download Now button so you can be redirected to the next page where you will be presented with the version of the phpMotion.
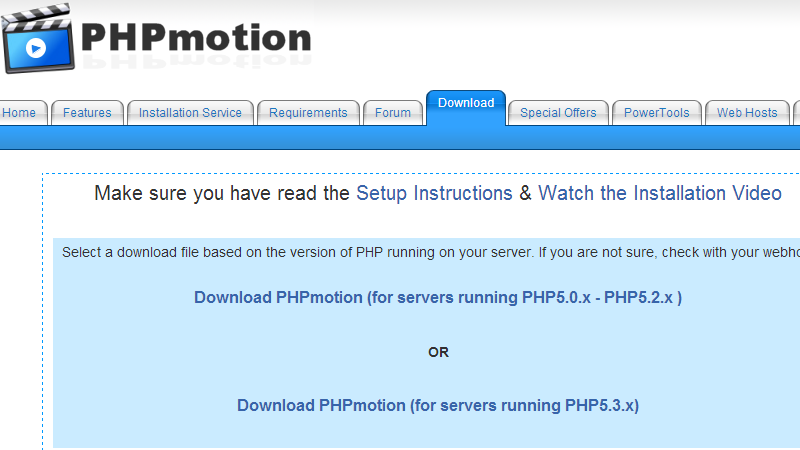
Please select the version of phpMotion you would like to use – for php version 5.2 or php version 5.3. Currently both of the versions are supported on all of the packages we are providing our customers with, however the better optimized version is for php 5.3 so you should select this one.
Once the download process is finished you should extract the downloaded archive into a folder on your local computer so you can proceed with uploading the files on your hosting account with us.
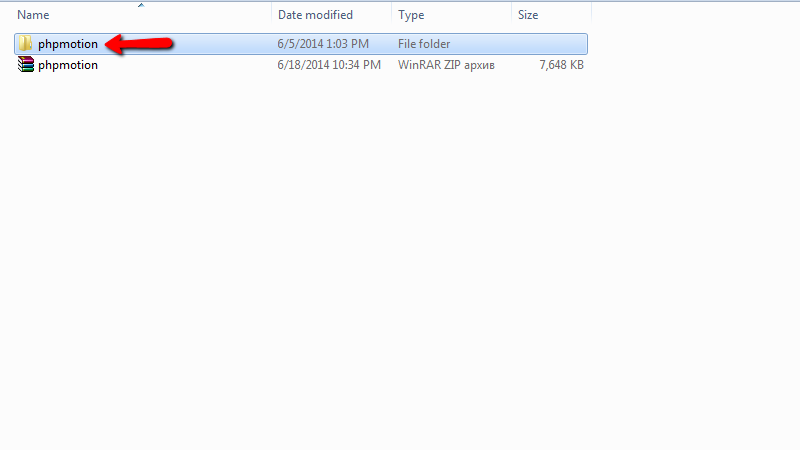
After the extraction process is finished you will receive a folder called phpmotion where all of the installation files will be located.
Now please connect to the FTP service for your hosting package with us. If you are not sure that you can perform such a connection please check out FTP tutorial series for further information on that matter.
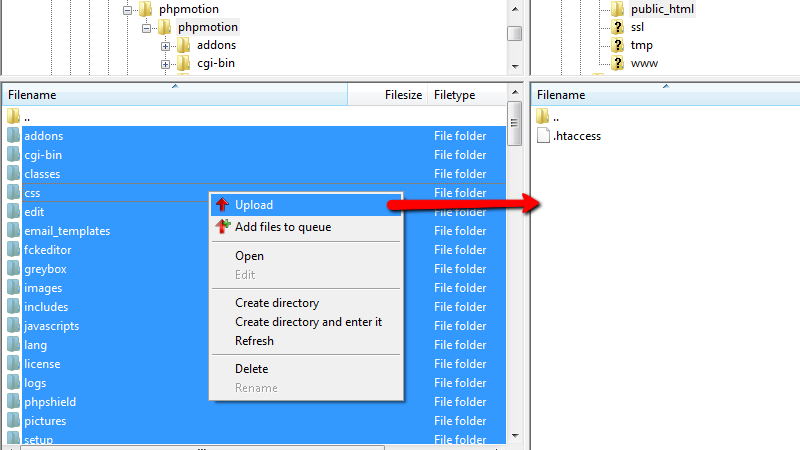
Once the upload of the files is finished you can navigate to the location where you have uploaded the files.
Let’s assume that the files were uploaded in the public_html folder. In order to access that folder you will need to type yourdomainname.com in your web browser where the substitution yourdomainname.com should be replaced with your actual domain name.
Warning – If there is an error when you access the installation location please contact our Technical support department so we can be able to resolve the issue for you. In most of the cases the issue is caused by incorrect permissions and you might need to change those to 755 for the folders and 644 for the files of the application. All files and folders within the cgi-bin/ directory should be with equal permissions – 755.
Once you access the correct location the installation interface will be displayed. We will proceed with the complete installation process in the next step of this tutorial.
Step 2 Follow the Installation Wizard
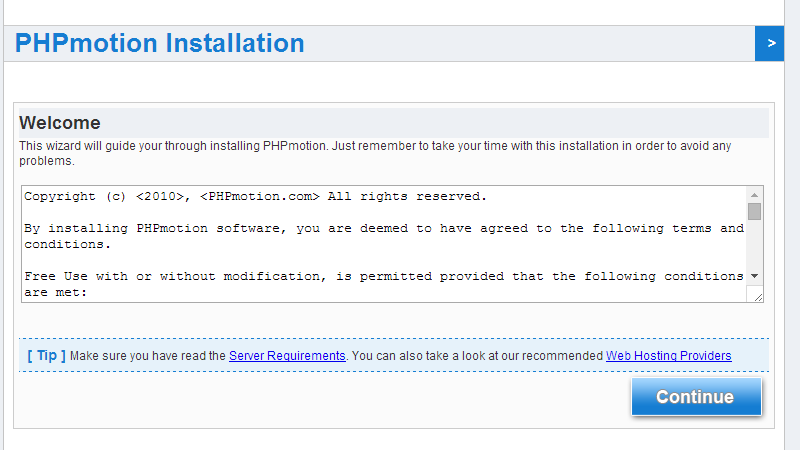
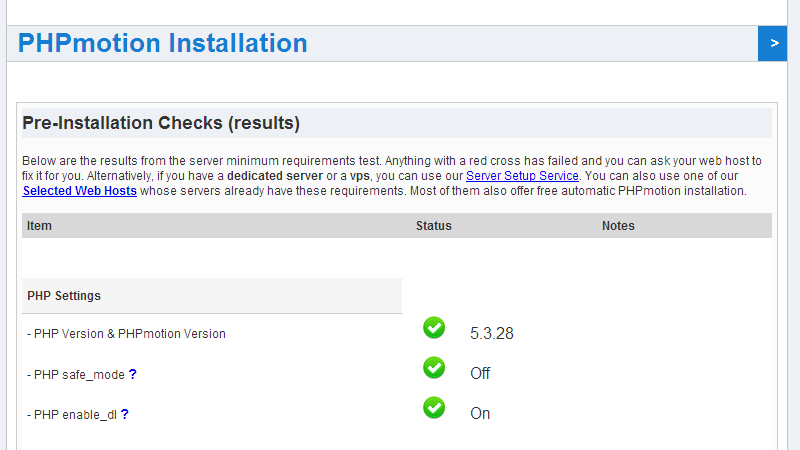
Now that you have uploaded the files and you have initiated the installation process it is time to proceed further. Please click the Continue button on the page where you are currently located at. On the next page you will be presented with more information if the application requirements are fulfilled by the hosting environment where the application is currently installed.
With every hosting package we have all of those requirements are fulfilled and fully provided by the hosting environment. Thus you will need to simply scroll down to the bottom of the page and press the Continue button.
On the next page you will be presented with the result from the permissions check of your application.
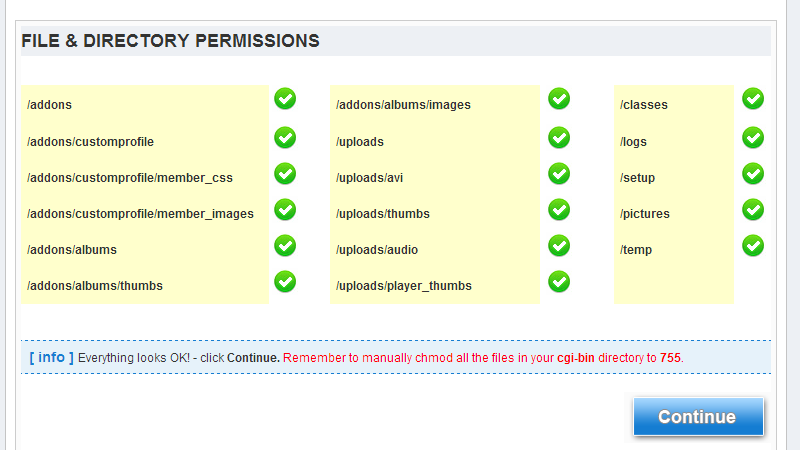
If everything with the permissions is ok you can proceed with the installation by clicking on the Continue button.
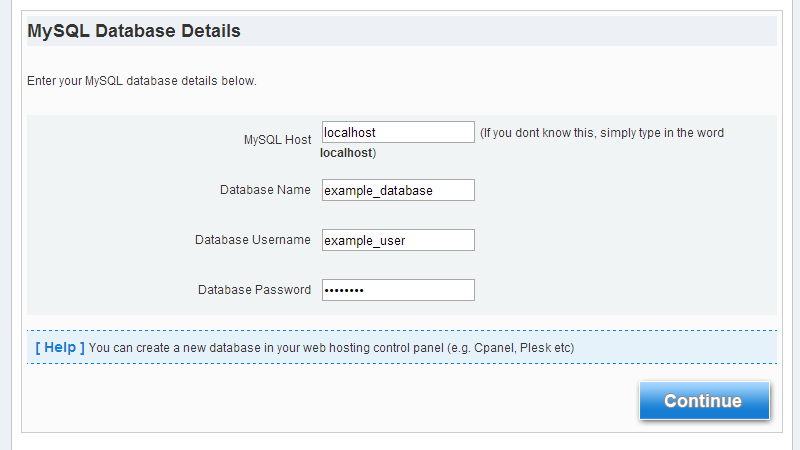
The next part from the installation is for the “Database Details”. In order to fill the required fields here you will need to create a database and assign a user to operate with the database. This can be easily achieved via your cPanel > Database Wizard.
Once you know your database credentials please proceed by filling the following fields:
- MariaDB Host – The hostname of the MariaDB server – on all our packages this value should be set to localhost
- Database Name – The name of the database you have created
- Database Username – The username of the user having sufficient privileges to operate with the created database
- Database Password – The password for the user you have assigned for that database
When you are ready please press the Continue button so you can proceed further with the installation.
On the next page you will notice that there are quite a lot of settings displayed. We will discuss them all by sections and groups of settings. Let’s begin with the settings for the Admin Details. The section contains few fields you will need to fill related to the admin account you will be using.
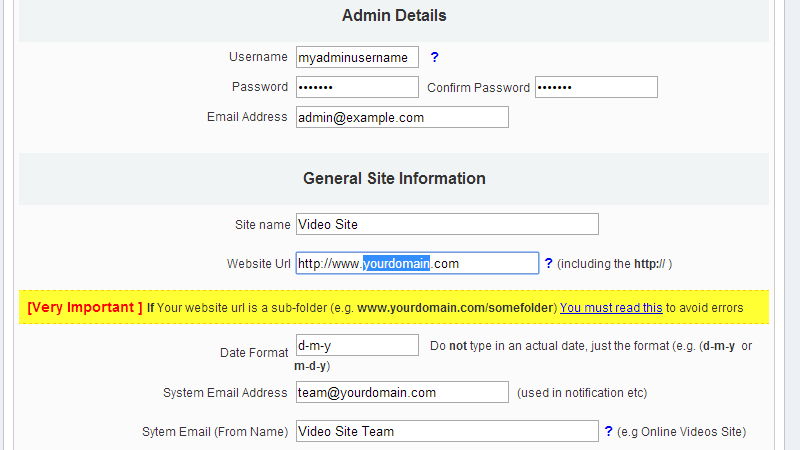
The next section is the General Site Information section. There you will find the settings related to the paths and emails the application will be using.
- Site Name – the simple name of your website
- Website URL – The full URL to the website including the http:// protocol and also with no traling slash at the end.
Warning – If you are installing phpMotion into a subfolder you will need to input the subfolder name at the end of your domain name. For example if the application is installed in the videos/ subfolder the value of the “Website URL:” should be http://yourdomainname.com/videos where the substitution yourdomainname.com should be replaced with your actual domain name.
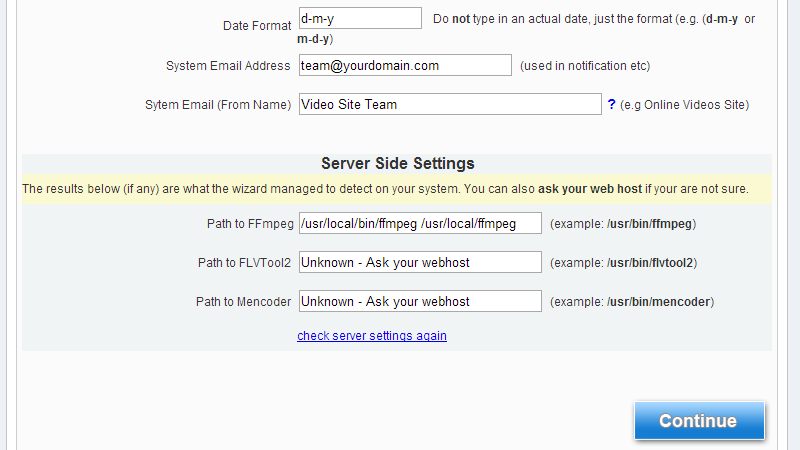
- Date Format – the format of the date your website will be using
- System Email Address – the email address which will be used by the application for sending its notifications.
- System Email (From Name) – the name which will be displayed in the From field of the system emails.
The next section of settings is the Server Side Settings and mostly these are related to the paths to the services your application will be using. Note that these paths will be automatically detected by default and you will not need to configure them. In case some of the paths cannot be found they will be displayed as Unknown.
Once you are ready with all of these settings please click the Continue button so you can be able to finalize the setup. On the next page you will receive information if the installation was successful and also you will be asked to remove the setup/ folder from the file system as it will be no longer required.
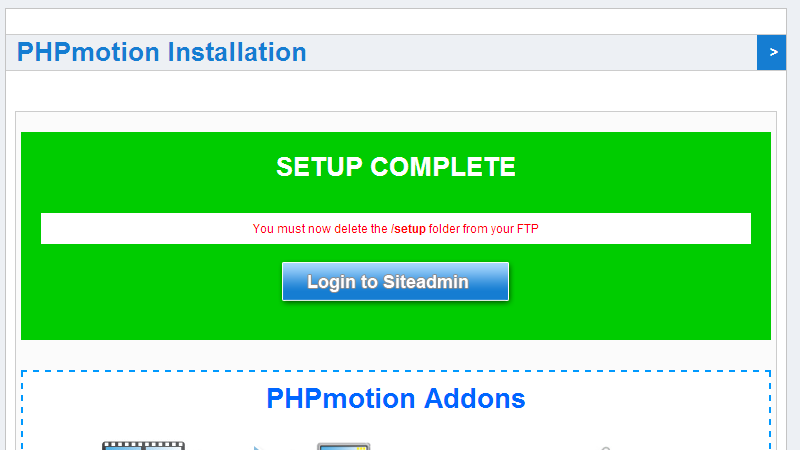
If you press the Login to Siteadmin button you will be able to login into the admin area of your website.
Note – If you have installed the phpMotion application into a subfolder then you will need to edit the .htaccess file located in the subfolder where the application has been installed at. You will need to change the “RewriteBase /” line with:
RewriteBase /subfolder
Where the substitution “subfolder” should be replaced with your actual subfolder name.
Congratulations! You have successfully installed the phpMotion application on your website!

phpMotion Hosting
- Free Installation
- 24/7 phpMotion Support
- Free Domain Transfer
- Hack-free Protection
- Fast SSD Storage
- Free phpMotion Transfer
- Free Cloudflare CDN
- FFmpeg Support