How to Create Categories and Subcategories
Updated on Dec 10, 2015
By default phpMotion have no video categories configured and before you upload a new video you will need to have at least 1 category created so you can select it upon a video upload. In this tutorial we are going to show you how to create and manage the video categories of your phpMotion website.
In this tutorial, you will learn how to:
Step 1 Create a New Category
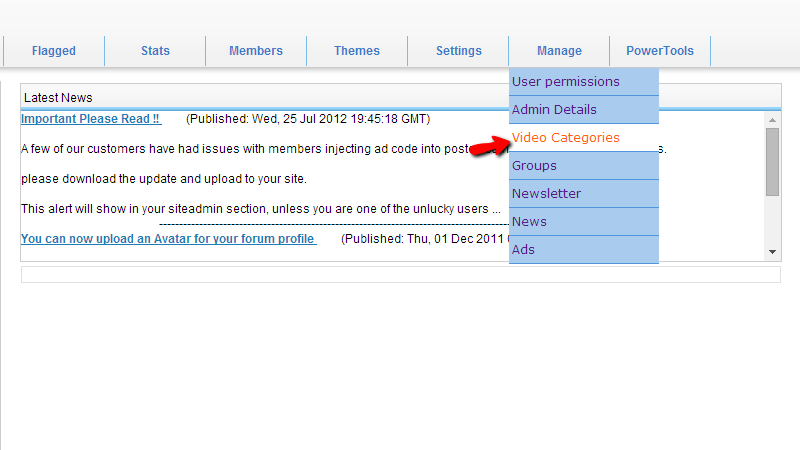
In order to access the page where you will be able to manage all of the video categories on your website you will need to access the siteadmin area of your phpMotion website and then to navigate to Manage>Video Categories.
The page you will be directed to is devided on two sections:
- Main Categories – list of all of the available categories available on your application
- Main Categories >> New Category – The interface for creating a new category
Now let’s create your first category. In order to do so you will need to fill the two available fields under the second section of the page:
- Title – The title of your new category
- Description – few words describing the category contents
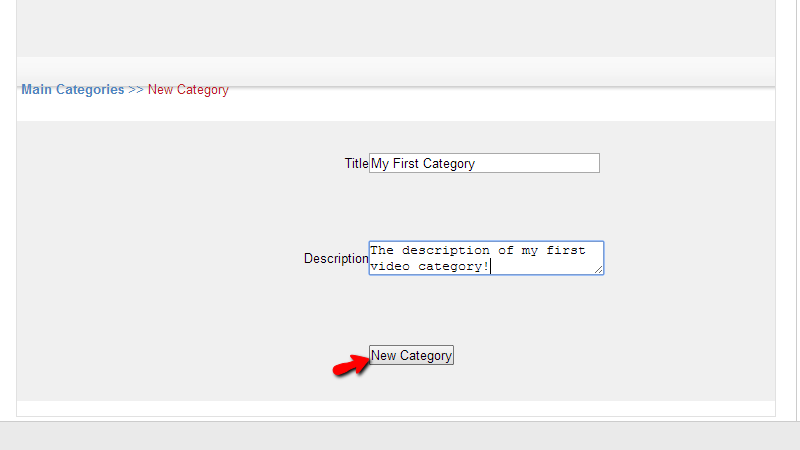
Once you are ready with these please press the New Category button so you can have the new category added.
Step 2 Manage your Existing Video Categories
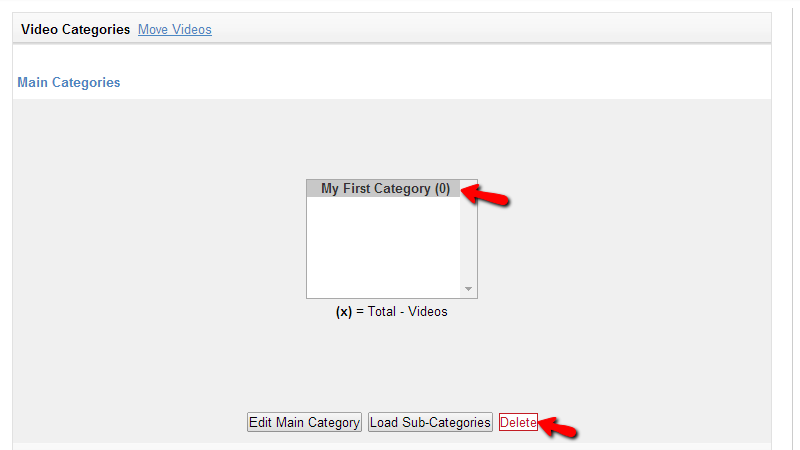
As mentioned previously the first section on that page will display the already added categories. Since you have just added a new category let’s check out how it is displayed.
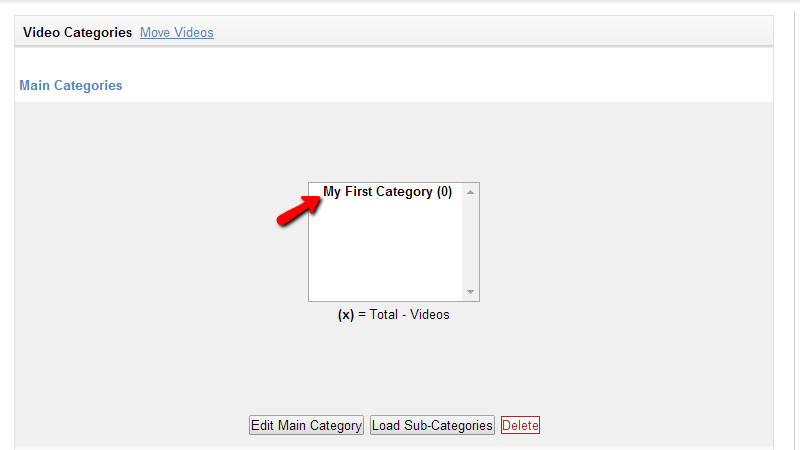
If you would like to edit that category then you will need to select the category and then click on the first button displayed under the categories list. Then you will be presented with an additional interface bellow related to the editing of the category.
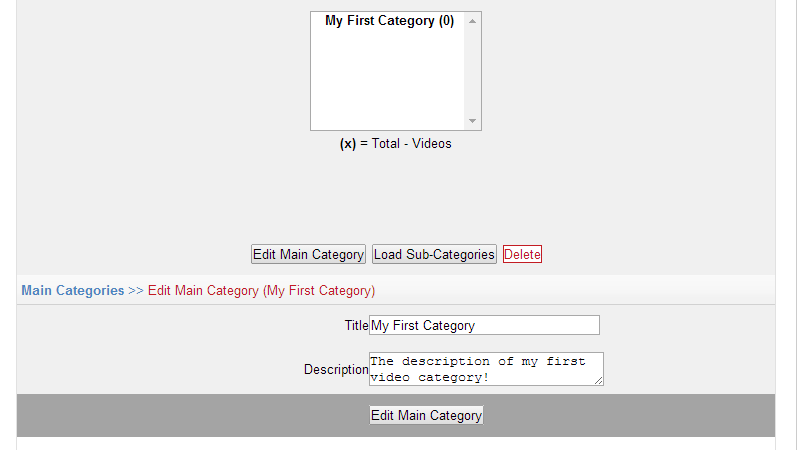
Again you will need to edit the Title and Description and once you are ready you will need to simply press the Edit Main Category button.
Now, you have probably noticed that the second button is called Load Sub-Categories and you are probably wondering what is this button for. phpMotion supports multi-level category structure which basically mean that you can add as many as subcategories you would like to a single main category.
Let us select the main category we have added and then click on the Load Sub-Categories button. This action will present you with the similar to the previous interface for managing the subcategories of your main category.
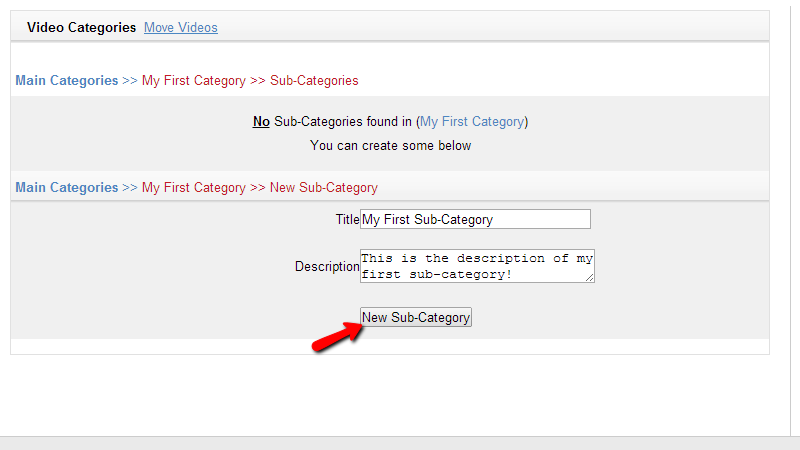
From the bottom section you will be able to add a new subcategory and from the top section you will be able to manage the already added subcategories.
Now let’s go back to the main categories view. You can do that by simply clicking on the Main Category link from the sections’ headers.
The last option you are presented with is “Delete” and as the name suggests by using this option you will be able to delete the created main categories. In order to do that plese select the main category you would like to delete and then press the Delete button.
You will be prompted with a warning message indicating that if you delete a main category all of its subcategories and all of the videos added to that category will be permanently deleted from your website. If you are agreed with that please press the Ok button so you can proceed and the category will be deleted.
Congratulations! You now know how to edit the video categories of your phpMotion application!

phpMotion Hosting
- Free Installation
- 24/7 phpMotion Support
- Free Domain Transfer
- Hack-free Protection
- Fast SSD Storage
- Free phpMotion Transfer
- Free Cloudflare CDN
- FFmpeg Support