How to Configure OpenCart Main Menu
Updated on Dec 10, 2015
Configuring your OpenCart frontend main menu might be confusing at first as there is no special place to configure menus in the OpenCart Admin Dashboard. In this tutorial we will show you how to add product categories to your main menu and sort them into specific order.
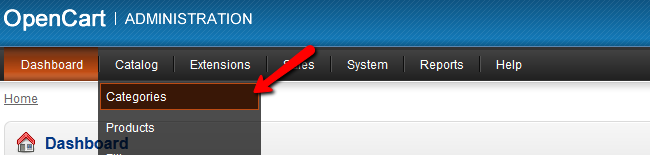
To begin, please login into your OpenCart admin dashboard and navigate to Catalog → Categories section via the top navigation menu.
This will redirect you to your product categories list. Locate the desired category that you would like to be displayed in your OpenCart frontend main menu and click on the edit link next to its name.
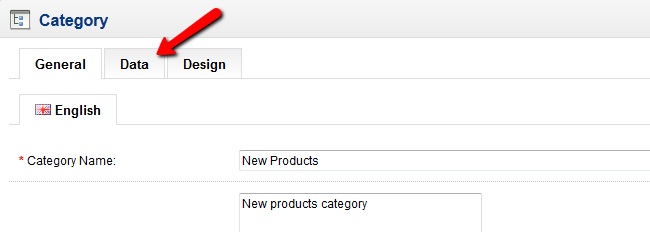
From the tab navigation, please click on the Data tab and scroll to the bottom of the page.
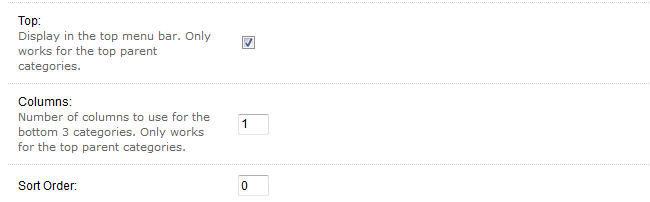
Here you will see the available options to display the desired category in your frontend navigation menu. To do this, please check the Top checkbox and input a number into the Sort Order field. For example, if you would like to have this category displayed first, input 0 into the Sort Order field. You may set the second category sort order to 1 to have it set next and so on.
When you are ready click on the Save button on the top right corner of your screen.
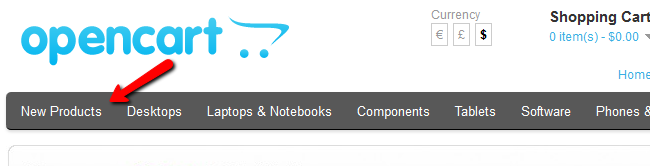
Now you should see your category displayed in the main navigation menu on your store frontend.

OpenCart Hosting
- Free Installation
- 24/7 OpenCart Support
- Free Domain Transfer
- Hack-free Protection
- Fast SSD Storage
- Free OpenCart Themes
- Free OpenCart Transfer
- Free CloudFlare CDN