How to Configure WooCommerce Payment Methods
Updated on Dec 8, 2022
Payment Methods are one of the most important things you will need to consider when building your Online Store. Providing your customers with a large variety of payment methods will ensure customer satisfaction from your Store and also will remove the probability of a customer being lost because of the lack of the requested by the same customer payment method.
In the next few lines of this tutorial, we will show you how to configure the basic payment methods provided by WooCommerce.
To configure the Payment Methods of your Store, use:
Direct Bank Transfer Configuration
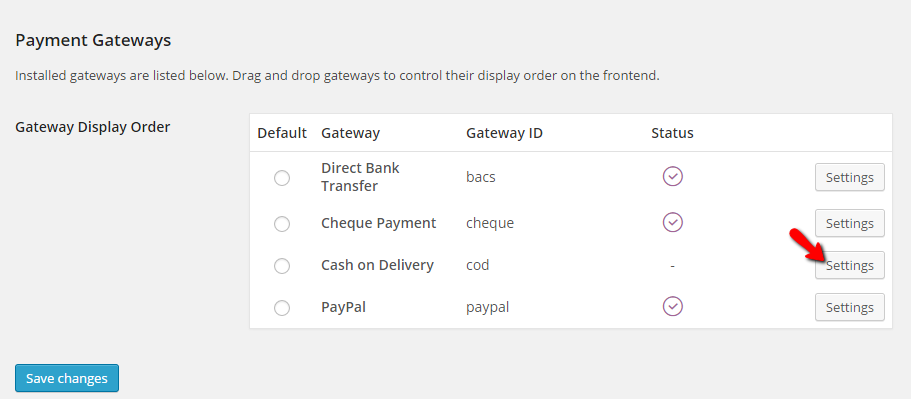
Now that you have configured all the options related to the Checkout process your customers will be performing it is time to actually configure the payment methods on your website. On the same page where you were configuring the Checkout options, you will be able to locate the Payment Gateways section. As mentioned previously in our WooCommerce tutorial series, the section contains the supported by default payment methods.
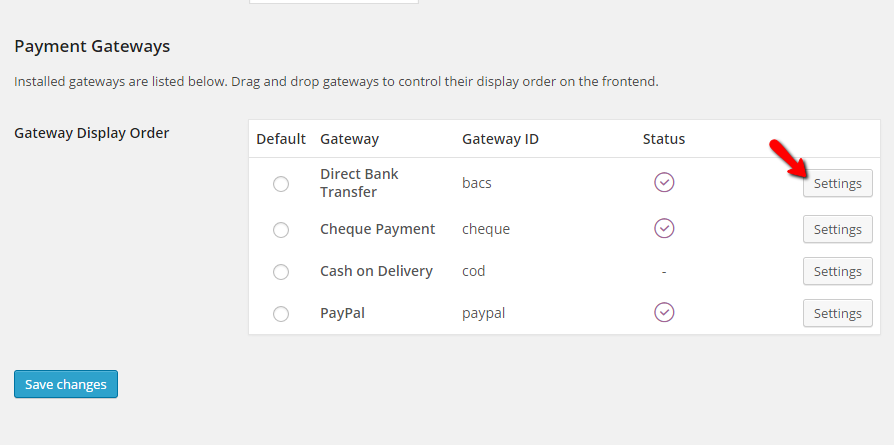
By clicking on the Settings button, you can configure the settings for each payment method independently.
Let us start with the Direct Bank Transfer method. This method is used when you would like the payment for your products to be directly processed via a bank/wire transfer.
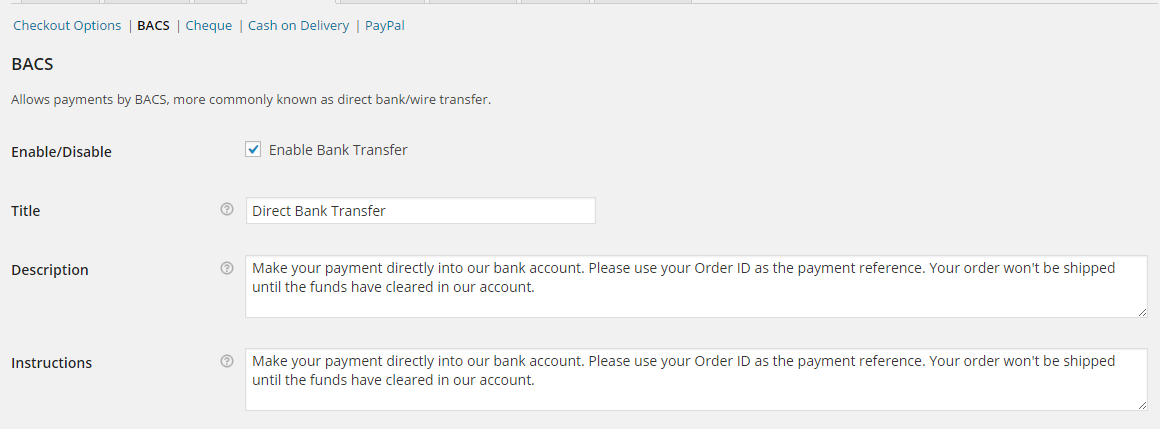
The options you will need to configure for this payment method are few, and they are quite intuitive – Description, Introduction, and Account Details, while the last one is actually used to add bank accounts, you would like the transfer to be pointed at.
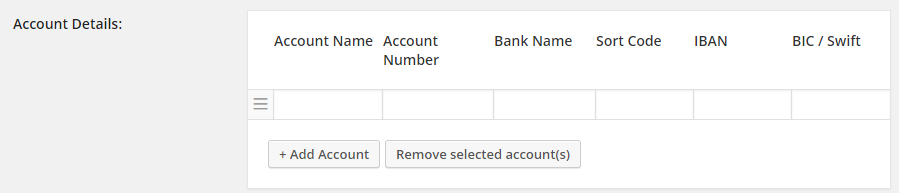
Once you are done with all the changes, please click on the Save changes button so all the performed configurations can be saved and you are done.
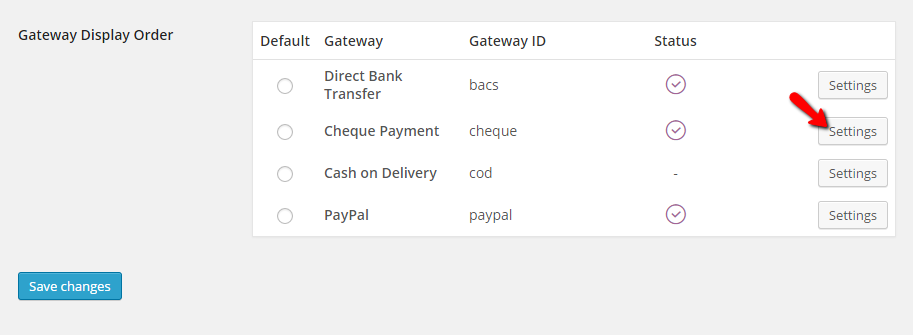
Cheque Configuration
The next payment method is called Cheque, and as the name suggests, it is used for allowing your customers to pay with an E-Cheque.
The options you have to configure here are also relatively simple – Title, Description and Introduction.
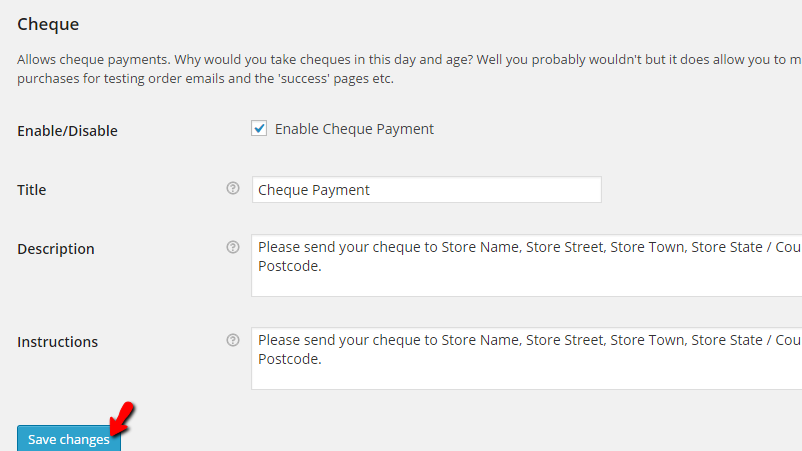
Once you are done with these, please click on the Save Changes button so all settings can be saved.
Cash on Delivery (CoD) Configuration
The following default payment method is called Cash on delivery, and as the name suggests, it is used when you would like to enable your customers to pay whenever they receive the product.
When you are done with these configurations, please use the Save Changes button so all these changes can be saved and you are ready to receive payments upon delivery.
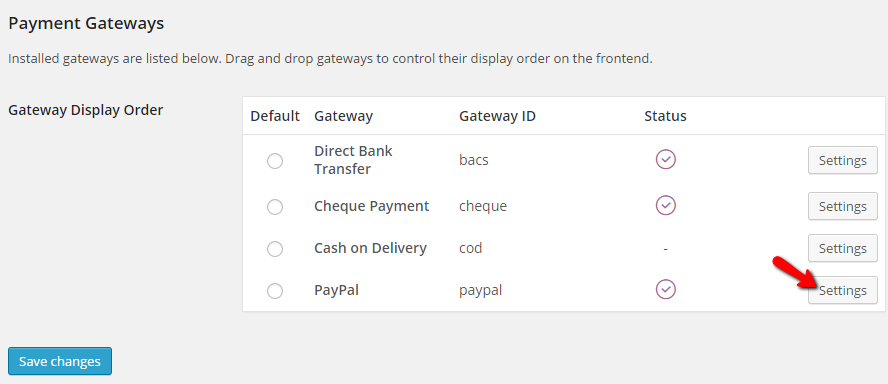
PayPal Configuration
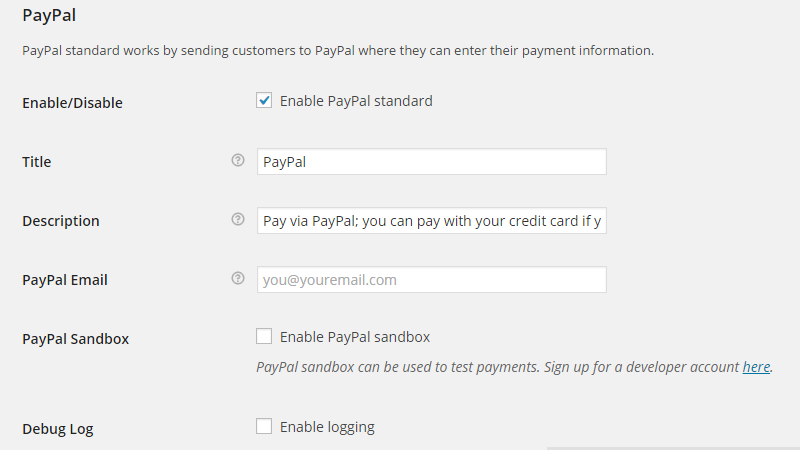
The final default payment method is called PayPal, and most probably, this is the one you would like to ensure is checked.
The configurations available for this payment method are quite a lot; we will review those separately by the sections they are into. First, let’s begin with the PayPal section itself. It contains the basic information as the other options do, however, with the addition of the PayPal Email, PayPal Sandbox, and Debug Log options. These are used respectively for defying your Paypal email account if the shop should be in sandbox mode, and also if the payment method should create a debug log at the mentioned location.
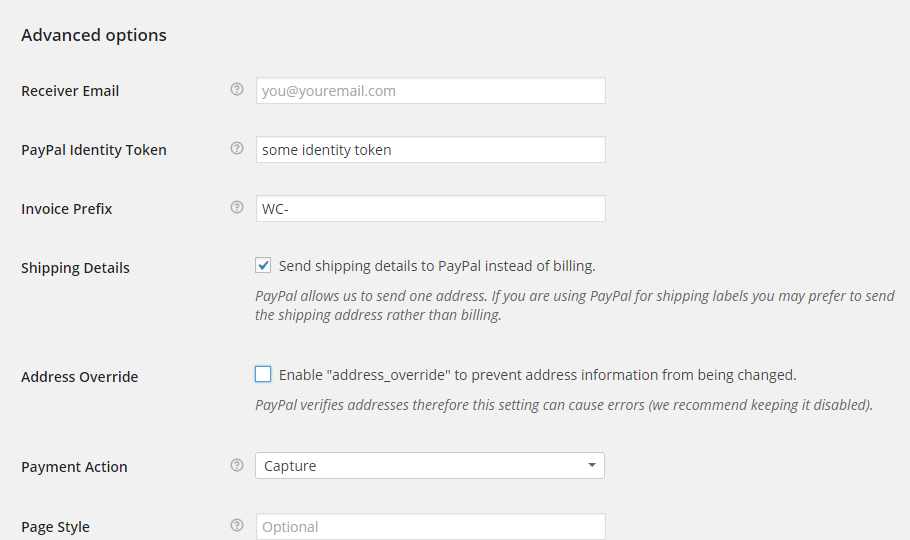
The next section with options is called Advanced Options, and indeed it contains some pretty advanced settings for that Payment method. Let’s review those:
- Receiver Email – Your email account with PayPal to which the funds will be sent.
- PayPal Identity Token – The Identity token of your PayPal account. You can get that from the Profile → Website Payment → Preferences option located in your PayPal account.
- Invoice Prefix – The prefix which will be used for the generation of the invoice number in PayPal.
- Shipping Details – This option will basically allow you to send Shipping addresses instead of billing information to PayPal.
- Address Override – This option will disallow the change of address information by the customer.
- Payment Action – Here you should choose if you would like to capture funds immediately or if you would like to authorize payment only.
- Page Style – The name of the page you would like to use for checkout with PayPal. Those pages are defined in your PayPal account.
Once you are done with these settings, you should move forward to the last section of settings which is called API Credentials there, you will need to fill in your API Username, Password, and Signature for you to be able to process refunds. You should be able to find more information on generating these credentials in the official documentation for PayPal developers.
Once you are done with all the settings, please use the Save Changes button, and you will finalize the setting of this Payment Method.
Congratulations! You now know how to configure all the default Payment Methods on your WooCommerce-based Online Store!

WooCommerce Hosting
- Free Installation
- 24/7 WooCommerce Support
- Free Domain Transfer
- Hack-free Protection
- Fast SSD Storage
- Free WooCommerce Transfer
- Free Cloudflare CDN