Configuring the Accounts Options in WooCommerce
Updated on Dec 8, 2022
The customer's account is something you will definitely like to have enabled and well configured on your WooCommerce online Store as it will provide you with a lot of information about your users and also an easy way to track the products purchased by your customers. In the next few lines of this tutorial we will review the Accounts options provided in the admin area of your website.
To configure the Accounts Settings of your Store:
Access the Accounts Settings in WooCommerce
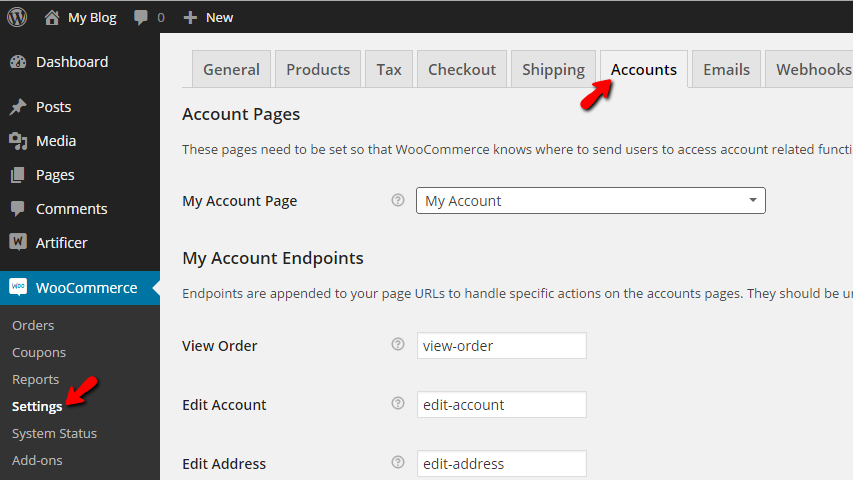
In order to begin with the configuration of the Accounts feature of your WooCommerce Online store you will need to log in the admin dashboard of your website. From there you will need to access WooCommerce → Settings → Accounts.
Once there you will notice how all the options are conveniently categorized in few sections.
Configure the Options
The first section of settings is called Account Pages and there you will be able to find the settings about the My Account page. From the drop-down list you will be able to choose which page should be used for the My Account Page.
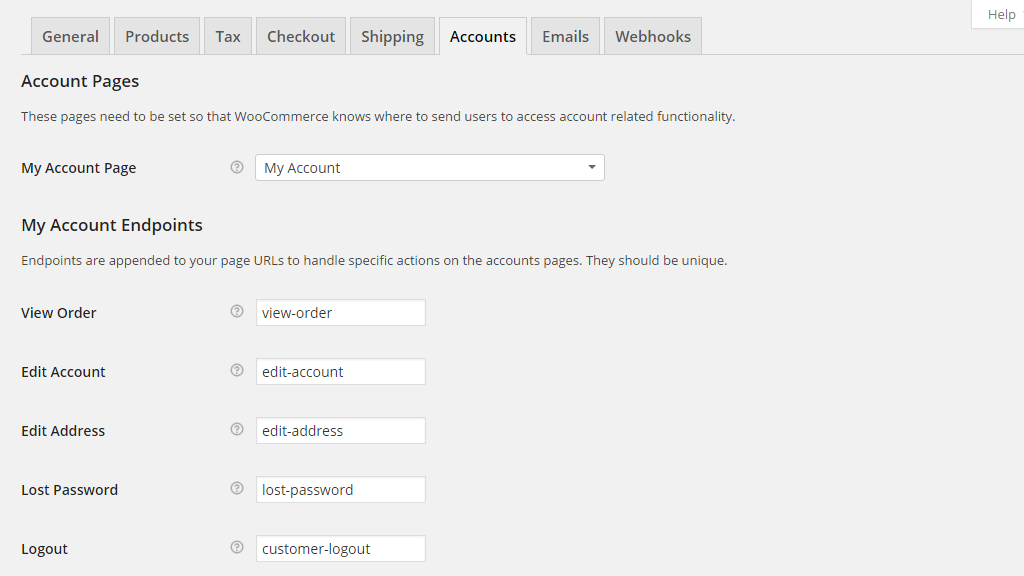
The next section of settings is called My Account Endpoints. These are specific "slugs" which are appended to the URLs for the specific actions your users can take on the account pages. The actions you will be able to configure the URLs for are:
- View Order - The URL slug for the page where any user can view orders;
- Edit Account - The URL slug for the page where users can edit their account;
- Edit Address - The URL slug for the page where users can edit their address information;
- Lost Password - The URL slug to the page where the users can reset their passwords;
- Logout - The URL used when logging out.
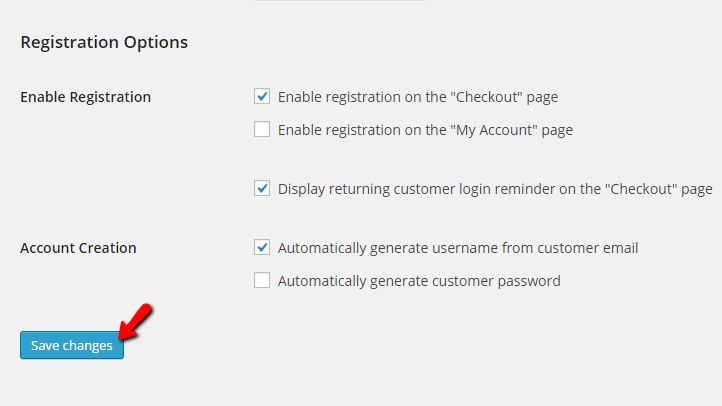
The third and final section is called Registration Options and there you will be able to configure the options for the registrations of client accounts on your website. The options in this section are:
- Enable Registration - You can enable the registration option on different pages like Checkout or My Account.
- Account Creation - Here you can choose if the system should automatically generate username and password for your customers.
Once you are ready with all these options hit the Save Changes button so you can finalize the configuration.
Congratulations! You now know how to configure the Account Settings on your WooCommerce Online Store!

WooCommerce Hosting
- Free Installation
- 24/7 WooCommerce Support
- Free Domain Transfer
- Hack-free Protection
- Fast SSD Storage
- Free WooCommerce Transfer
- Free Cloudflare CDN