How to Configure User Settings in Oxwall
Updated on Dec 10, 2015
The User Settings in Oxwall will allow you to change the basic display elements for users on your website.
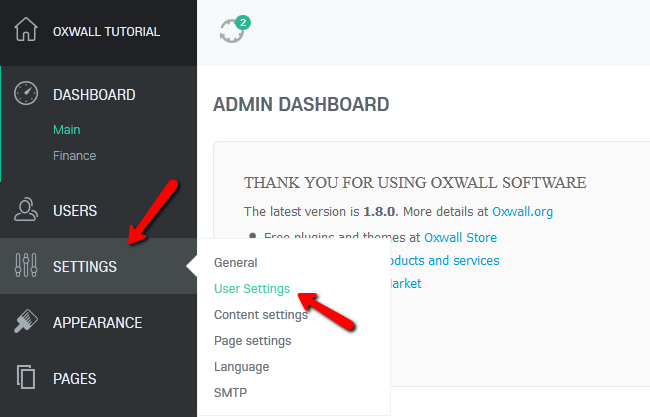
To access the User Settings section of your website you will need to login to your admin dashboard and navigate to Settings>User Settings.
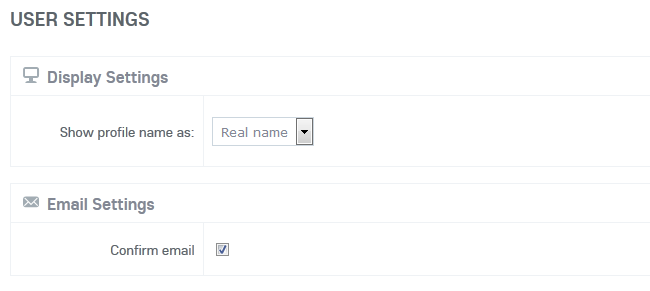
Display Settings:
- Show profile name as – Shows the profile name of a user as either his real name or username
Email Settings:
- Confirm email - When turned on users will have to verify their email addresse before they can access the site for the first time.
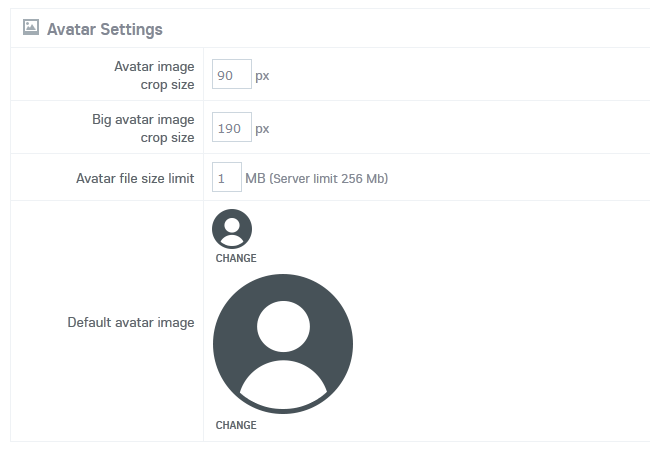
Avatar Settings:
- Avatar image crop size – The size of the avatar that will be shown in all listings (you will also need to change your theme CCS if you change this)
- Big avatar image crop size – The size of the avatar which will be shown on the profile page
- Default avatar image – Click the Change text to overwrite the default theme avatar with a custom one
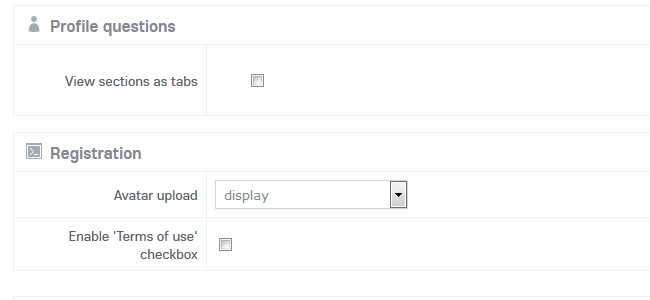
Profile questions:
- View sections as tabs – This is a valuable option if the profile pages have a lot of fields to fill out
Registration:
- Avatar Upload – You can select the corresponding option from the drop-down menu to let users upload avatar on registration (display - makes the field optional on registration, display and set required - makes the field required on registration and the hide option removes the avatar field from registration page)
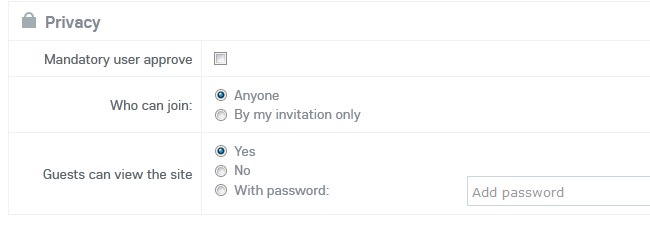
Privacy:
- Mandatory user approve – If checked the website administrator will need to manually approve the user registration
- Who can join – Here you can choose if you want your website to be accessible by anyone or just people you have invited
- Guests can view the site – Choose if non registered users will be able to view the content of the website
Once you have configured all of the User Settings click on the Save button at the bottom of the page to save the changes.
On this page...

Oxwall Hosting
- Free Oxwall Installation
- 24/7 Oxwall Support
- Free Domain Transfer
- Hack-free Protection
- Fast SSD Storage
- Free Cloudflare CDN
- Free Oxwall Transfer
- Immediate Activation