How to Manage Users in Oxwall
Updated on Dec 10, 2015
Managing the users of your website is an important part of keeping your website operational. In this tutorial we will show you how to find specific users on your website, change their status, roles and restricting some usernames from being used.
To fully manage your userbase, you will need to:
Step 1 Browse Users and change their status
To access the user search function you will need to login to your admin dashboard and navigate to the Users>Browse Users section.
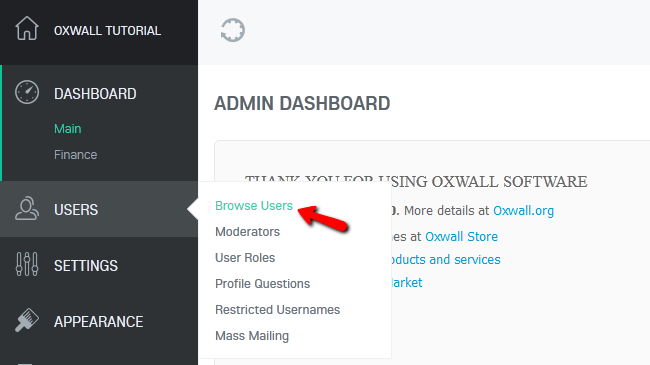
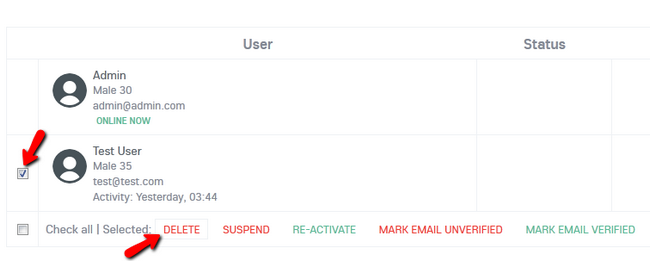
Here you can search for users based on their Real Name or Email. To see all users click Go without specifying any search criteria. You can apply actions in bulk or to a specific user(note that you cannot modify the status of the Admin user):
- Delete – Removes the user and all his content published on the website
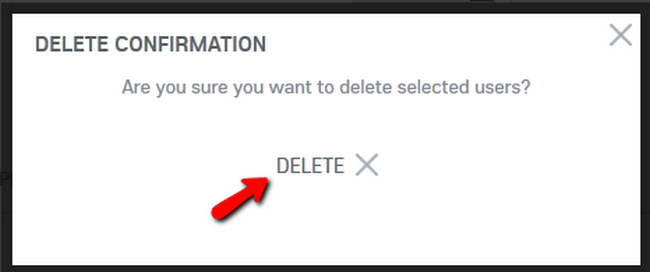
You will need to confirm the deletion of the user before proceeding.
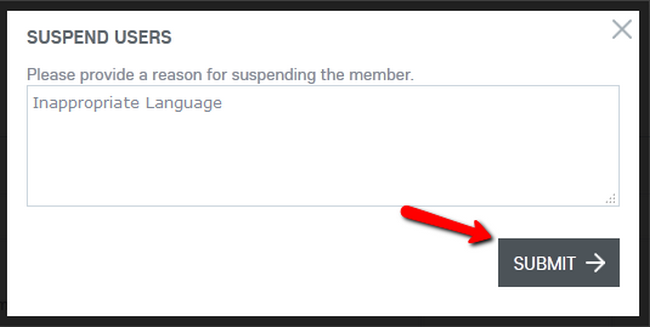
- Suspend – deactivates the user. Suspended users are moved to the list under Suspended tab and can not access the website. However, the content they have uploaded to the website will remain active
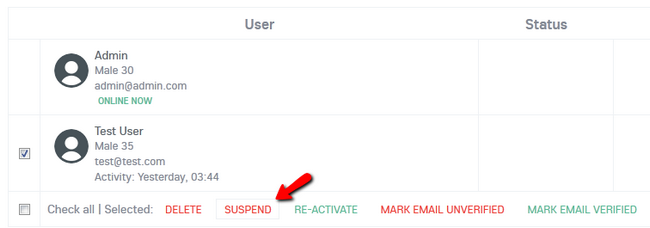
You can provide the exact reason for the suspension before confirming it.
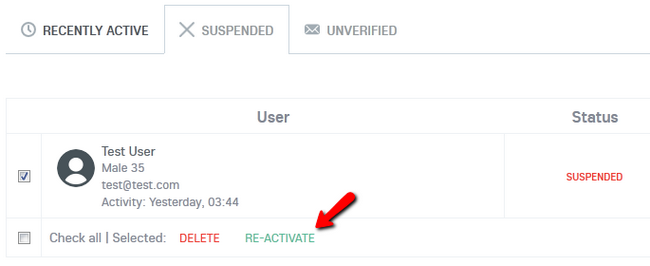
- Re-activate - activates a suspended user
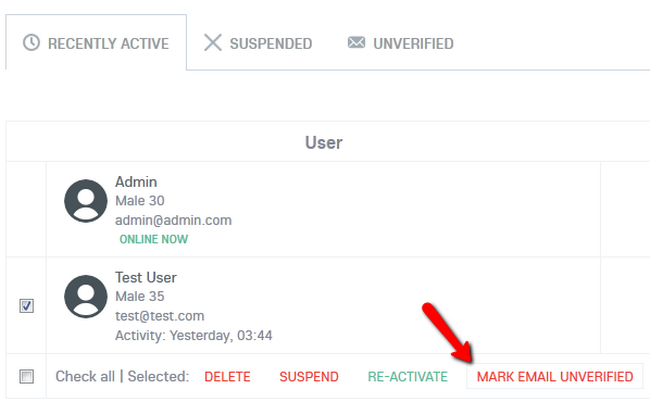
- Mark email unverified - marks user's email as unverified. Users with unverified emails won't be able to log in to the website. The list of all unverified users is available under Unverified tab
- Approve - approves users. If Mandatory User Approve check box is checked in the Global Rrivacy Settings, users won't be able to use the site until they are approved by an admin
Step 2 Configure User Roles
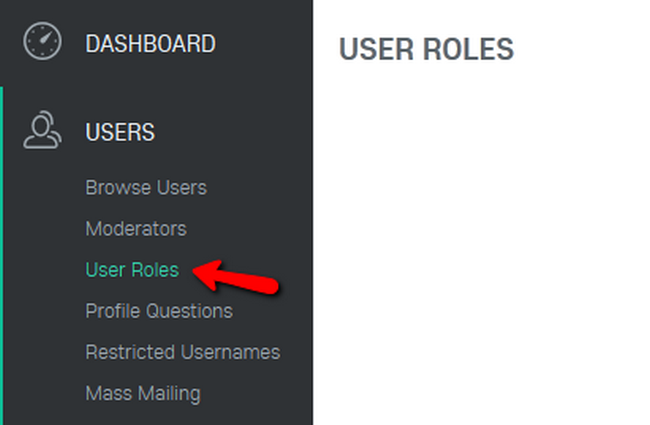
User roles can be used to distinguish between the different user groups of your website. If you want to have additional features only available for specific users you can create a custom User Role and then add set users to it. To accomplish this, you will need to navigate to the Users>User Roles section of your admin area in Oxwall.
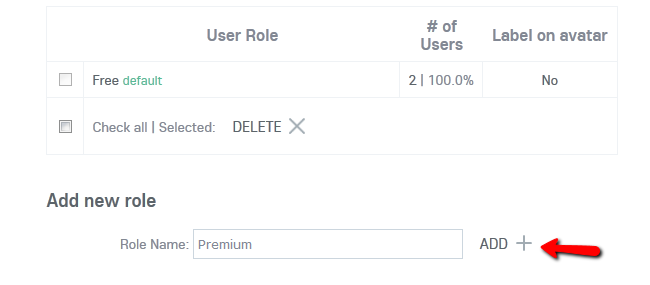
Now you can create a new User role by typing a name for it and clicking on the Add button.
Additionally you will need to set up the permissions for that role.
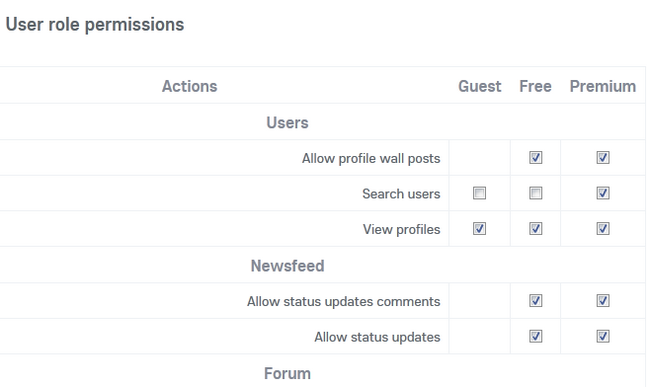
Once you have configured the new User Role according to your needs, click the Save button at the bottom of the page.
Step 3 Restrict Usernames
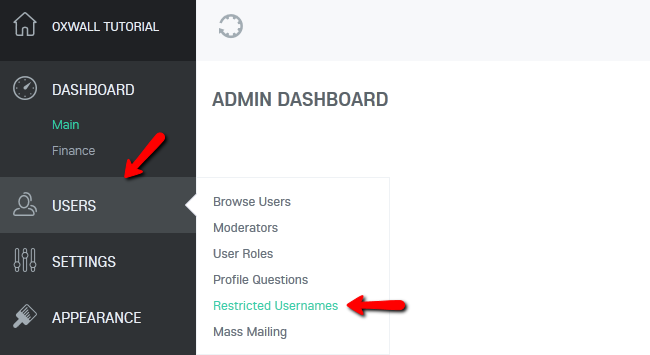
As with any website, you will want to filter out some usernames from being used. This can avoid admin/moderator impersonations as well as the bad user experience from seeing an inappropriate word used in a username. To restrict a username you will need to go to Users>Restricted Usernames.
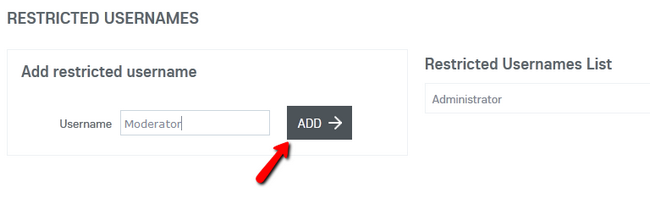
Now you will need to type the username you wish to restrict and click on the add button to Add it to the restriction list.
You can now manage your Oxwall website’s userbase.

Oxwall Hosting
- Free Oxwall Installation
- 24/7 Oxwall Support
- Free Domain Transfer
- Hack-free Protection
- Fast SSD Storage
- Free Cloudflare CDN
- Free Oxwall Transfer
- Immediate Activation