Managing Advertisements in ClipBucket
Updated on Mar 13, 2019
Advertising on your website is probably the best way around for receiving extra funds from your visitors without actually taking any real money from them. Since most probably you will reach a moment when you would like to have some advertisements on your website Clip Bucket provides with great and easy way to manage those.
In this tutorial we are going to show you how to manage the advertisements on your website.
To manage the advertisements on your website, you need to:
Step 1 Create a New Advertisement
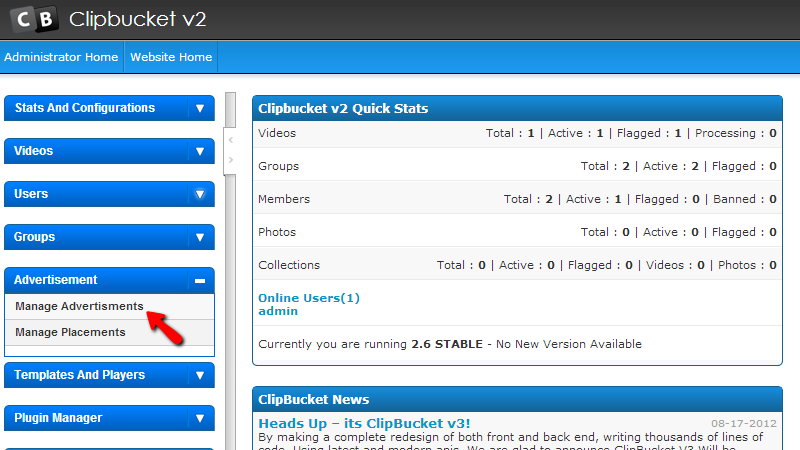
Creating an advertisement is quite an easy process. You should begin with navigating to the Advertisement > Manage Advertisements page within the admin area of your website.
Then you will be redirected to the actual page where you should begin creating your advertisement. At the top of the page you will notice the Add Advertisement section where you will be able to configure your advertisement by simply filling the following fields:
- Advertisement Name – The name of your advertisement
- Advertisement Placement – Where the advertisement should be placed
- Advertisement Code – The code of your advertisement
- Status – If your advertisement should be active or not
Once you are ready with these fields please click the Add Advertisement button in order for your advertisement to be created.
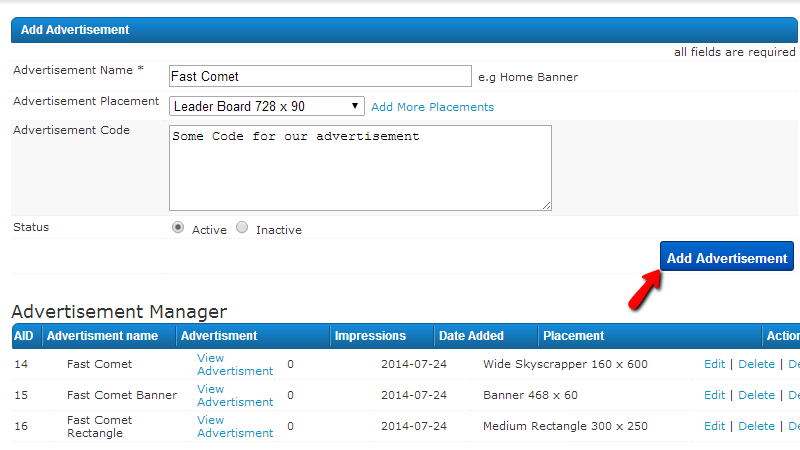
Once you advertisement is created it will be automatically added to the list of advertisements in the Advertisement Manager table view right below the section you have used to add an advertisement.
Step 2 Delete/Edit an Existing Advertisement
The second section of this page will provide you with a convenient table view for the advertisement you have created on your website. In order to edit any of these you should simply click on the Edit link displayed usually in the Actions column.
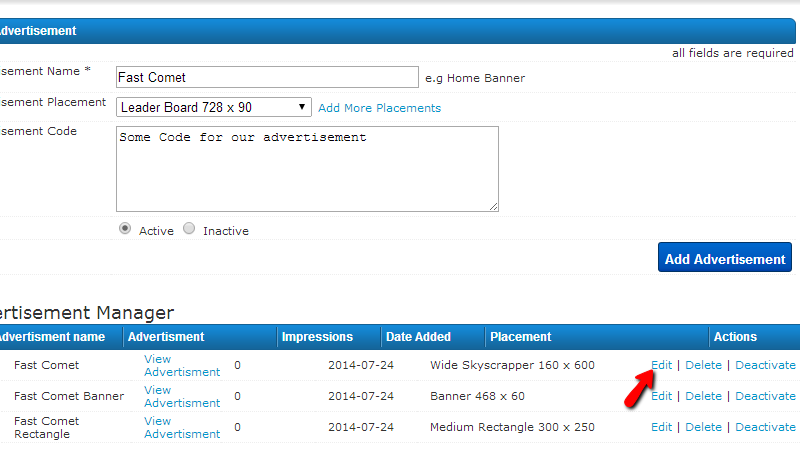
This action will bring to you a separate page exactly the same as the section you have used to add an advertisement, however with all of the fields already filled so you can edit those.
Once you are ready with the changes please use the Update Advertisement button so you can save the performed changes.
In order to delete an advertisement you will need to simply use the Delete link in the Actions column of the Advertisement Manager table view instead of the Edit button you might have just used.
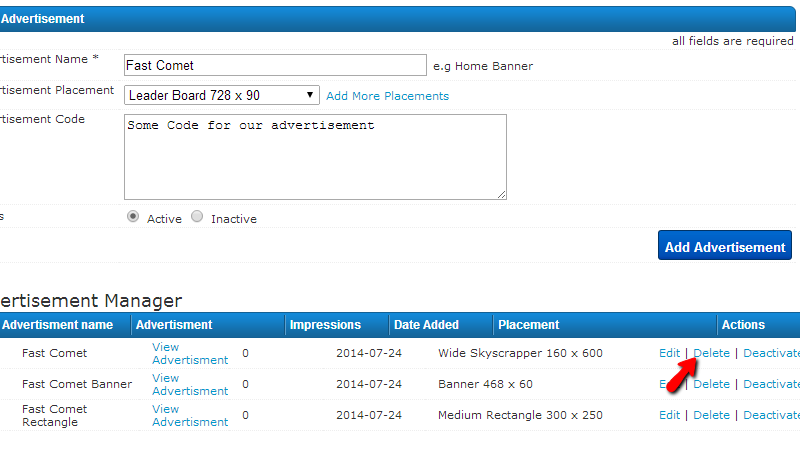
Note that the advertisement will be automatically delete without any warning messages to you. So you should make sure that you are deleting the correct one when using that feature.
Congratulations! You now know how to manage the advertisements on your website!

ClipBucket Hosting
- Free Installation
- 24/7 ClipBucket Support
- Free Domain Transfer
- Hack-free Protection
- Fast SSD Storage
- Free ClipBucket Transfer
- Free Cloudflare CDN
- FFmpeg Support